
Drones are amazing photographic tools capable of creating outstanding images and videos.
At the heart of a drone is a camera, so users will want to think about what are the proper camera settings for drone photography to get the most pleasing shots. PhotographyTalk.com has a great article about real estate drone photography showing good tips about using drone for real estate photos.

Photo by Iewek Gnos on Unsplash
Let’s have a look at some essential settings with which you need to be familiar.
Table of Contents
- Two Types of Drone Uses
- Drone Photography Settings – Pro
- Drone Photography Settings – Fun
- Videography Settings – Pro and Fun
- Most Valuable Drone Accessory – ND Filters
- Pro or Fun, It’s All Fun!
Two Types of Drone Uses
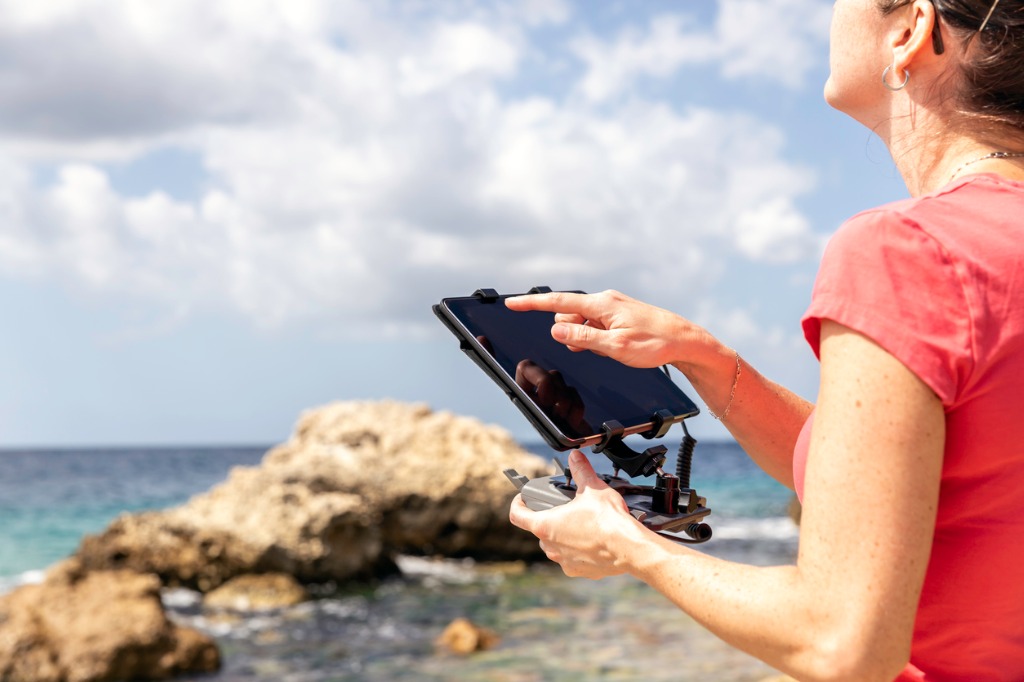
photo by Onfokus via iStock
There are two types of people who are using drones. One is an advanced photographer or videographer using the drone for all sorts of photos and videos including paid gigs. Another is any level of photographer who wants to use the drone for fun and is looking for drone photography tips.
Either of these two types of drone photographers can be further categorized into those primarily desiring still images and others more into video than still pics.
Obviously, there will likely be a lot of overlap among these types. An advanced still photographer can just be playing around with drone video or an amatuer videographer can use their drone for paid still photography jobs. And any mix in between. Drone photography settings will change depending on which type of drone you are on any given day.
Recommended Photography Books
- National Geographic Photo Basics: The Ultimate Beginner’s Guide to Great Photography
- Photography: The Definitive Visual History
- Read This if You Want to Take Great Photographs
Drone Photography Settings – Pro

Photo by Tyler Casey on Unsplash
First up, we’ll examine some pro level still photography drone camera settings. For the purposes of these drone photography tips, we’ll standardize on one current and very popular drone, the DJI Mavic 2 Pro. We got ours from Adorama, so we’re sure it’s got a legit USA warranty and all the items that are supposed to come in the box.
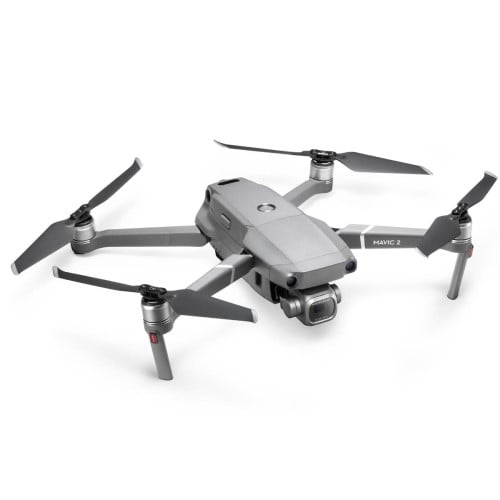
The DJI Mavic 2 Pro is one of the better drones on the market that still is pretty friendly for most serious photography budgets. It has a 20MP 1” type sensor Hasselblad camera with a moderately wide angle lens. Video capability is 4K 10-bit HDR plus some lower resolutions. Maximum flying speed is about 45 MPH and battery life is up to 31 minutes.
You could allow the camera to set everything automatically. Many pro level DSLRs and mirrorless cameras have full auto modes that are capable of figuring nearly exposures, but the realities of drone photography pretty much require exposing manually.
A good place to start is with the image file setting. For pro or advanced levels, record in the RAW/DNG file mode. As with all our other cameras, the amount of exposure information in a RAW file far surpasses other file types found in most cameras. This gives you a whole lot of leeway to enhance in post processing. Get more details about camera settings on the Mavic Pro 2 in the video above by Tom’s Tech Time.
Keep the white balance in auto. Since you’re shooting RAW, your imaging program will let you set the proper color profile for the scene.
Shutter speed, lens aperture, and ISO, the exposure triangle, are pretty easy to figure out for most daylight conditions. A good place to start is ISO 100, shutter speed of 1/60th, and an f-stop of f/4.0. Even with the most stable of drones, you will want to keep your shutter speed fairly high.

Photo by Juan N. Gomez from Pexels
Then, review your photos. Some regular photography tutorials will preach against “chimping” or viewing the exposed image on camera (or live monitor), but it is a valid method to use in certain situations. This is definitely one of those situations.
If the exposure is too light or dark, adjust the exposure appropriately. Start with adjusting the lens aperture, then ISO if the exposure is still out of range, lastly adjust the shutter speed. If the image is still too dark, it may not be a good day for drone imagery. Or really make use of the RAW data to pull out shadow detail. If the image stays too bright, add on an neutral density (ND) filter to compensate.
Since this is a flying machine, one of your camera settings for drone photography will be flight mode. You want the most stability possible out of any drone. On the Mavic 2 Pro, that mode is labeled “T” for tripod. One of the best drone photography tips you can learn is to use the “S” or sports mode to fly into position, but always switch to a stability mode like “T” when actually taking pictures or shooting video.
Drone Photography Settings – Fun

Photo by The Lazy Artist Gallery from Pexels
Almost everything listed above still works, simply adjust a couple of key settings. Set your image file recording to JPG (Jpeg). A JPG file is a compressed file, processed by the camera, that can be used straight out of the camera if desired. So, that eases up any work to be done for casual or fun style imaging.
The other setting to change is white balance. Since you’re shooting in JPEG, you should assign one. Leaving it on auto could give you settings all over the map for a lot of drone uses. Daylight or cloudy are two common options if auto isn’t giving good results.
Keep using the manual exposure triangle settings and ND filters as listed above. It’s easy enough to do since you are reviewing your shots to check exposure.
Videography Settings – Pro and Fun

Photo by Rayyu Maldives photographer on Unsplash
When shooting video, start out staying with the same exposure triangle settings as with still imaging. Adjust up or down as needed, first with f-stop, then with ISO.
For video recording mode, use the highest quality available for your particular camera. On the Mavic 2 Pro, that’s 4K HQ. No need to go lower for extended recording times since the drone flight time is limited. Use 30 FPS instead of 24 FPS to help smooth out flying irregularities.
Pro users may want to synch FPS if using drone footage for B-roll, but 30 FPS will edit in smoothly for most applications. Get more pointers on camera settings for video in the video below by Drone Film Guide.
White balance should be set to something besides auto. Auto white balance and extended video footage will give you annoying and unexpected shifts in colors. Custom is a good option for pro users. Fun users can choose daylight or cloudy.
The color profile setting works best as either Normal or DLog-M. DLog-M lets you adjust color profile in editing, so that would be the setting most common for pro uses, but there’s nothing wrong with the normal setting.
Video encoding should be the newest available, style setting can be adjusted as you see fit. The one style setting I foresee most drone users changing would be contrast. Adjust incrementally until it suits your own personal style or brand.
Most Valuable Drone Accessory – ND Filters

Since the exposure triangle options are a little bit limited for drone photography and videography, having a good set of high quality ND filters will let you shoot or film in a wide variety of brightness situations.
The Polar Pro Mavic 2 Cinema Series from Adorama for the DJI Mavic 2 Pro cameras is an outstandingly good choice for drone ND filters.
Obviously, the ND filters will bring down levels that are too bright. If the levels are still too dark after making all the adjustments you could, maybe it’s time to invent a usable LED light for drones. Any inventors and investors out there?
Pro or Fun, It’s All Fun!

Now that you have some experience flying, know the do’s and don’ts of drone flying, are properly registered, and have a good idea of what settings to use, you are all set to capture high quality images and video footage.
Remember, even pros can have fun when using a great drone for photography. Likewise, even amatuer photographers can capture professional level results from the fantastic drones available now.
This blog post about the topic “Drone Photography Tip: The Best Settings for Taking Incredible Photos” was first published on our website here https://www.photographytalk.com/drone-photography-tip-the-best-settings-for-taking-incredible-photos
Source: https://photographytalkcom.blogspot.com/2020/10/drone-photography-tip-best-settings-for.html
