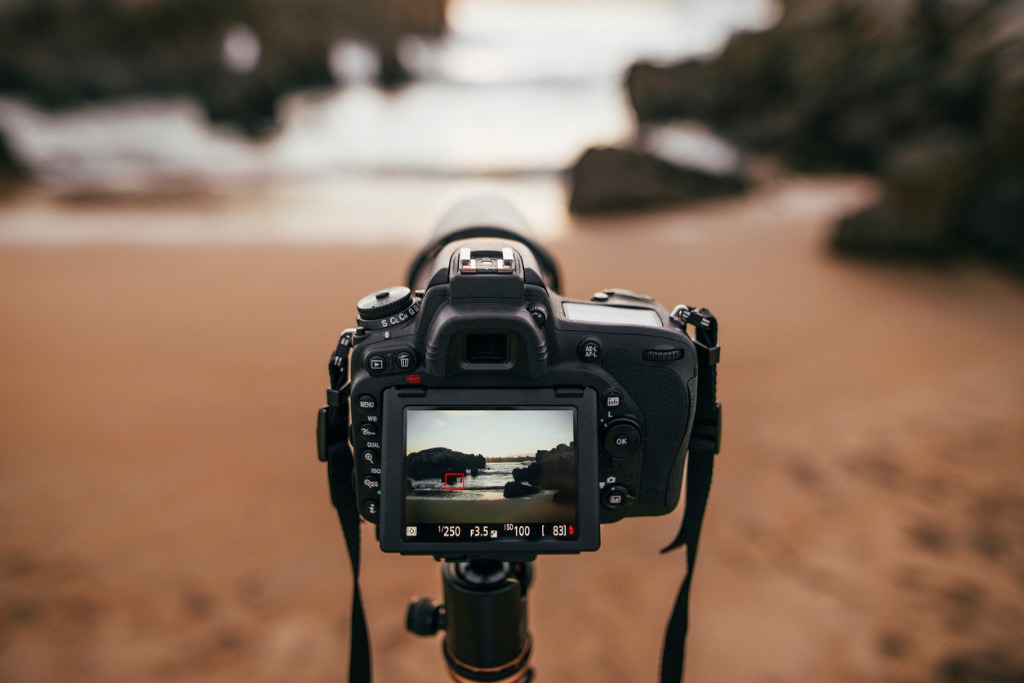
I don’t know about you, but sometimes when I’m out with my camera and I’m presented with a gorgeous landscape, I get a little stuck.
It’s almost like there’s too much beauty for my brain to handle, and that means that I struggle to decide how to compose the photo.
Of course, not all landscapes are overwhelmingly beautiful, so having a lot that attracts my eye is a good problem to have!
But if you want to create amazing landscape photos, one of the best things you can do is to simplify your approach.
Here’s what I mean…
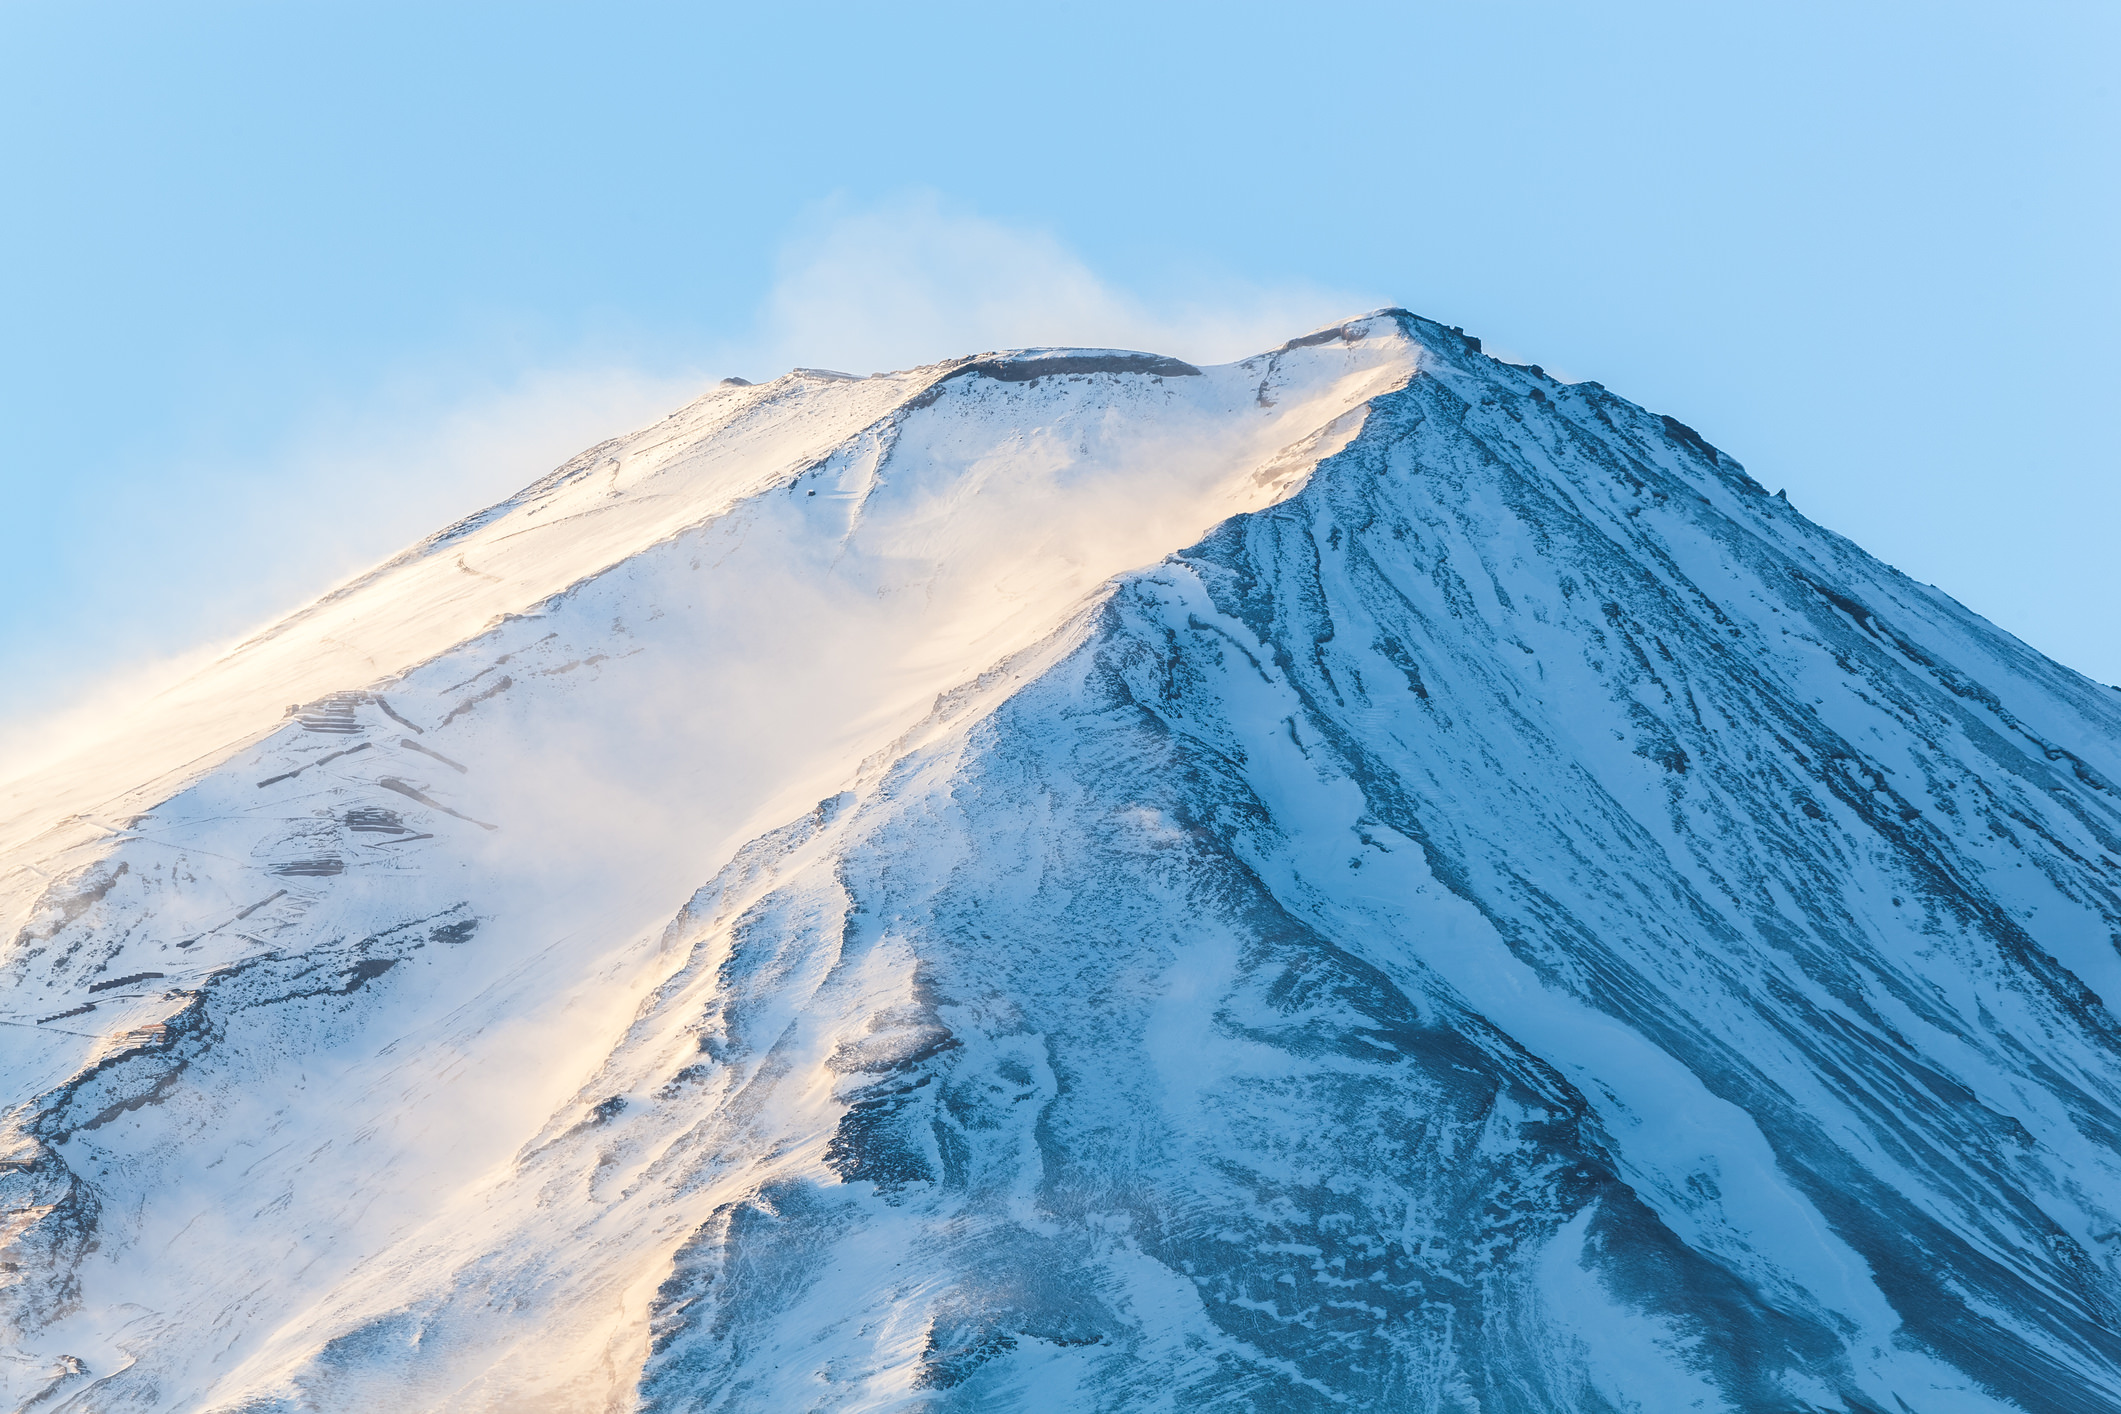
Look For a Strong Subject for Amazing Landscape Photos

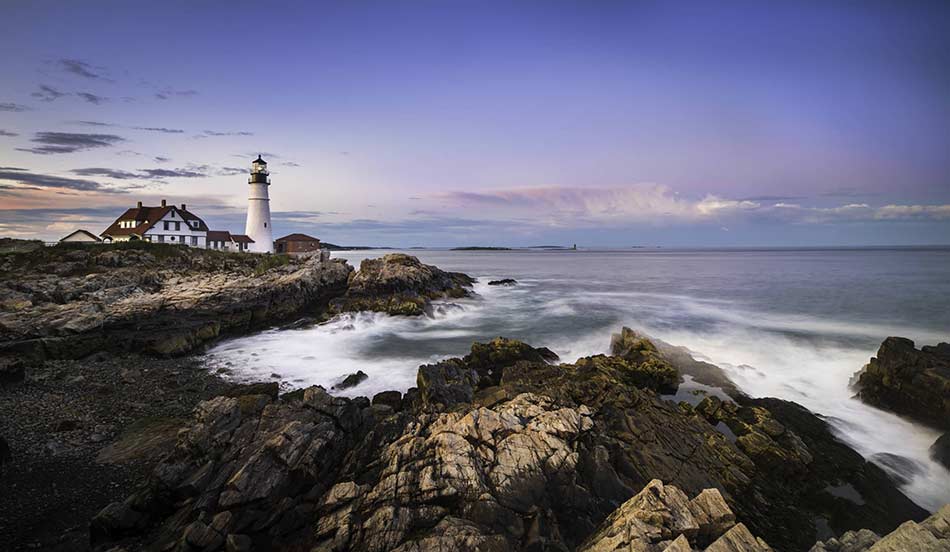
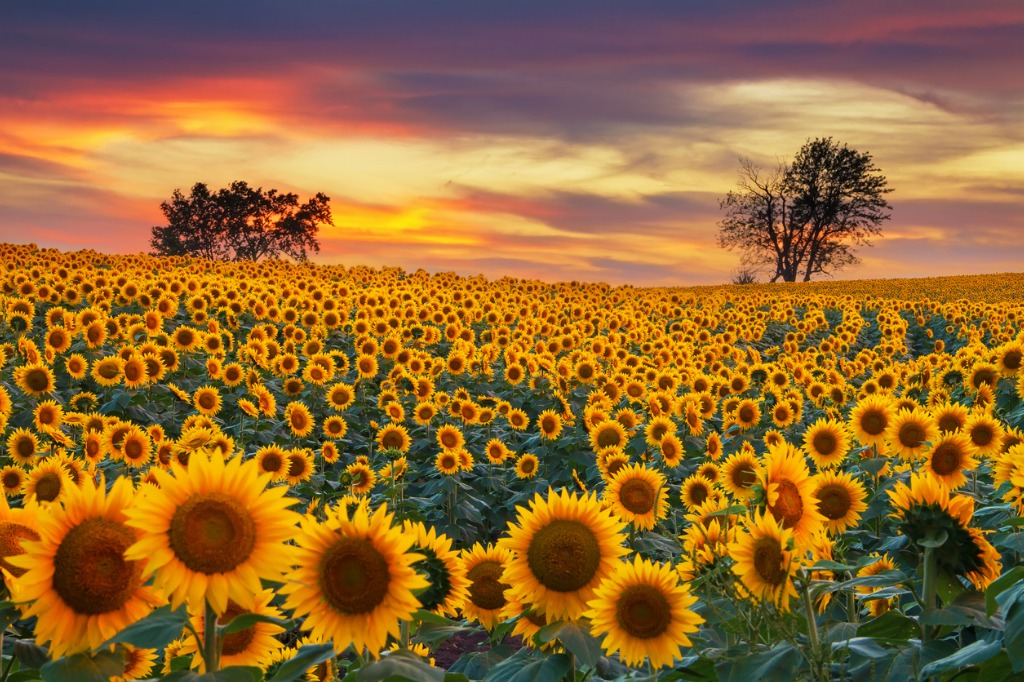
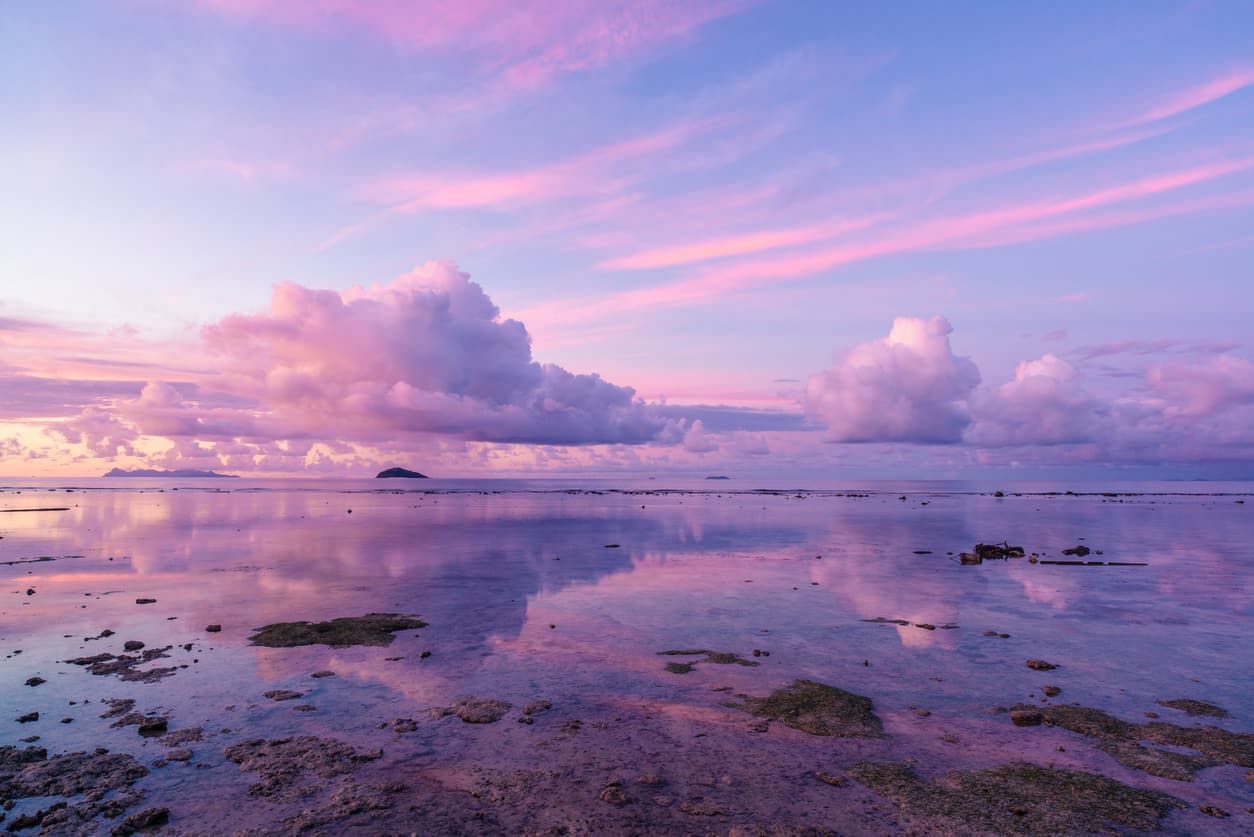
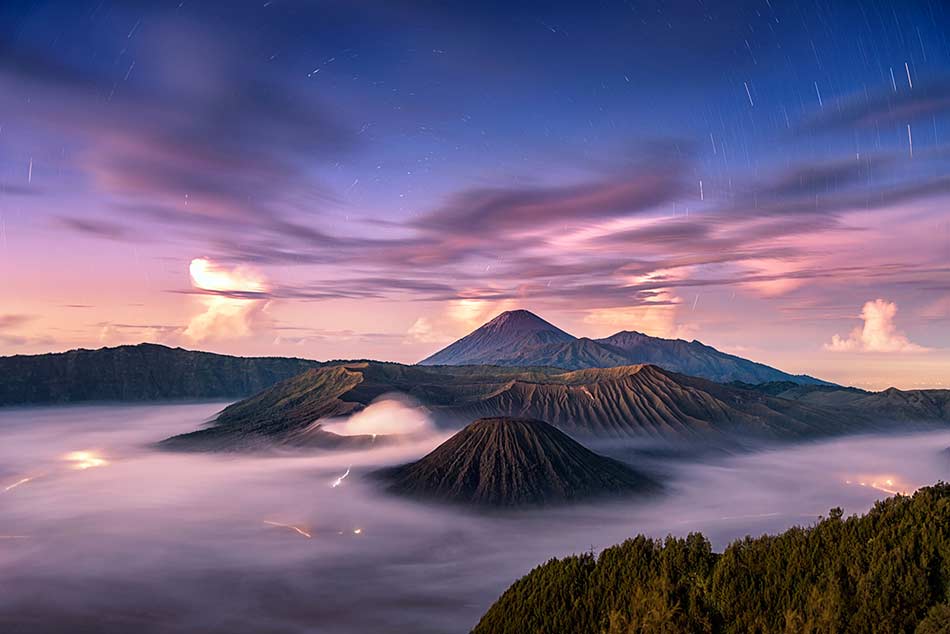
One of the first things you need to do to take beautiful landscape photos is to find a subject that immediately draws the attention of the viewer.
That subject can be anything, really – a landform, an imposing tree, a color, or even areas of light and shadow.
Once you identify the subject, then you need to go about composing the shot in a way that highlights the subject.
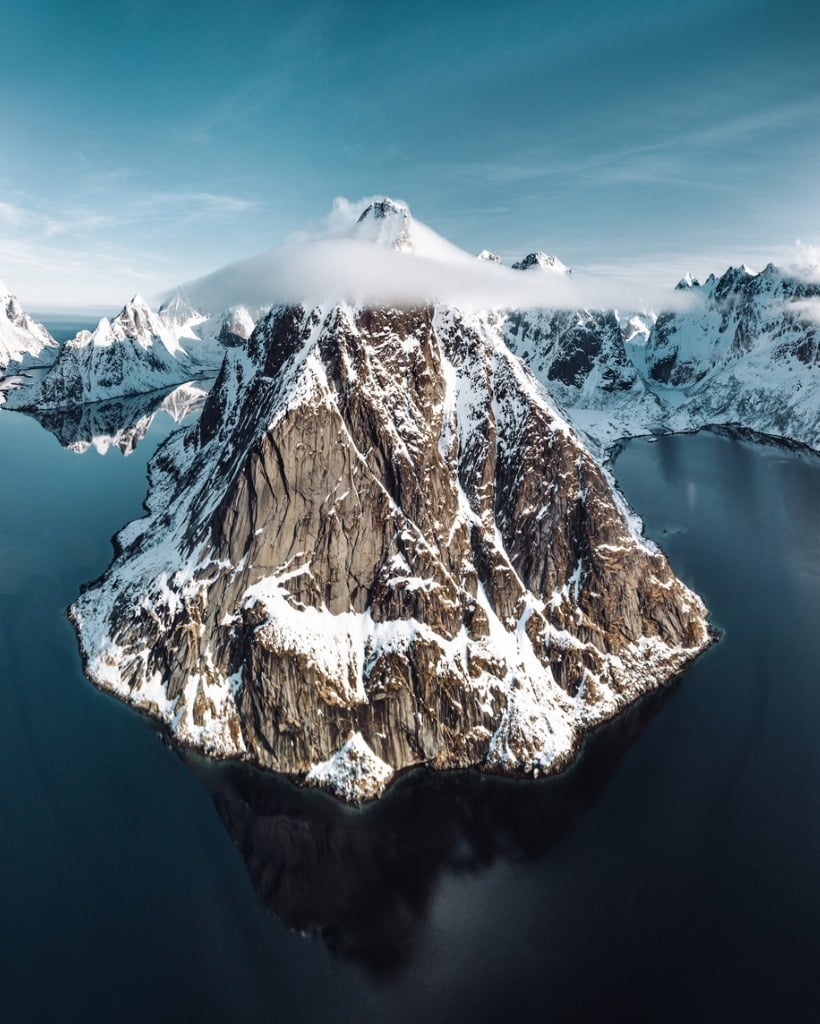
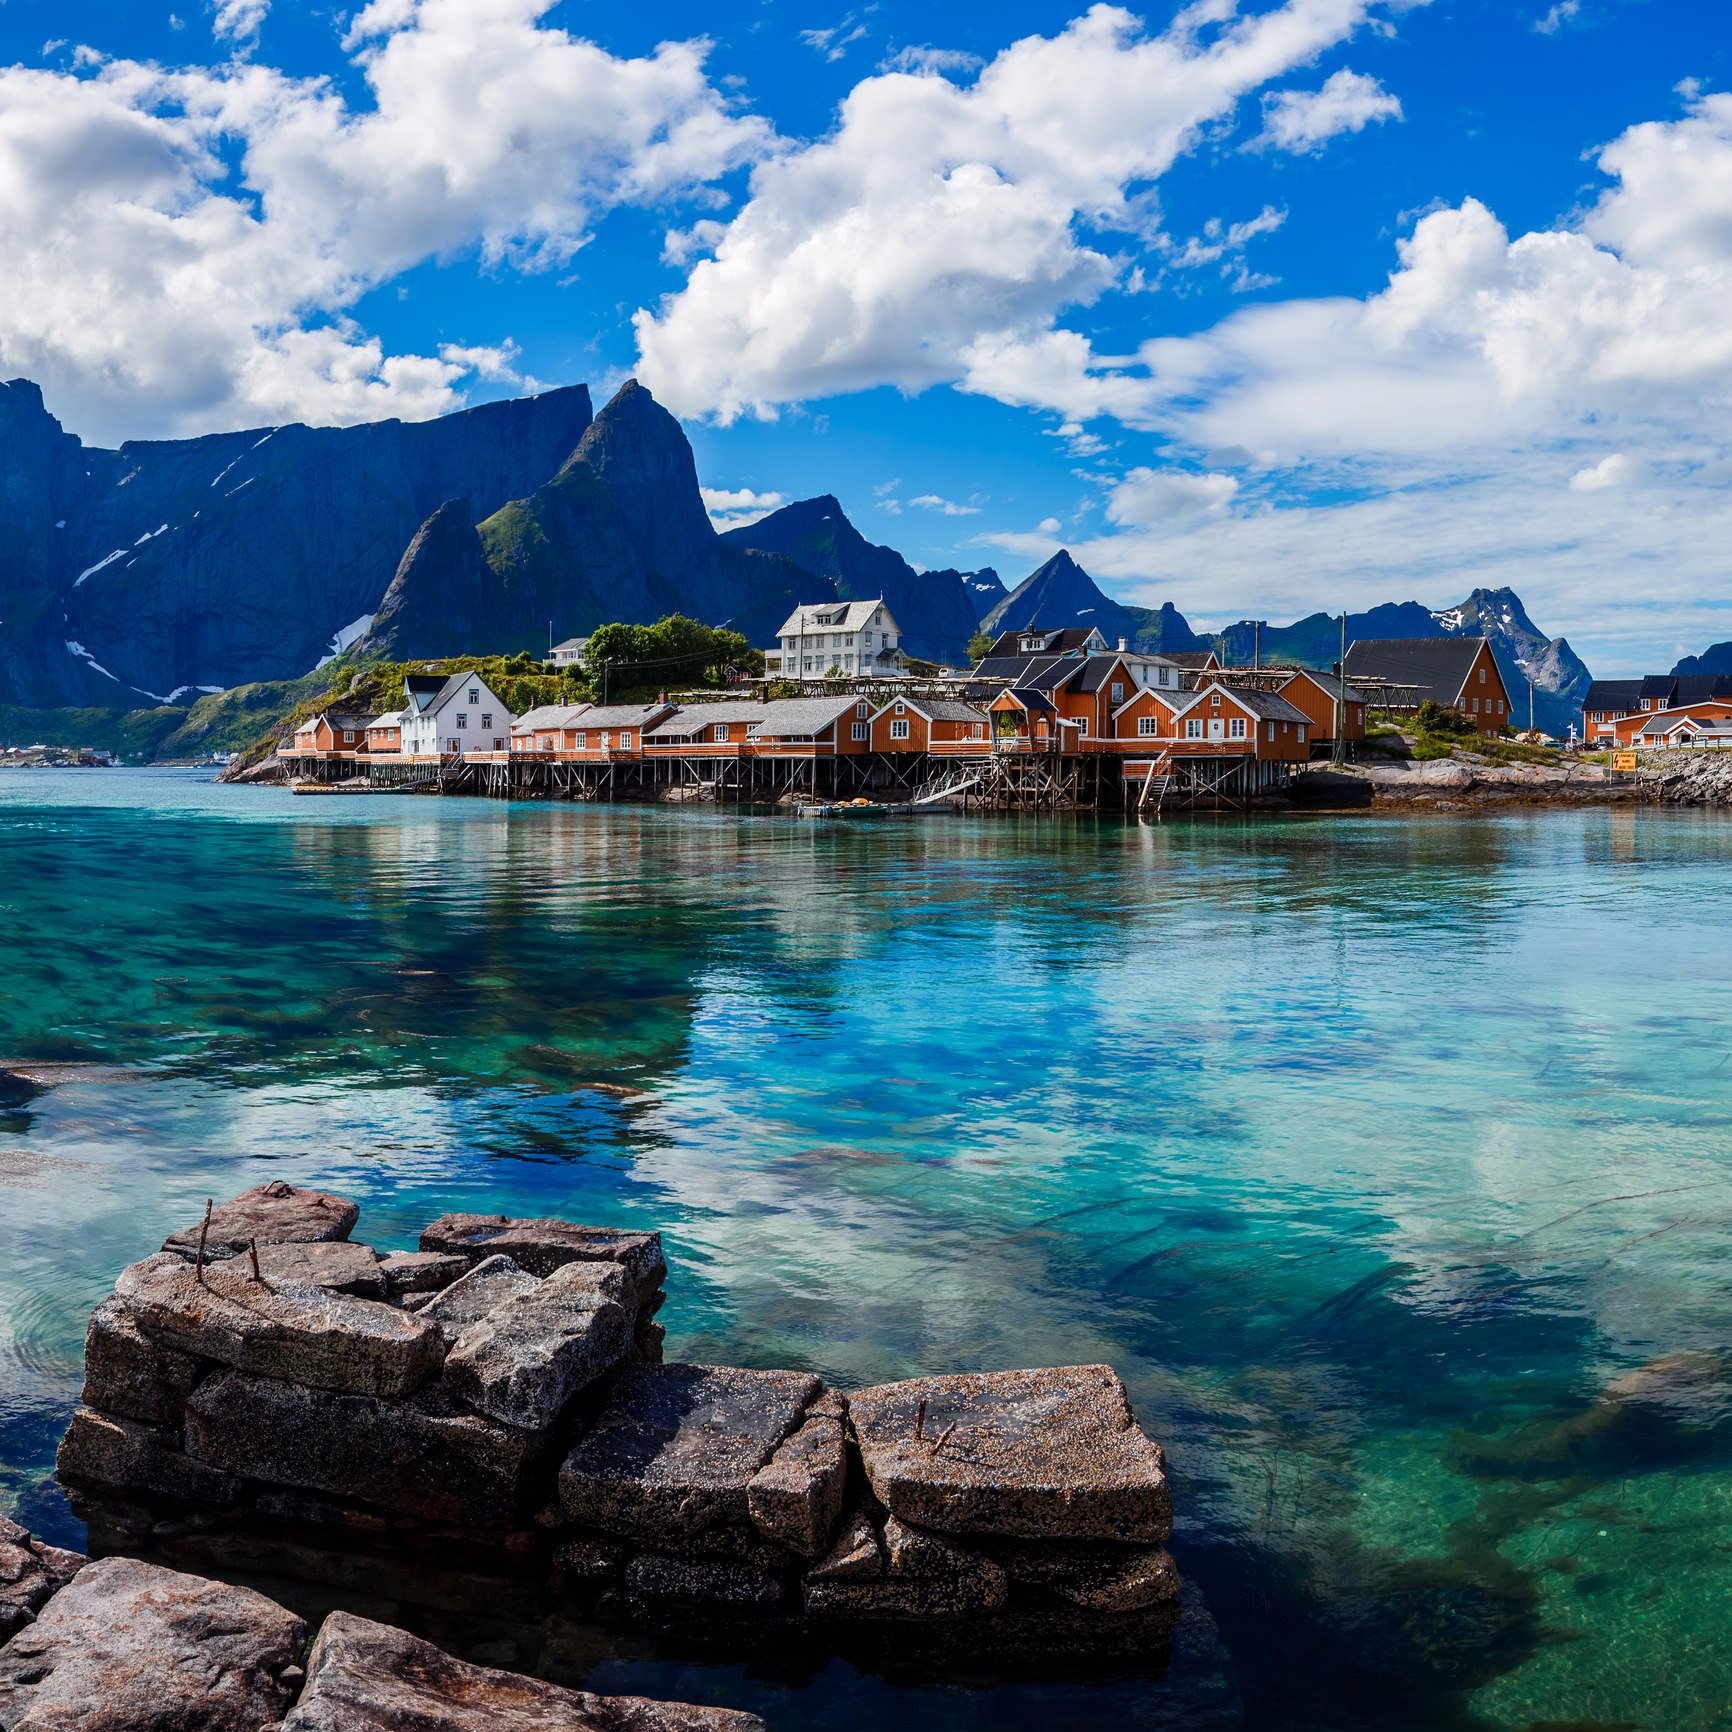
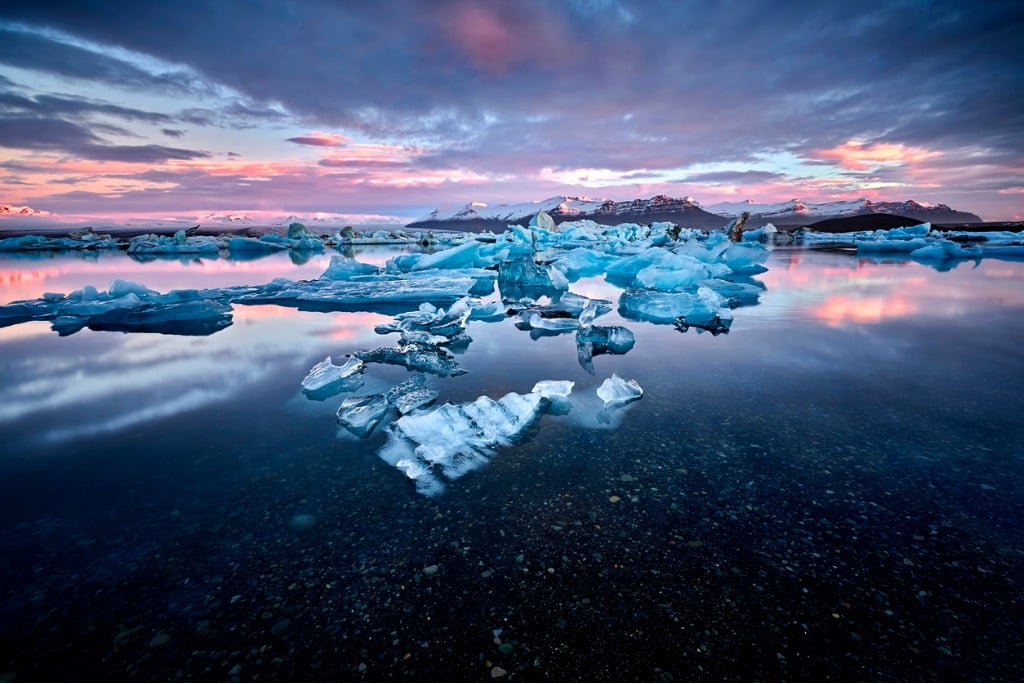
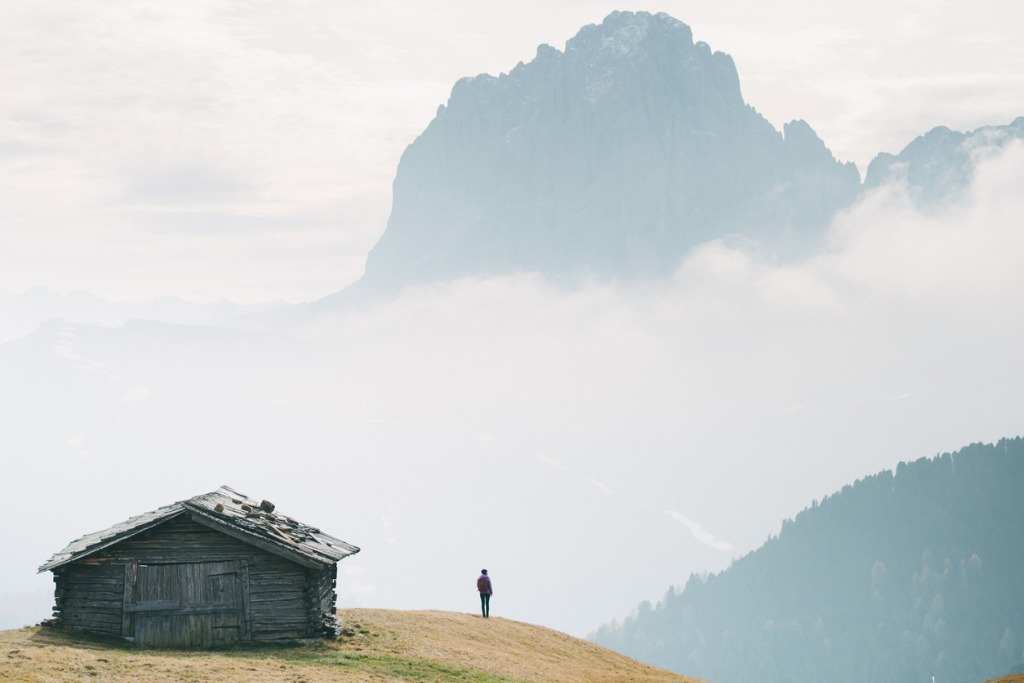
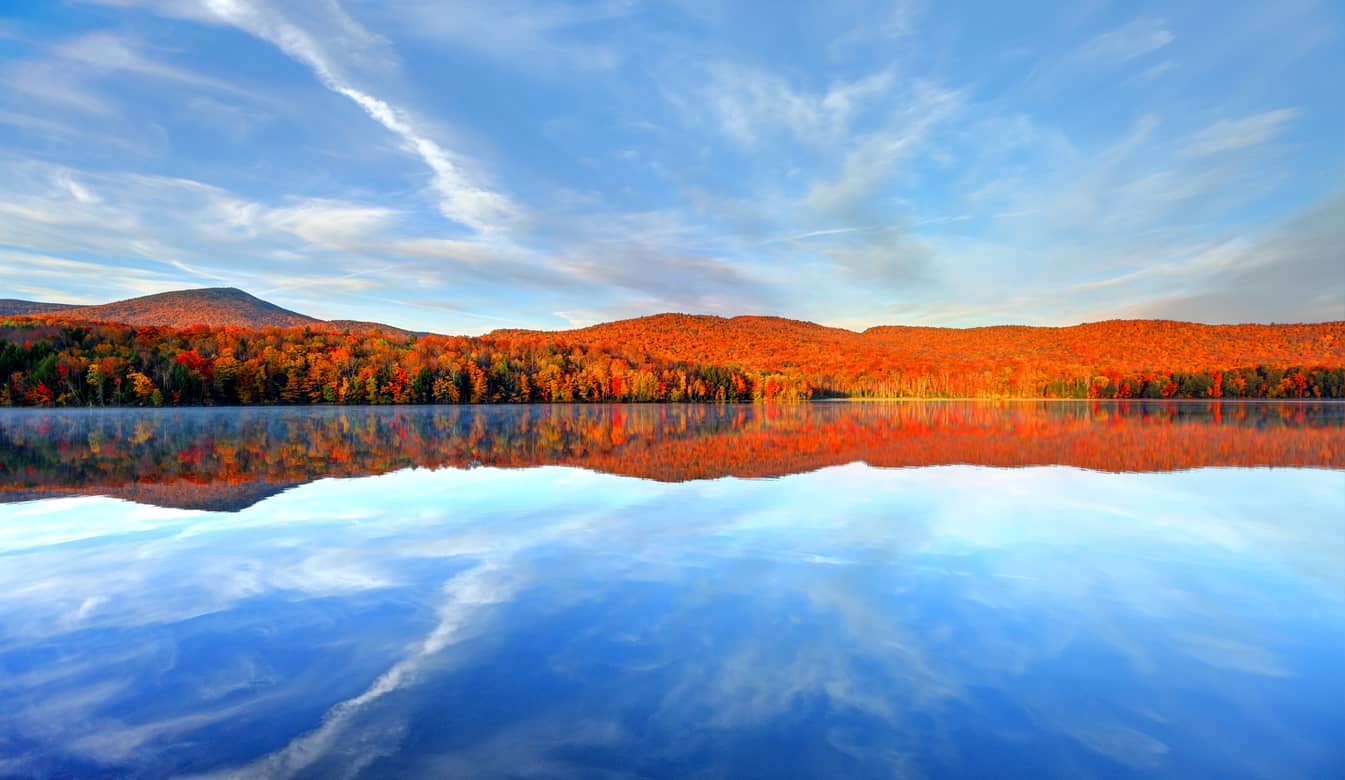
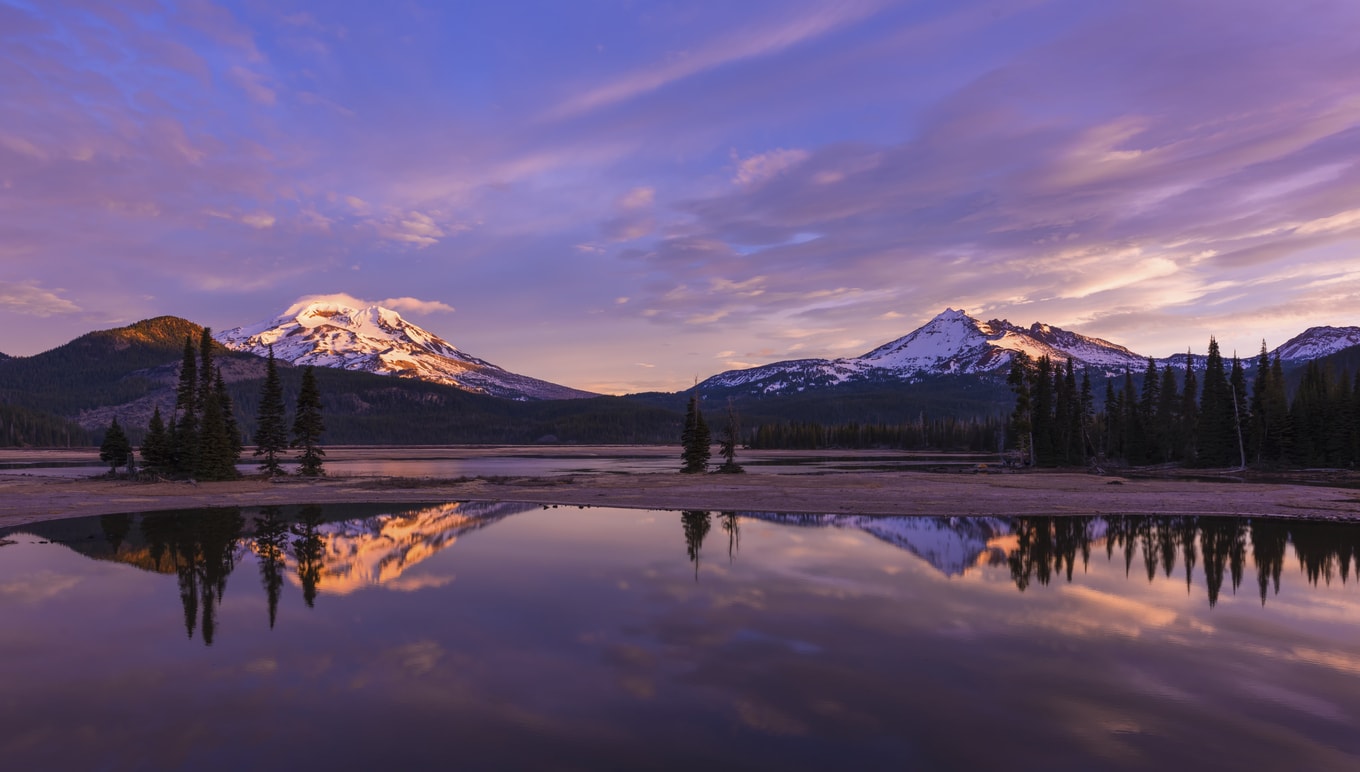
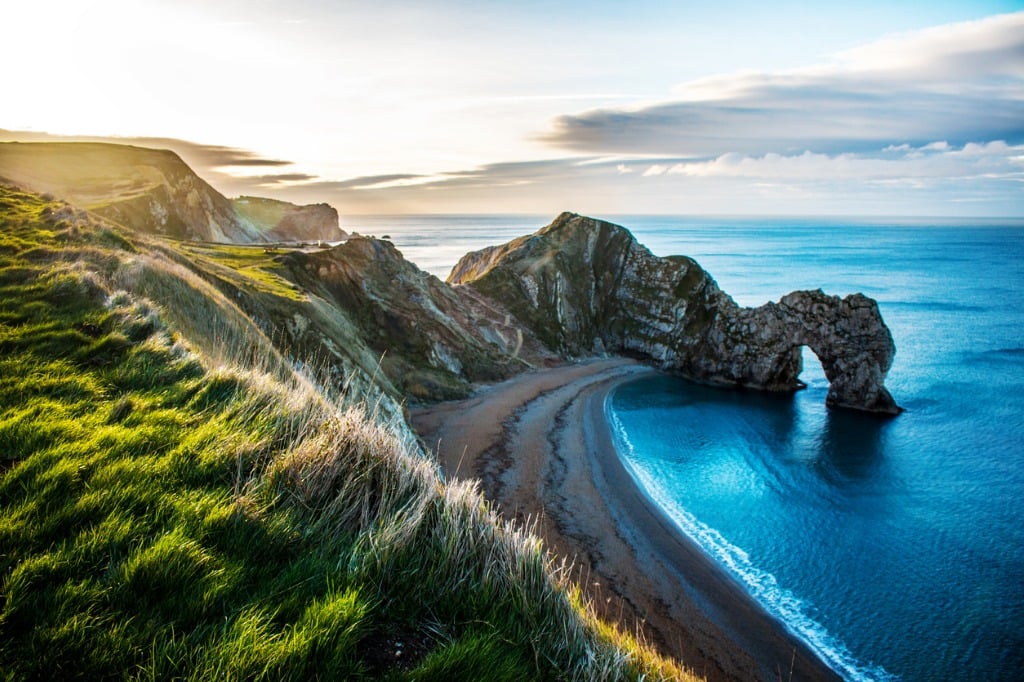
In the example above, the mountain is obviously the subject being highlighted, and it’s highlighted in a very distinct way – it’s positioned right in the middle of the frame, which, even though that breaks the rule of thirds, it makes the mountain more imposing, and thus more important to the eye.
Something else to note is the tight framing on this mountain peak – we hardly have a view of its surroundings, which simplifies the composition.
In other words, don’t be afraid to bend or break photography rules if it means making the subject stronger in the shot and gets you a simplified photo.
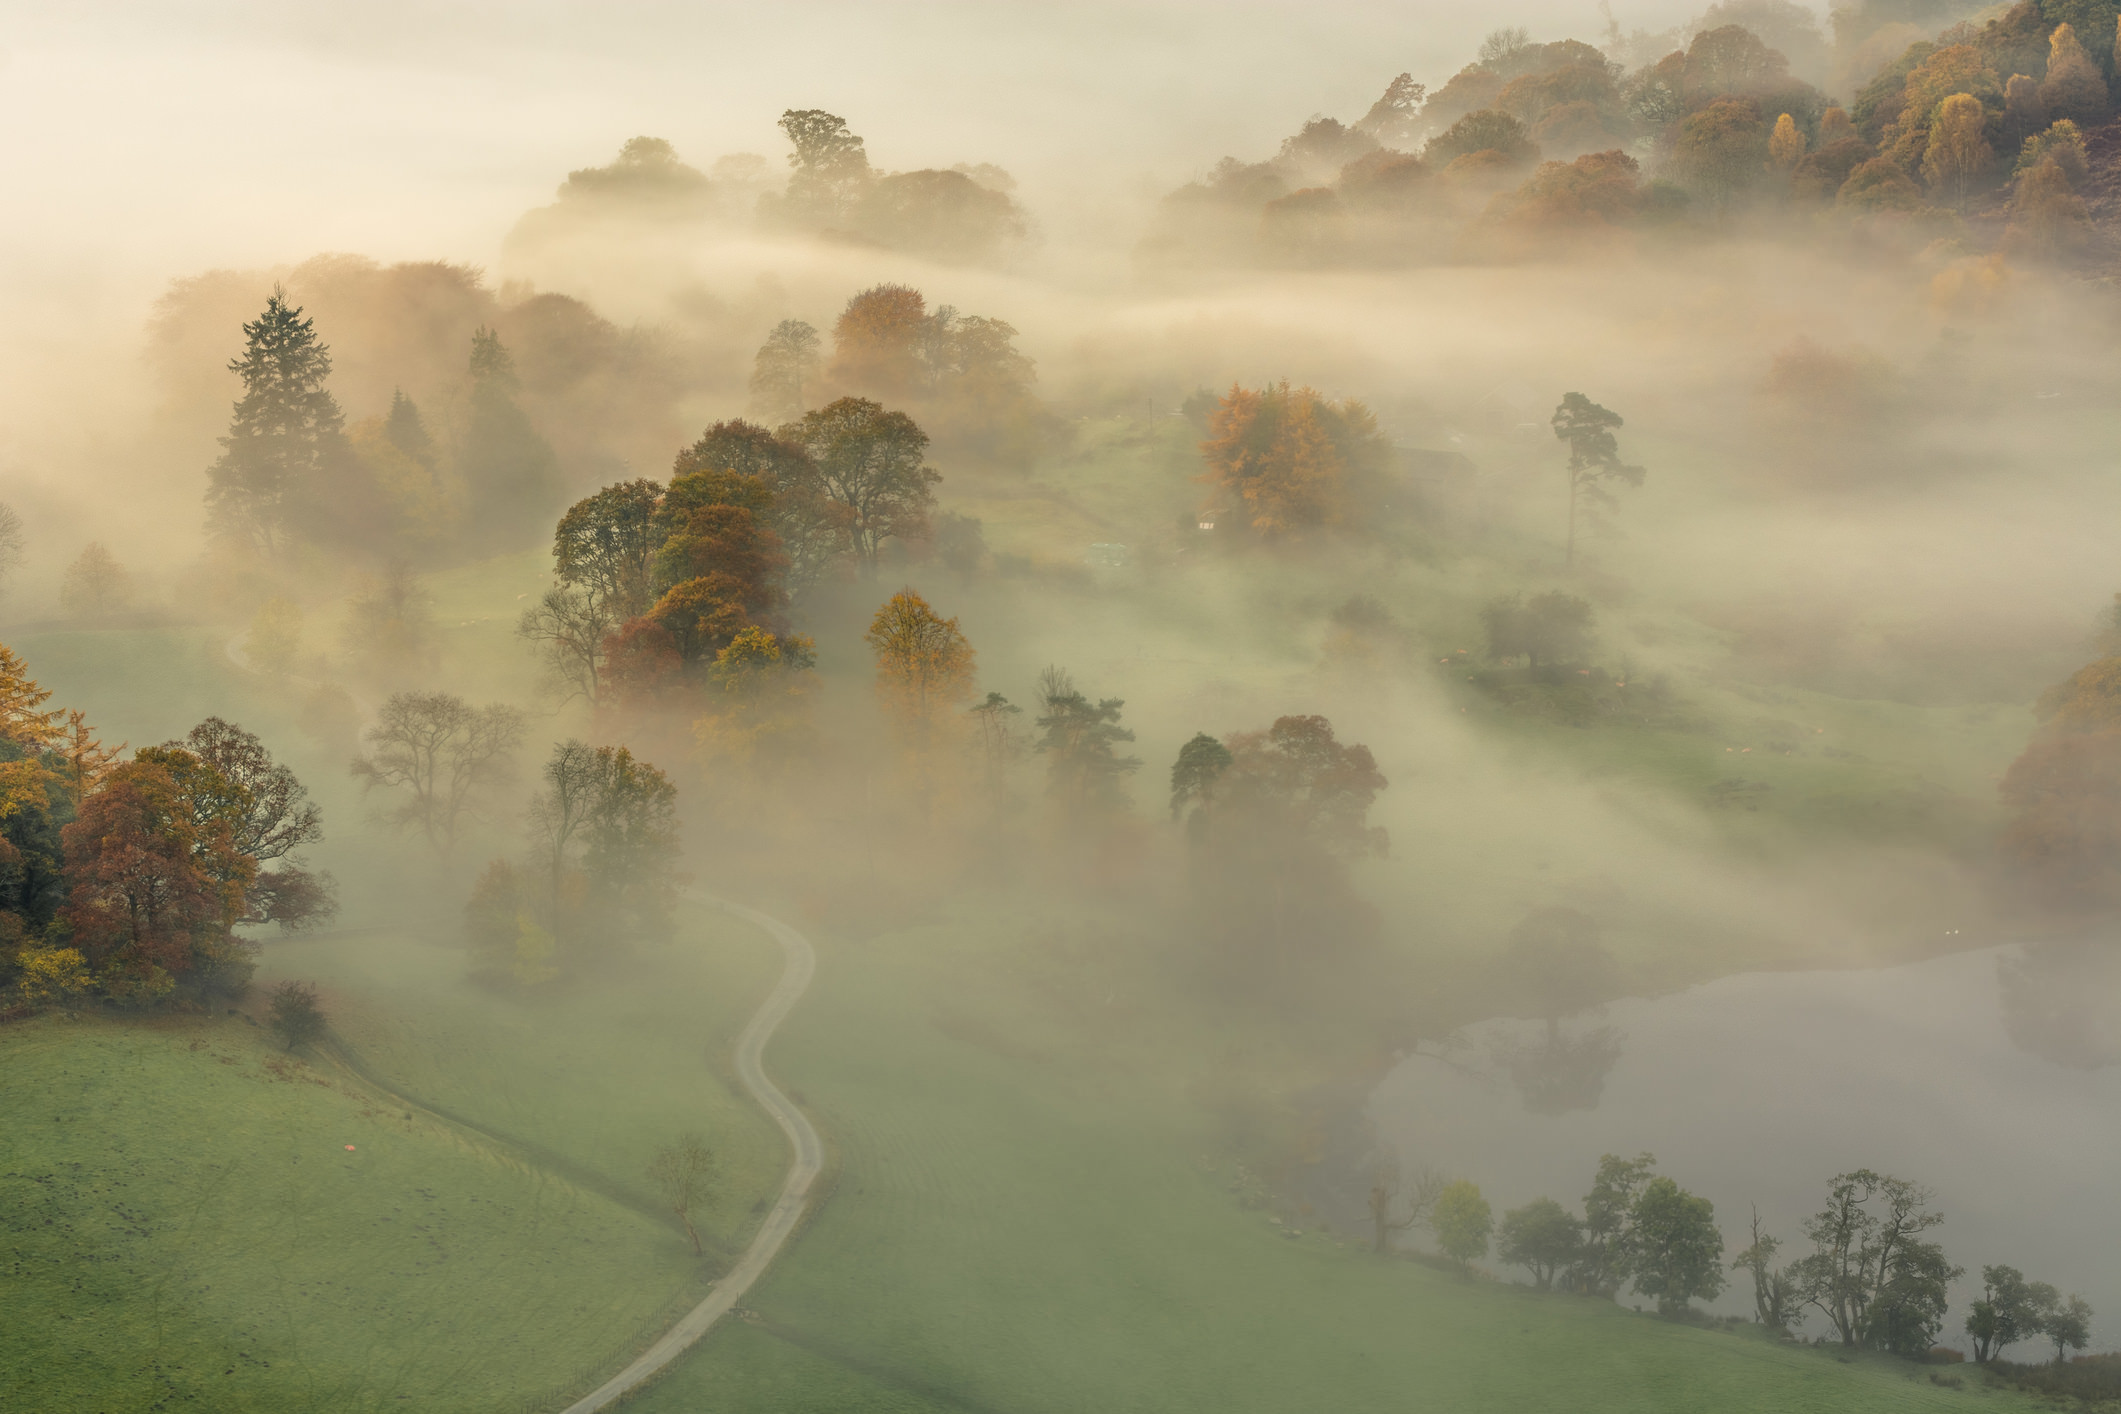
Work Your Angles
No one ever said that landscape photography is easy…
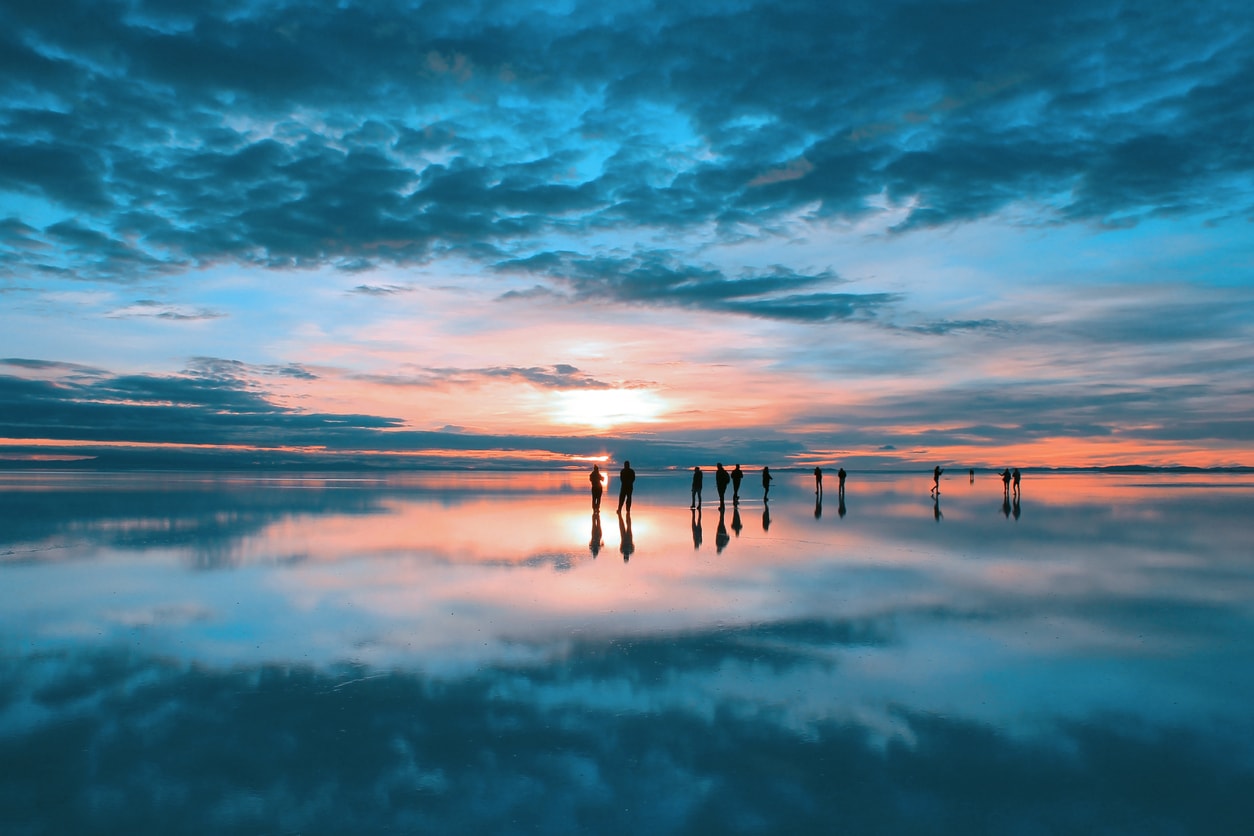
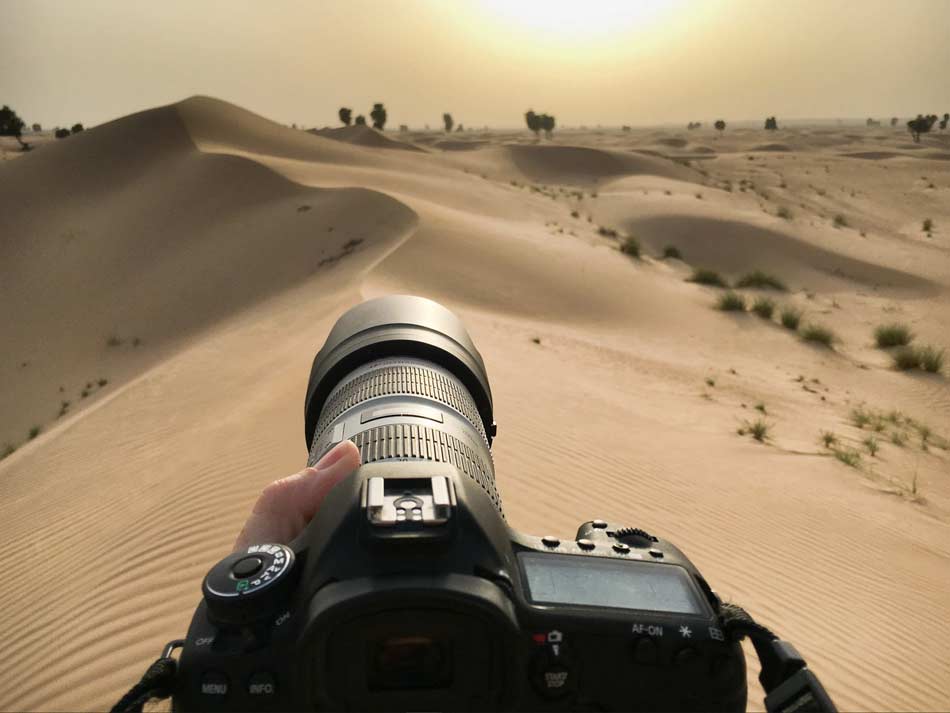
So, if you’re struggling to figure out the best way to compose awesome landscape photos, try working the angles a little bit.
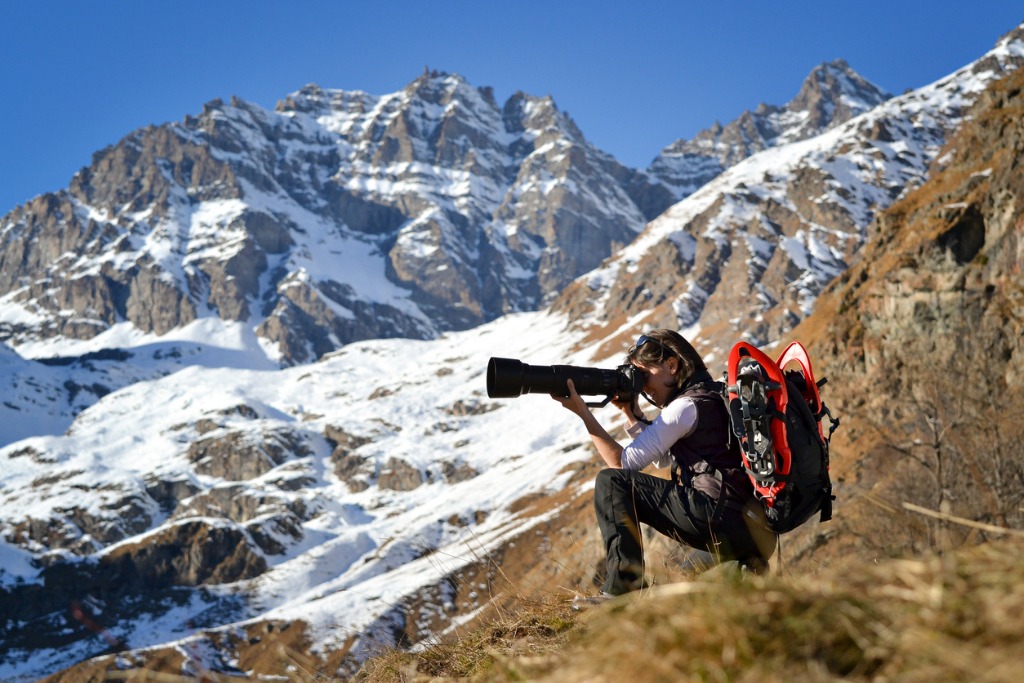
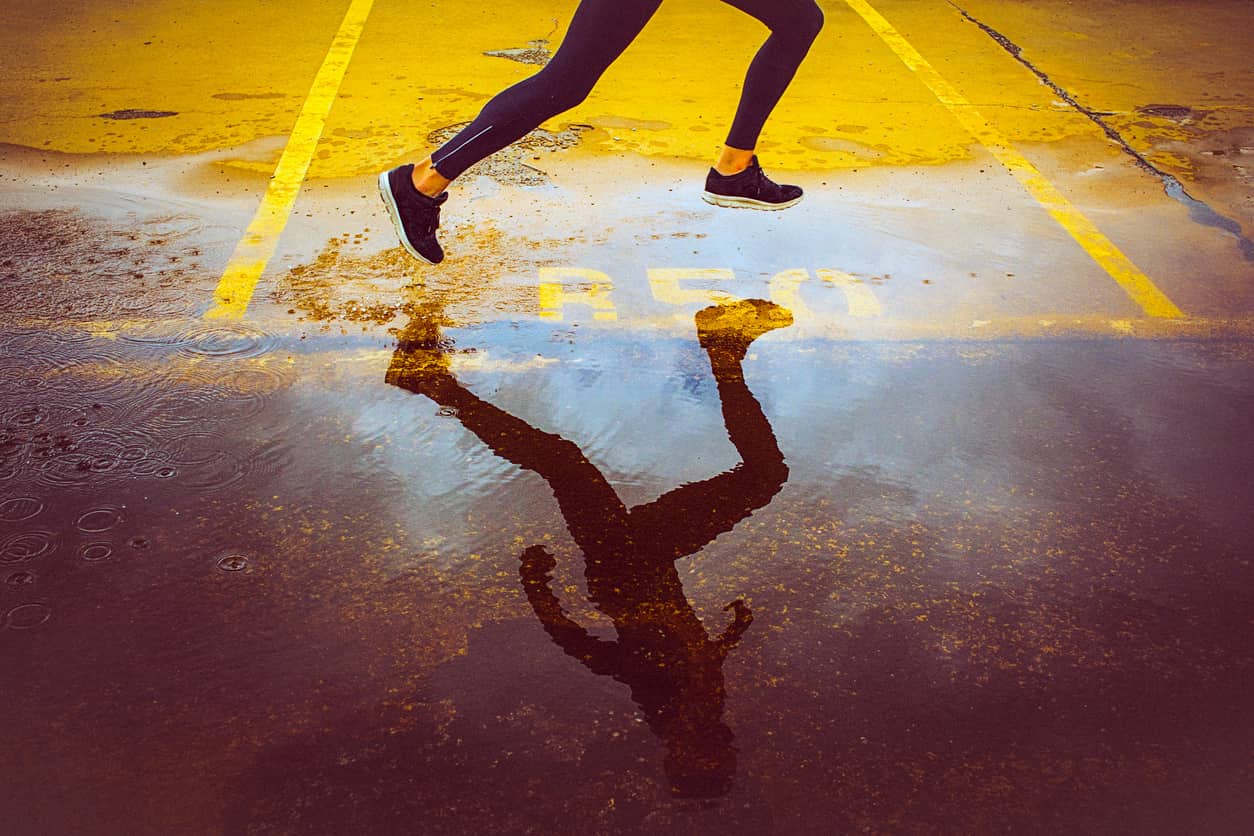
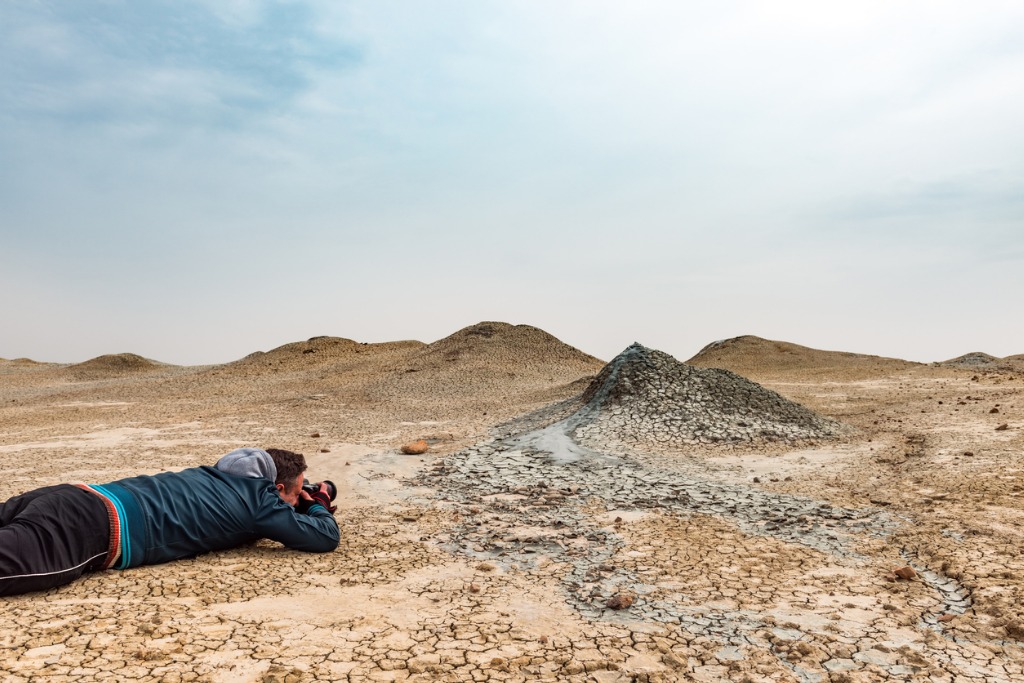
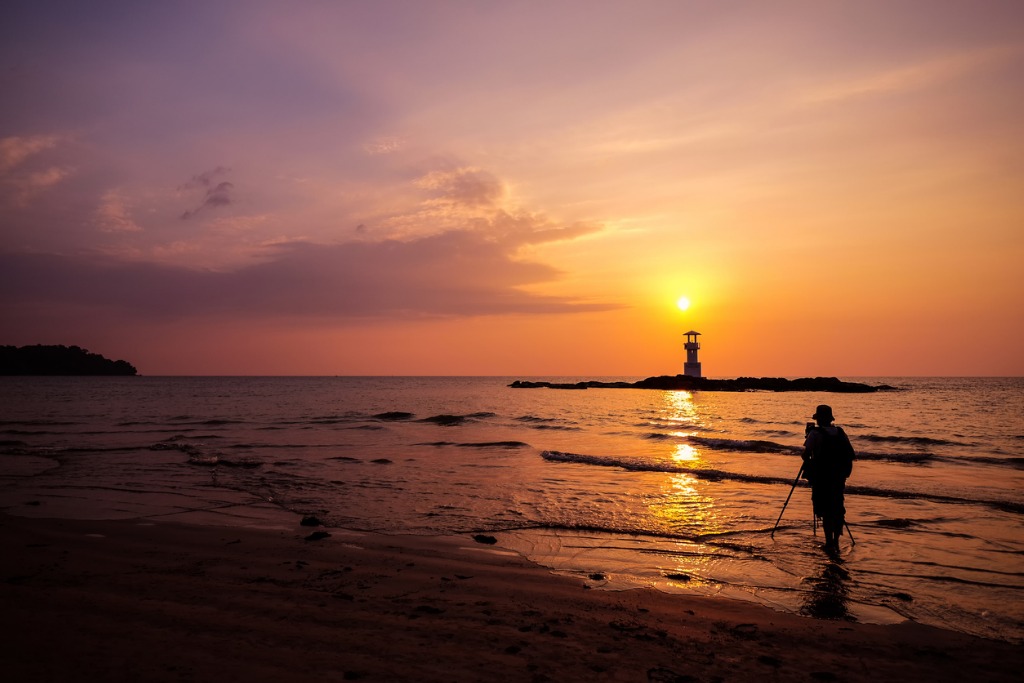
As you can see above, the photographer has plopped himself down on the ground to get a unique view of the little hill in front of him.
By doing that, he accomplishes two things:
- The hill looks larger in the shot, which as noted earlier helps the viewer identify it as the primary subject.
- The view from ground-level gives the viewer a unique perspective on the landscape, which, again, catches the viewer’s eye.
Being willing to get down low or up high or up close will help you find ways to simplify the composition and compose a more compelling image.
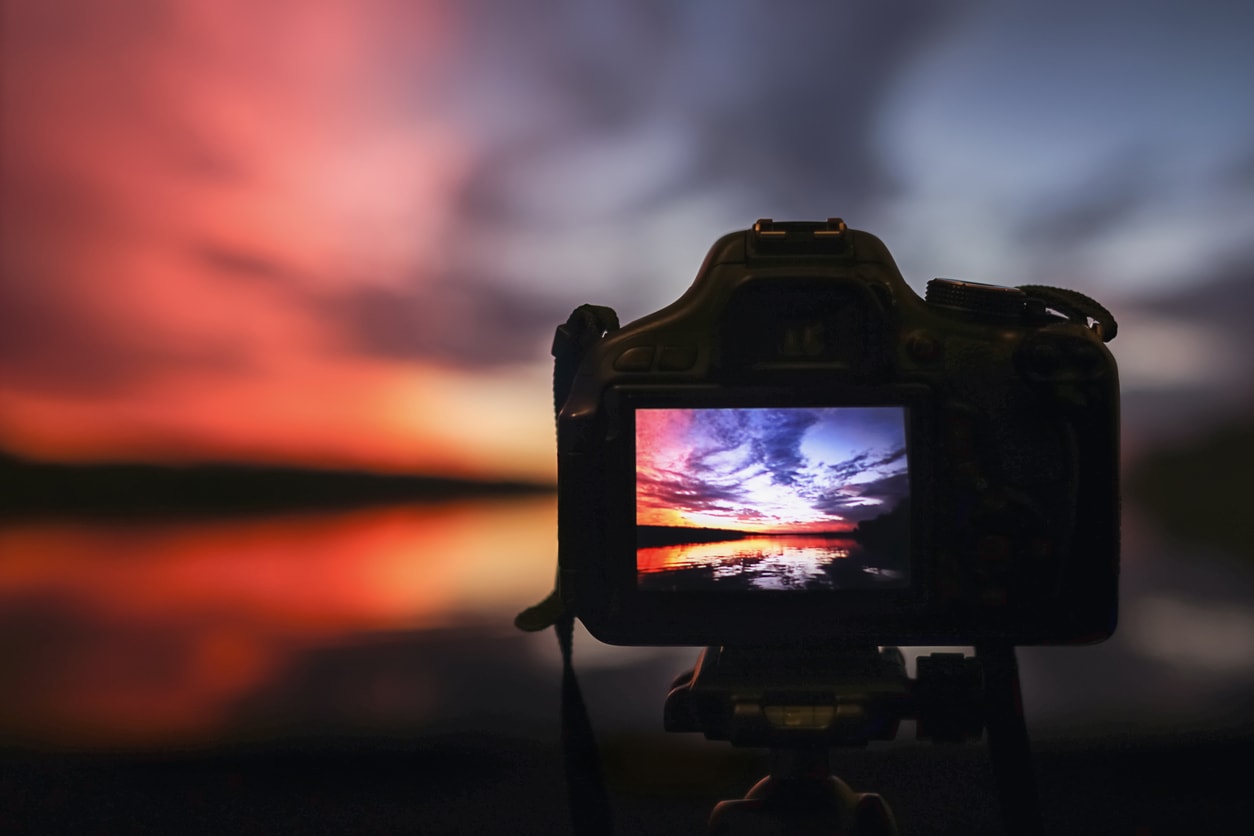
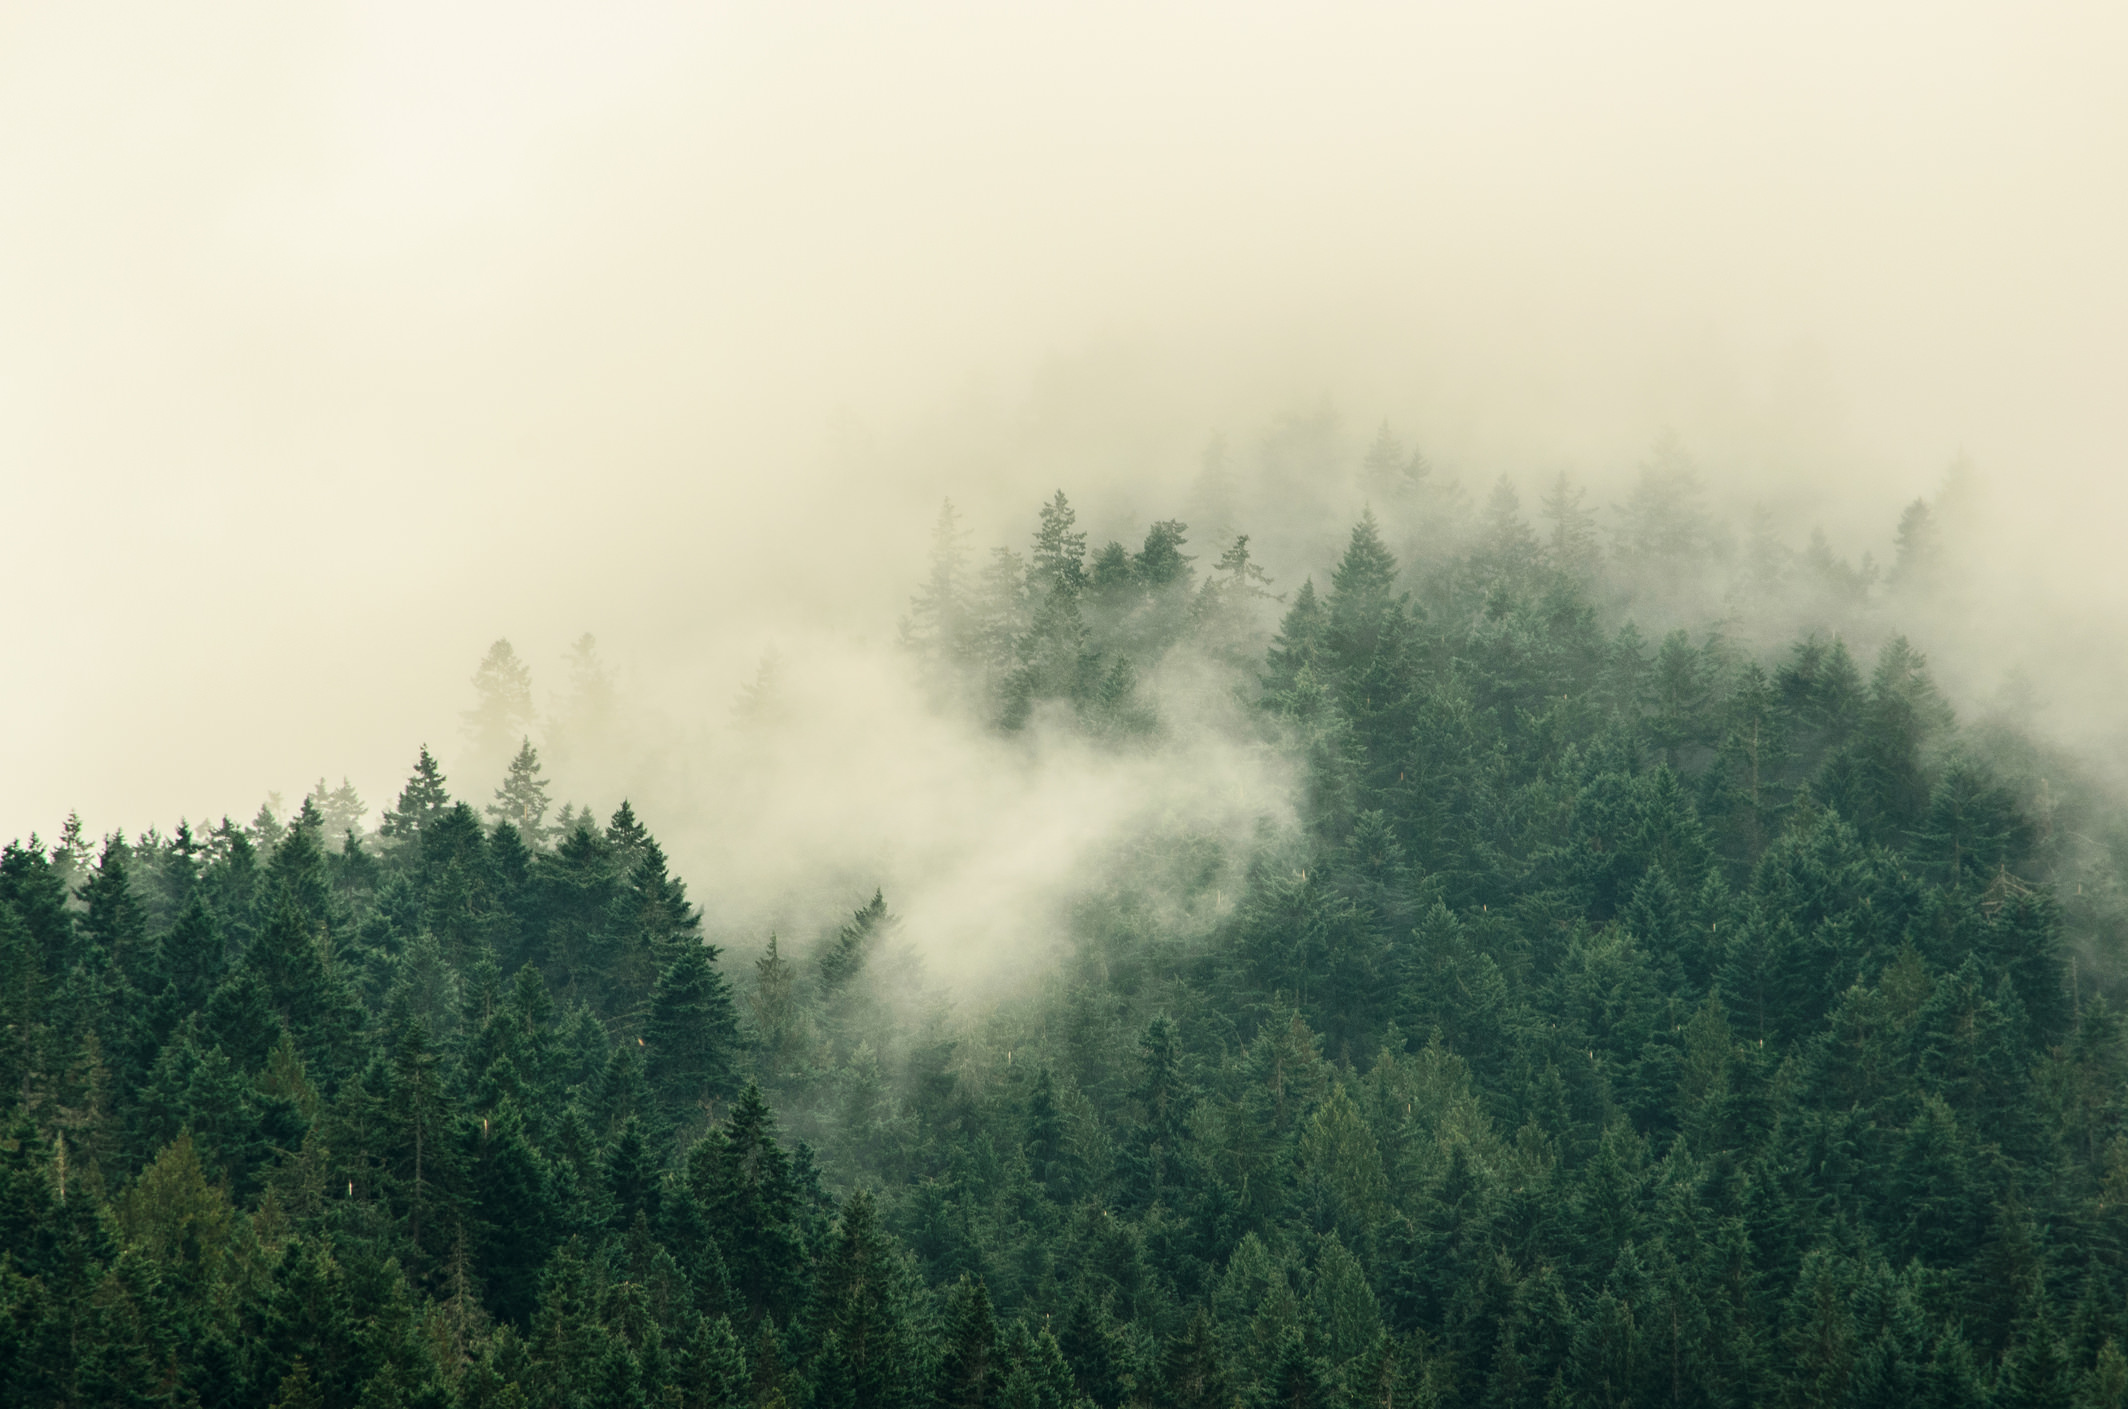
Look for Opportunities to Highlight Light
Photography is all about hunting good light. If you can find good light and capture it effectively, the likelihood that you end up with a decent shot is much higher.
When it comes to landscapes, different kinds of light create different kinds of moods.
Editor’s Tip: Enhance the lighting in your landscape photos by using a high-quality polarizing filter. POLARIZER help reduce glare, minimize atmospheric haze, and boost contrast in the sky, making the atmosphere a deeper blue and the clouds a brighter white. The result? A more impactful, dramatic landscape photo! I use a NiSi polarizing filter, and highly recommend it due to its excellent construction, ease of use and care, and the rock-solid reputation NiSi has built as one of the finest filter manufacturers today.
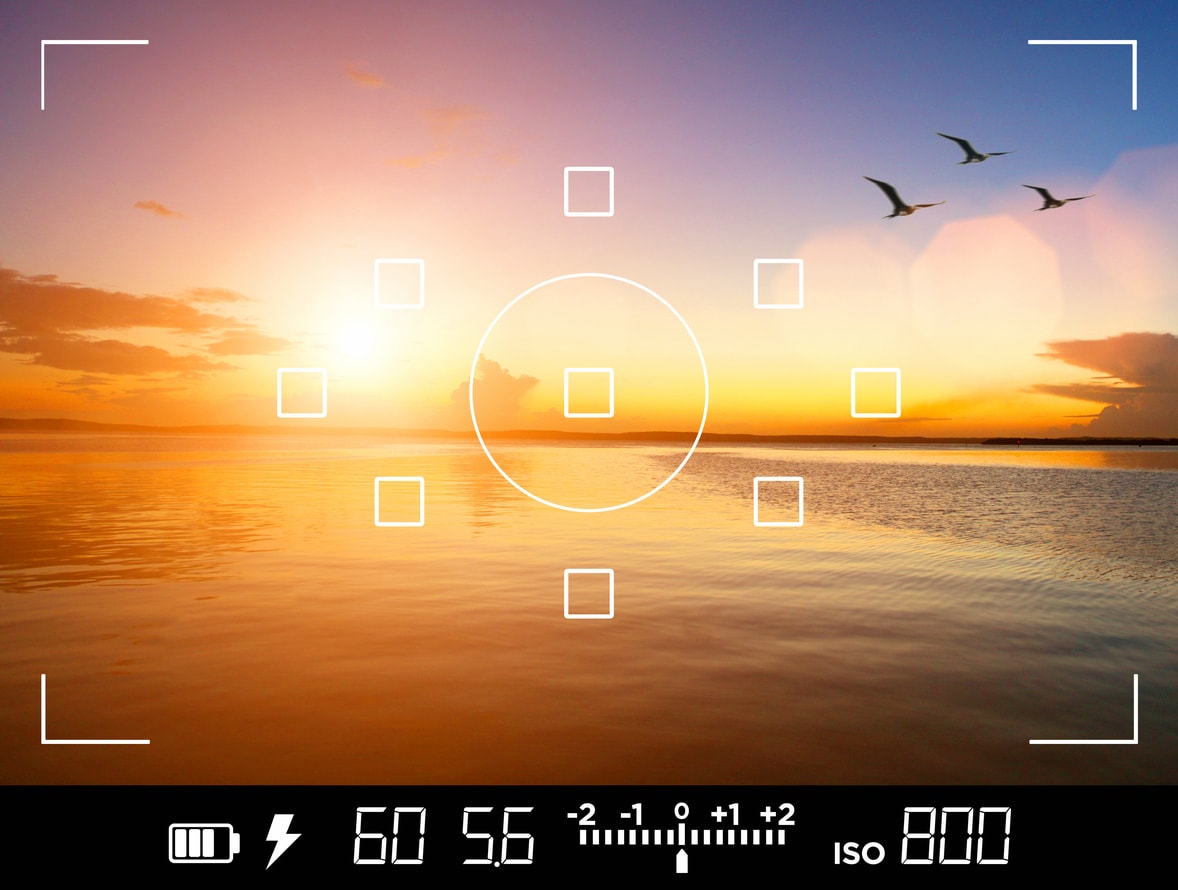
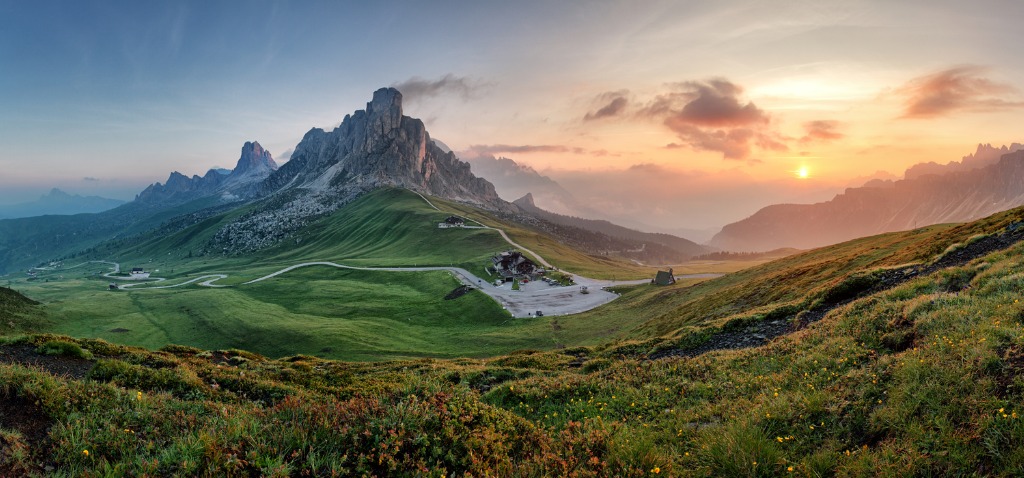
Midday lighting is harsh and direct, and tends to wash out the landscape.
Golden hour lighting, on the other hand, is warm and soft, and tends to enhance the features of the landscape by casting long shadows.
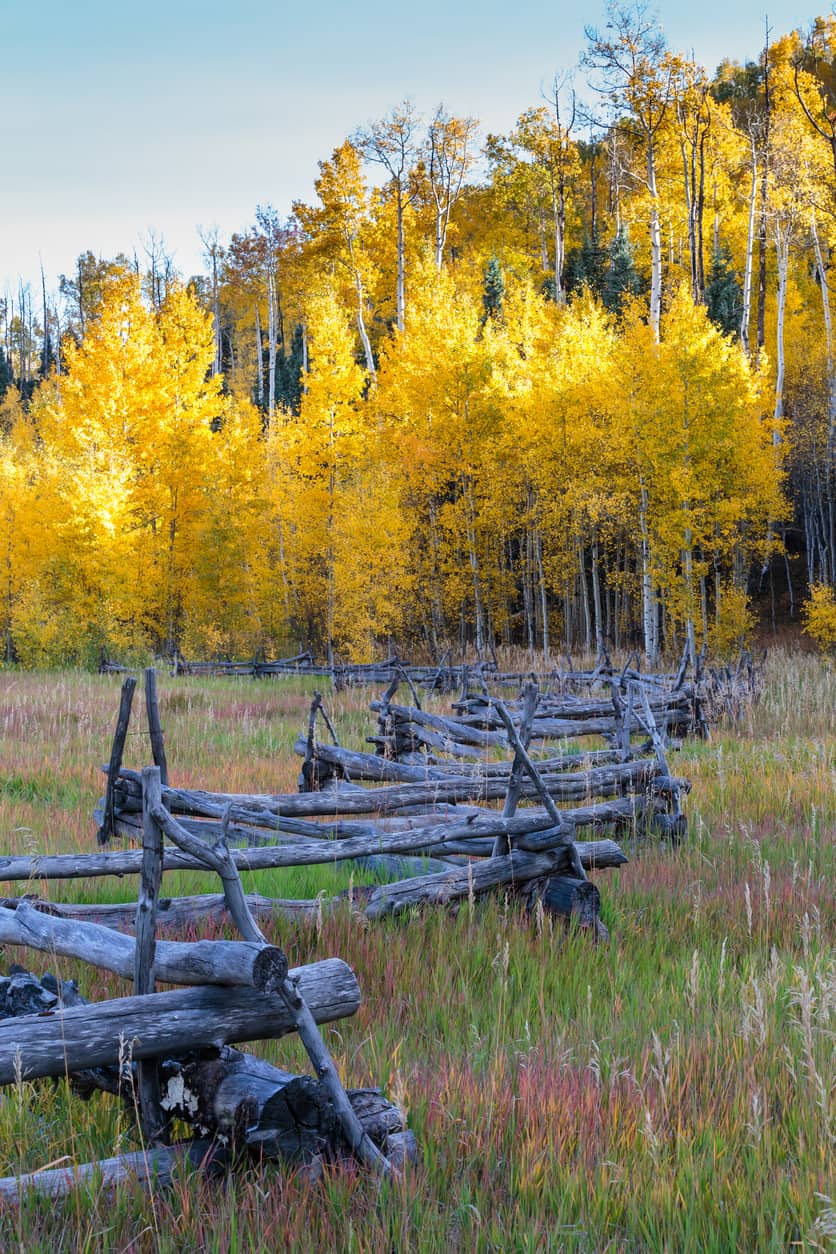
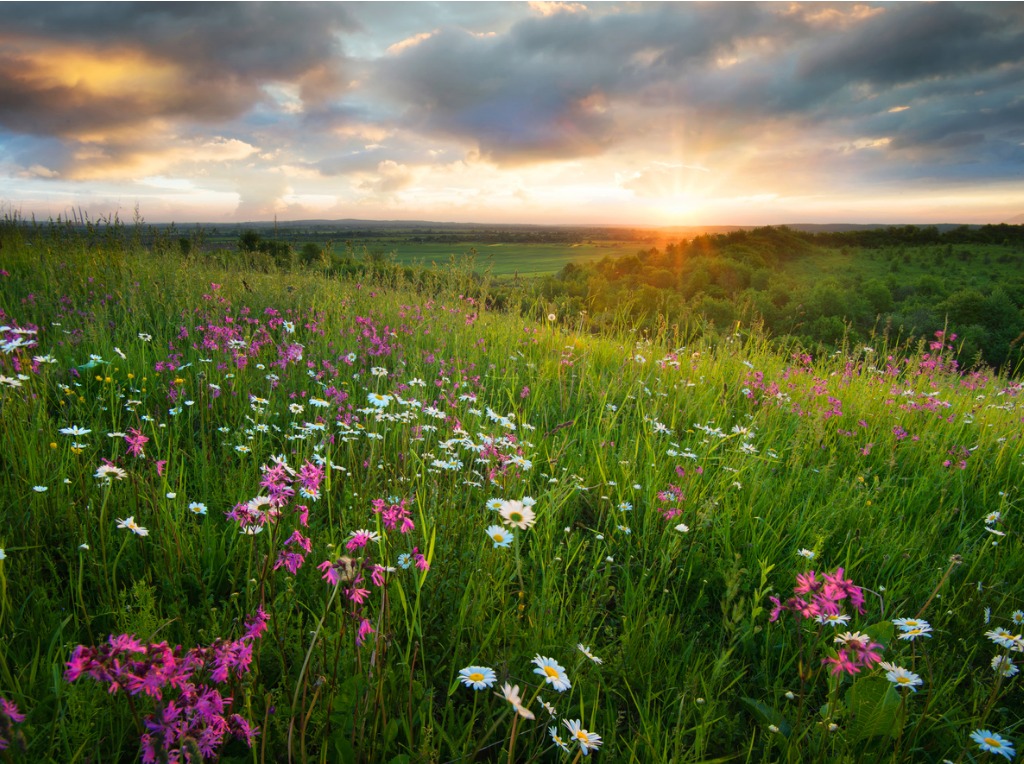
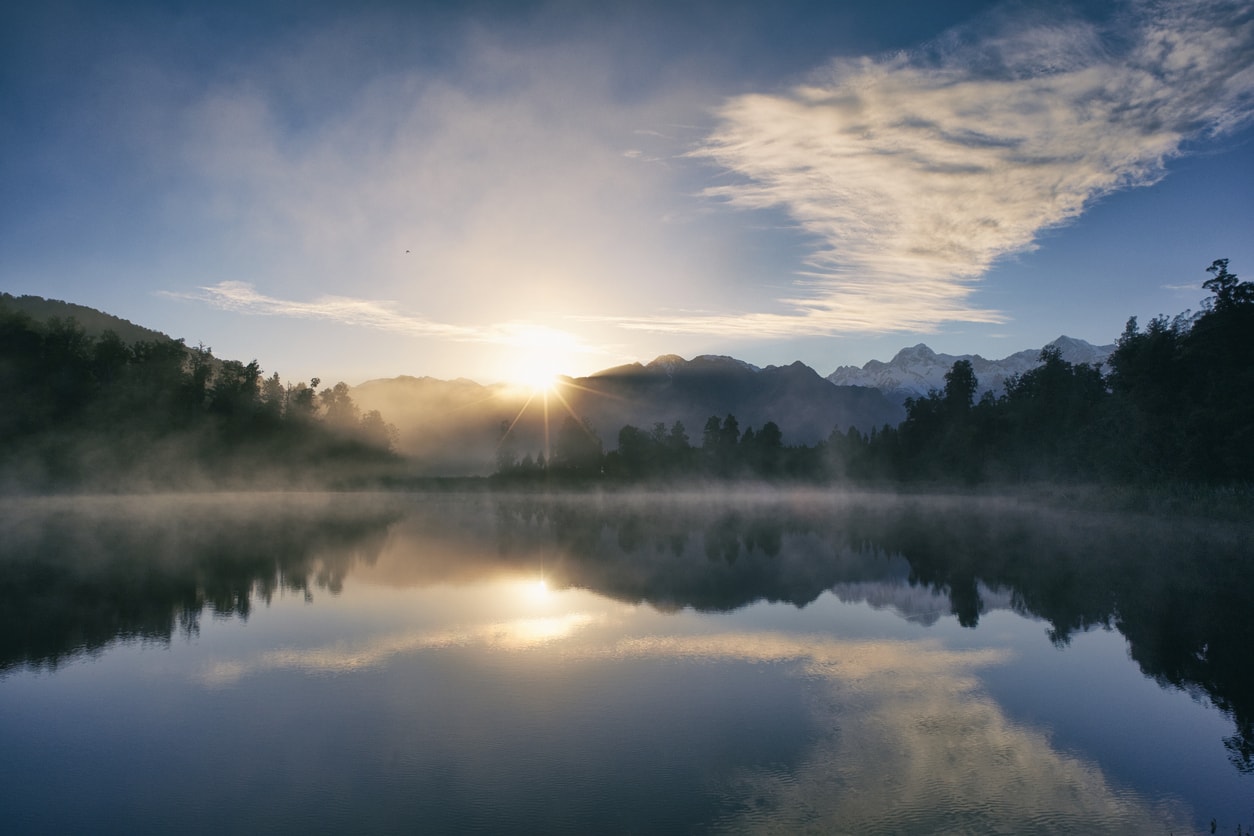
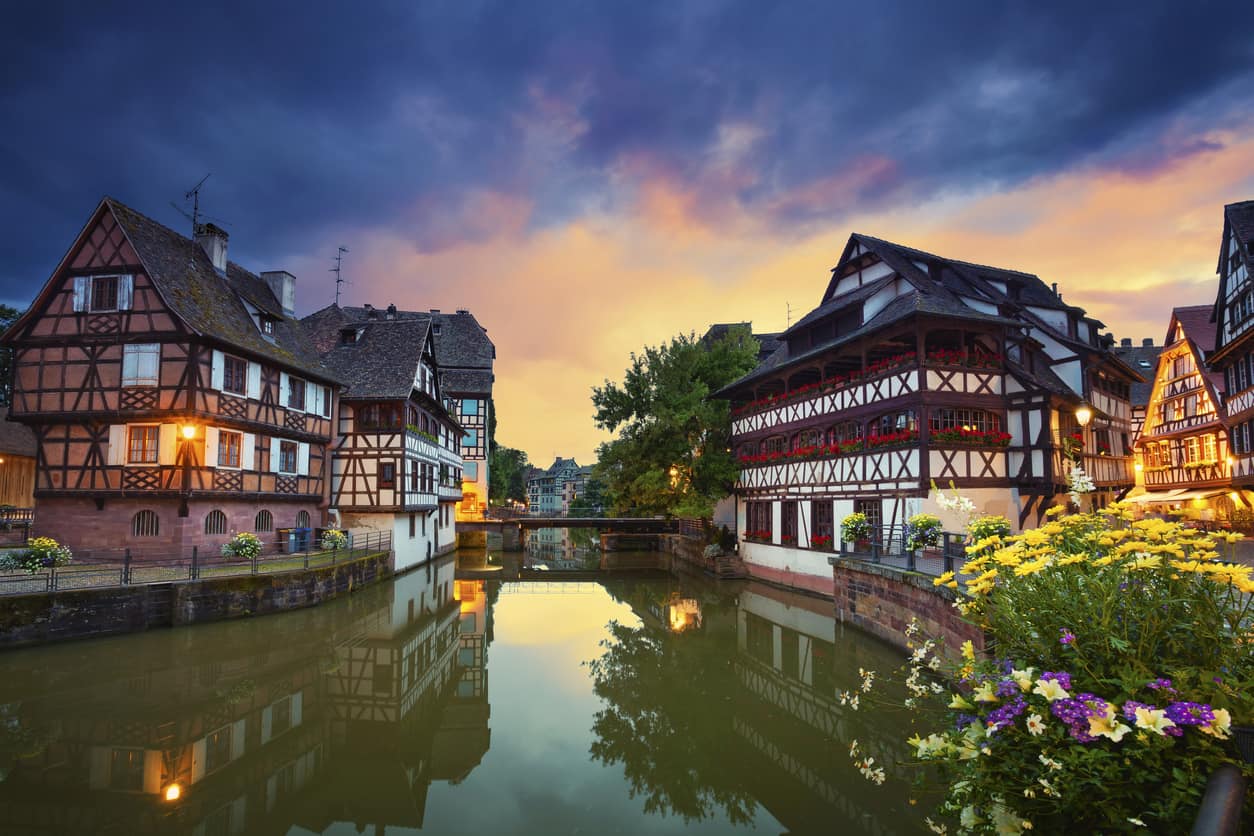
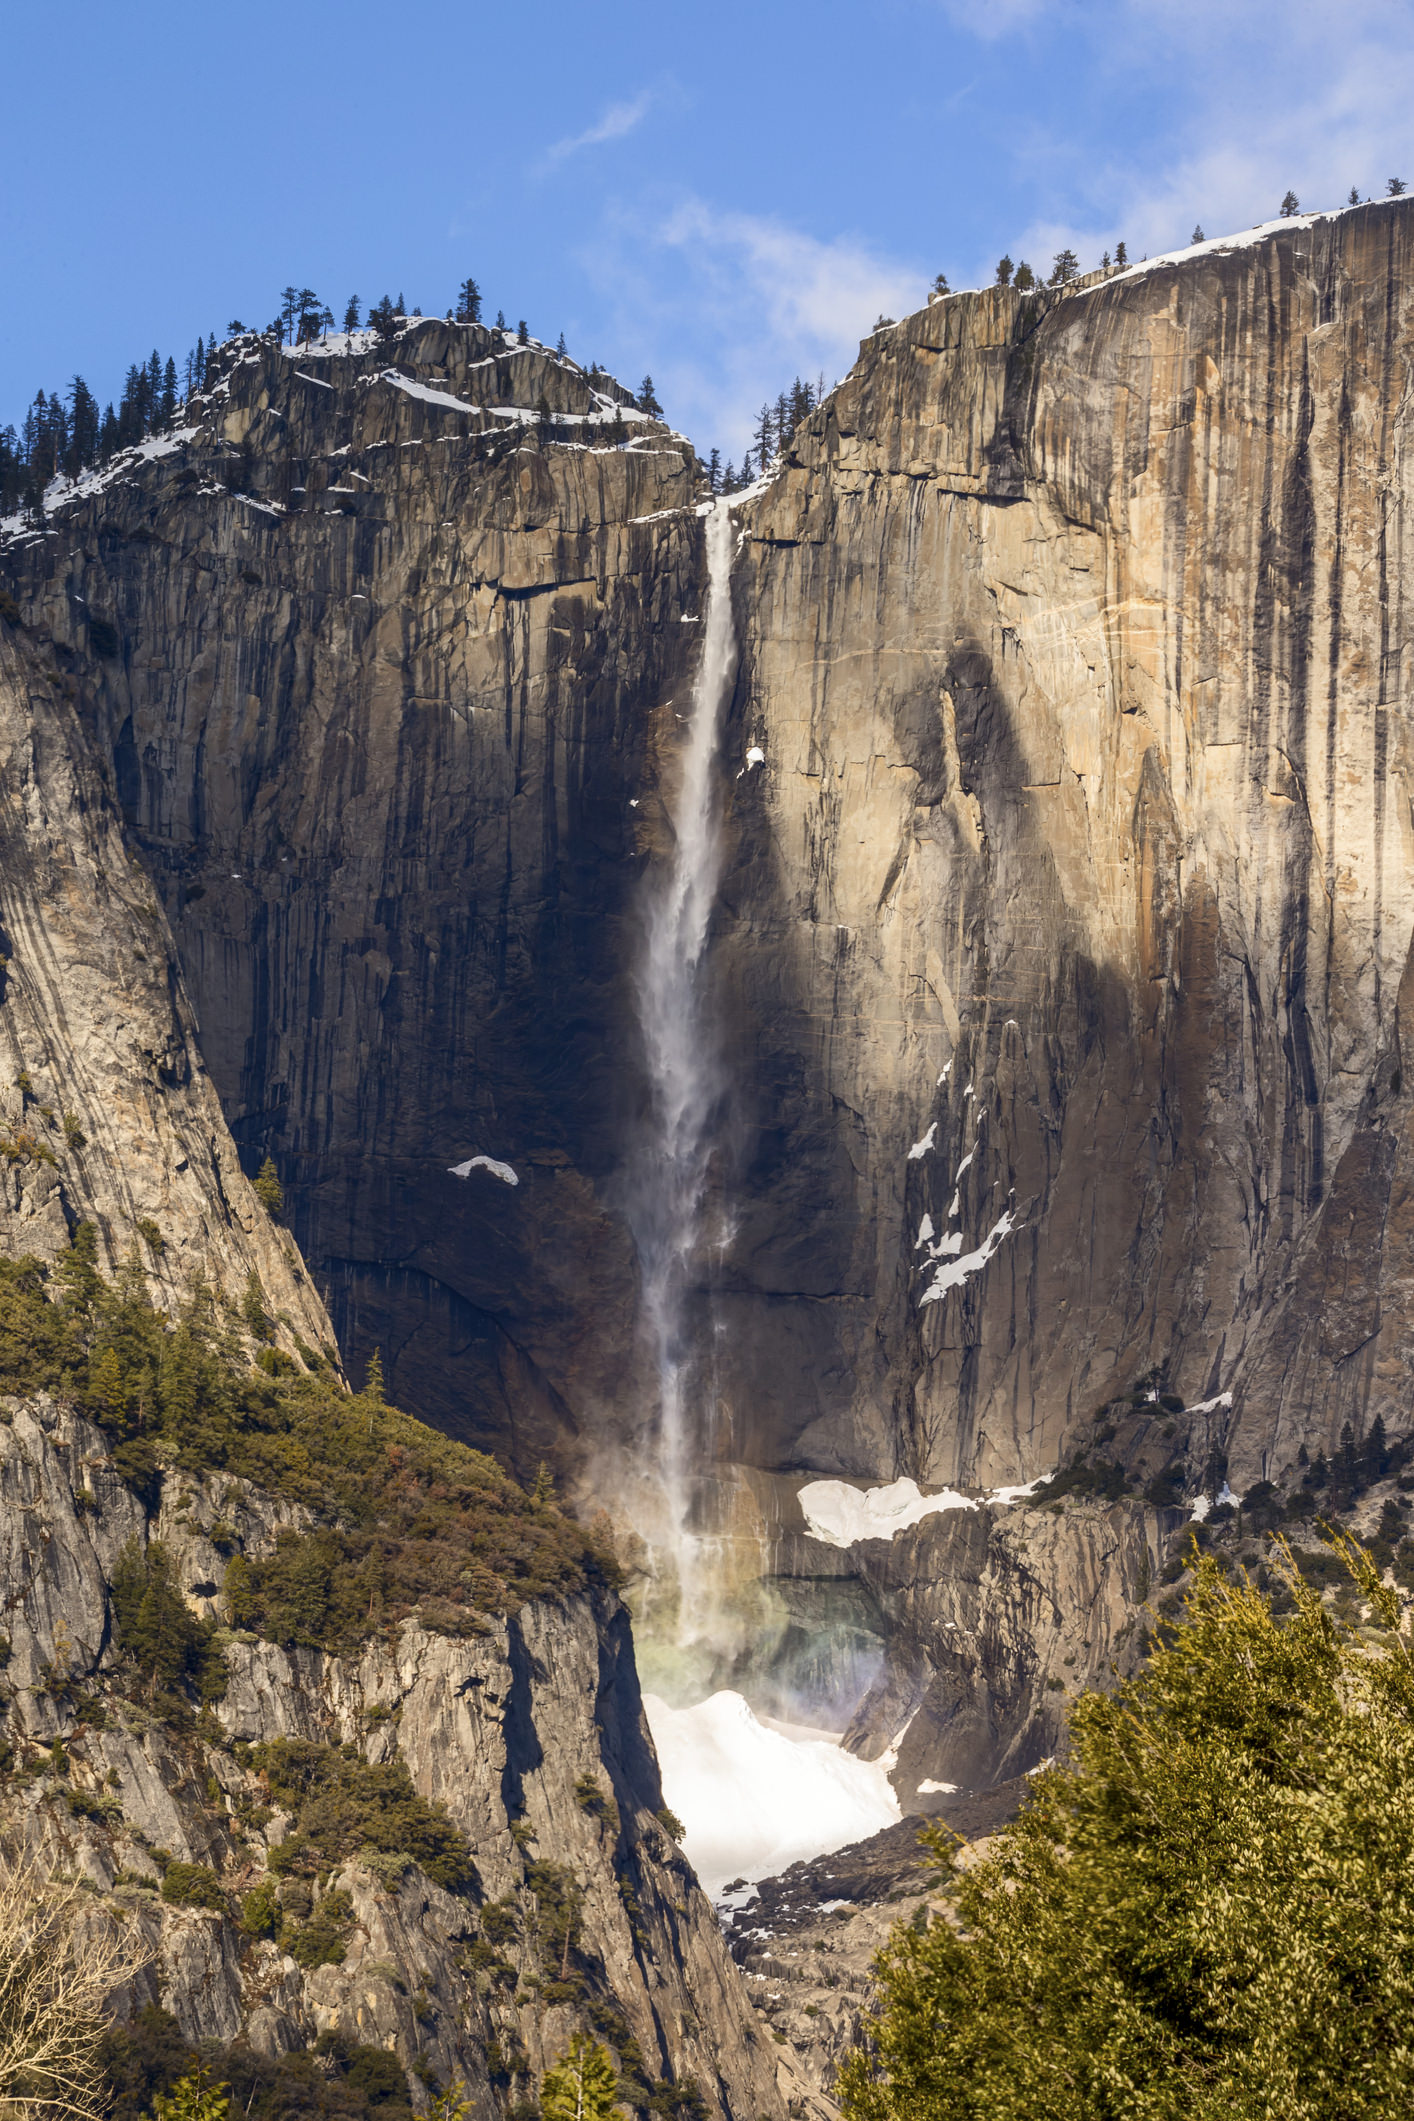
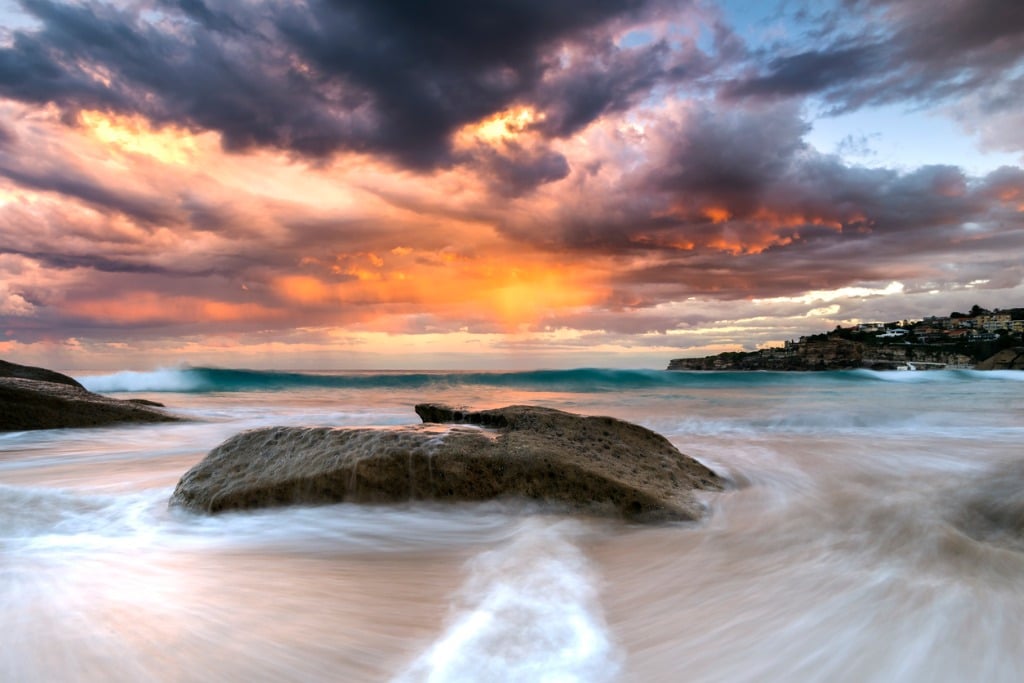
When seeking to simplify your approach, concentrate on how the light is interacting with the landscape and make that your primary subject.
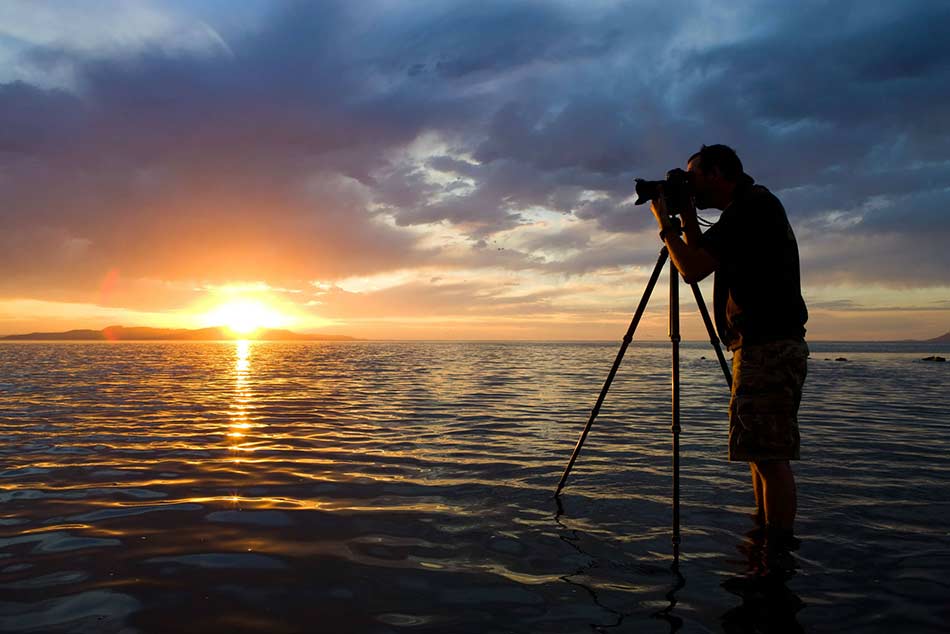
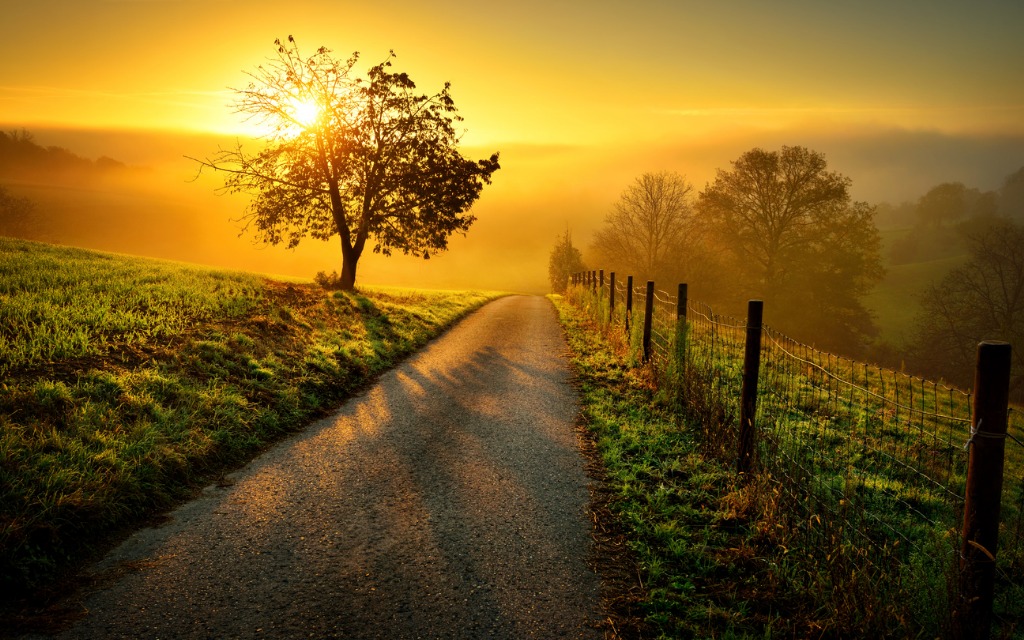
In the photo above, you can see how the setting sun is interacting with the tree – the placement of the sun behind the tree makes the tree a stronger subject.
As a consequence, the long shadows cast by the sunlight extend toward the photoshoot camera, and act as leading lines to strengthen the subject even further.
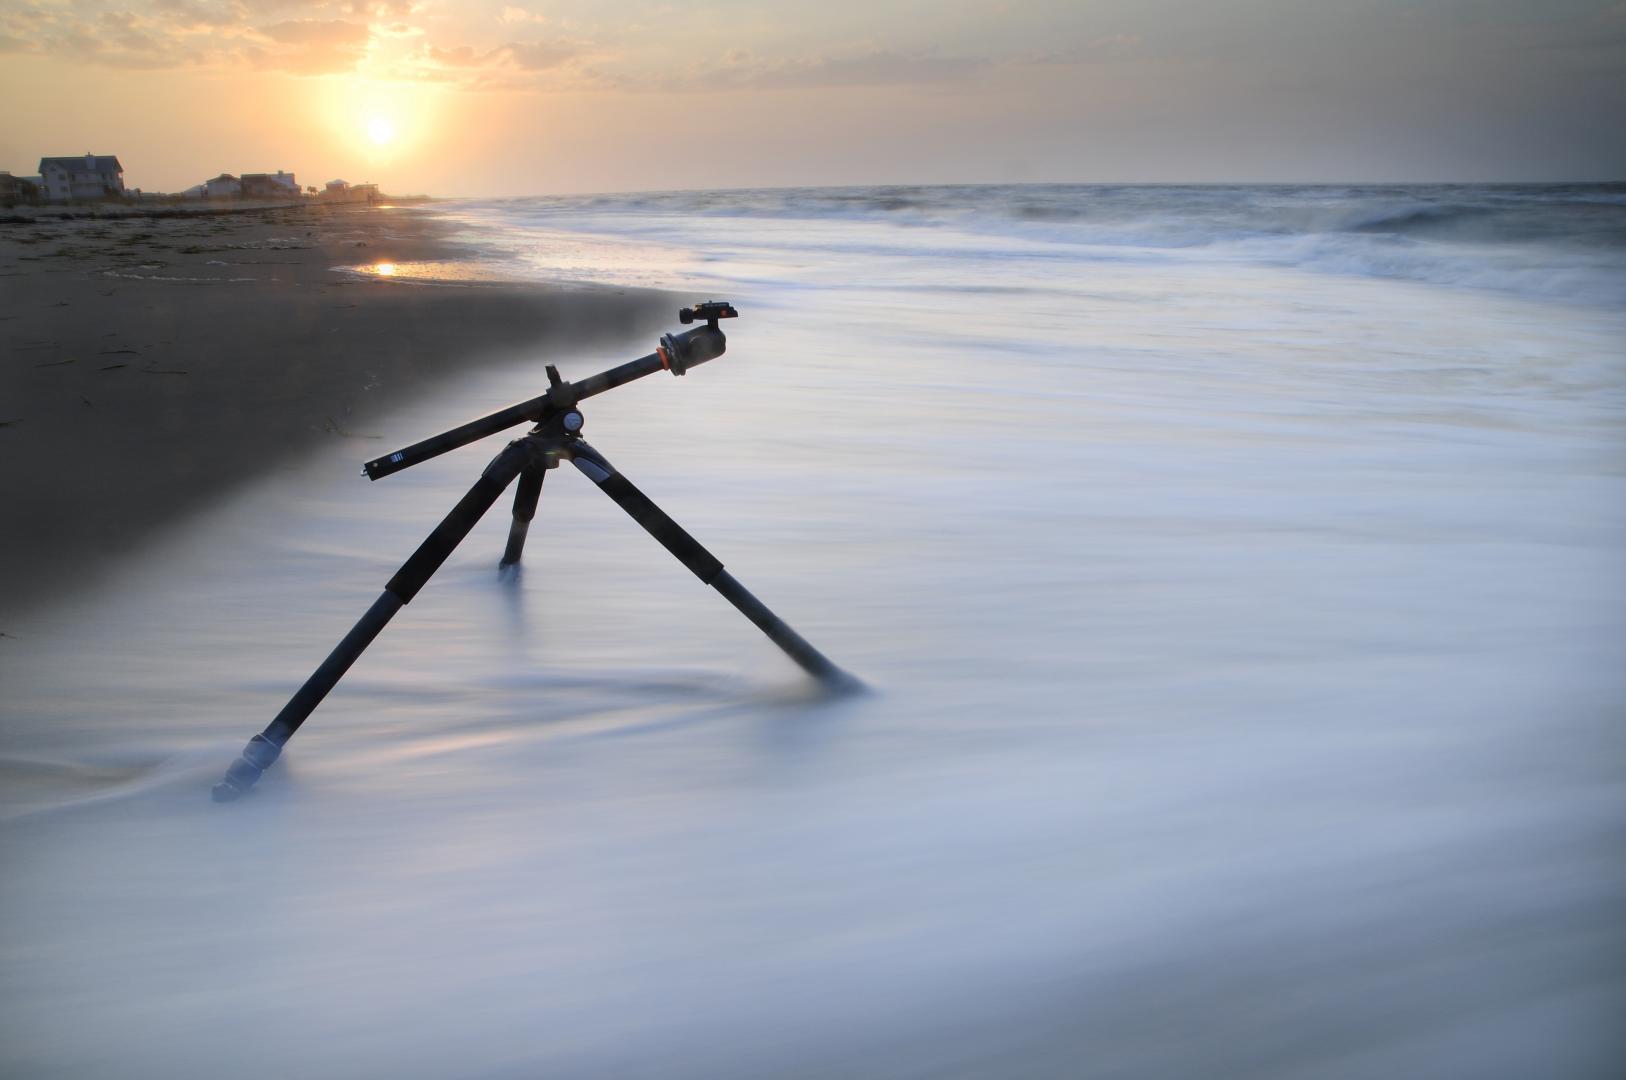
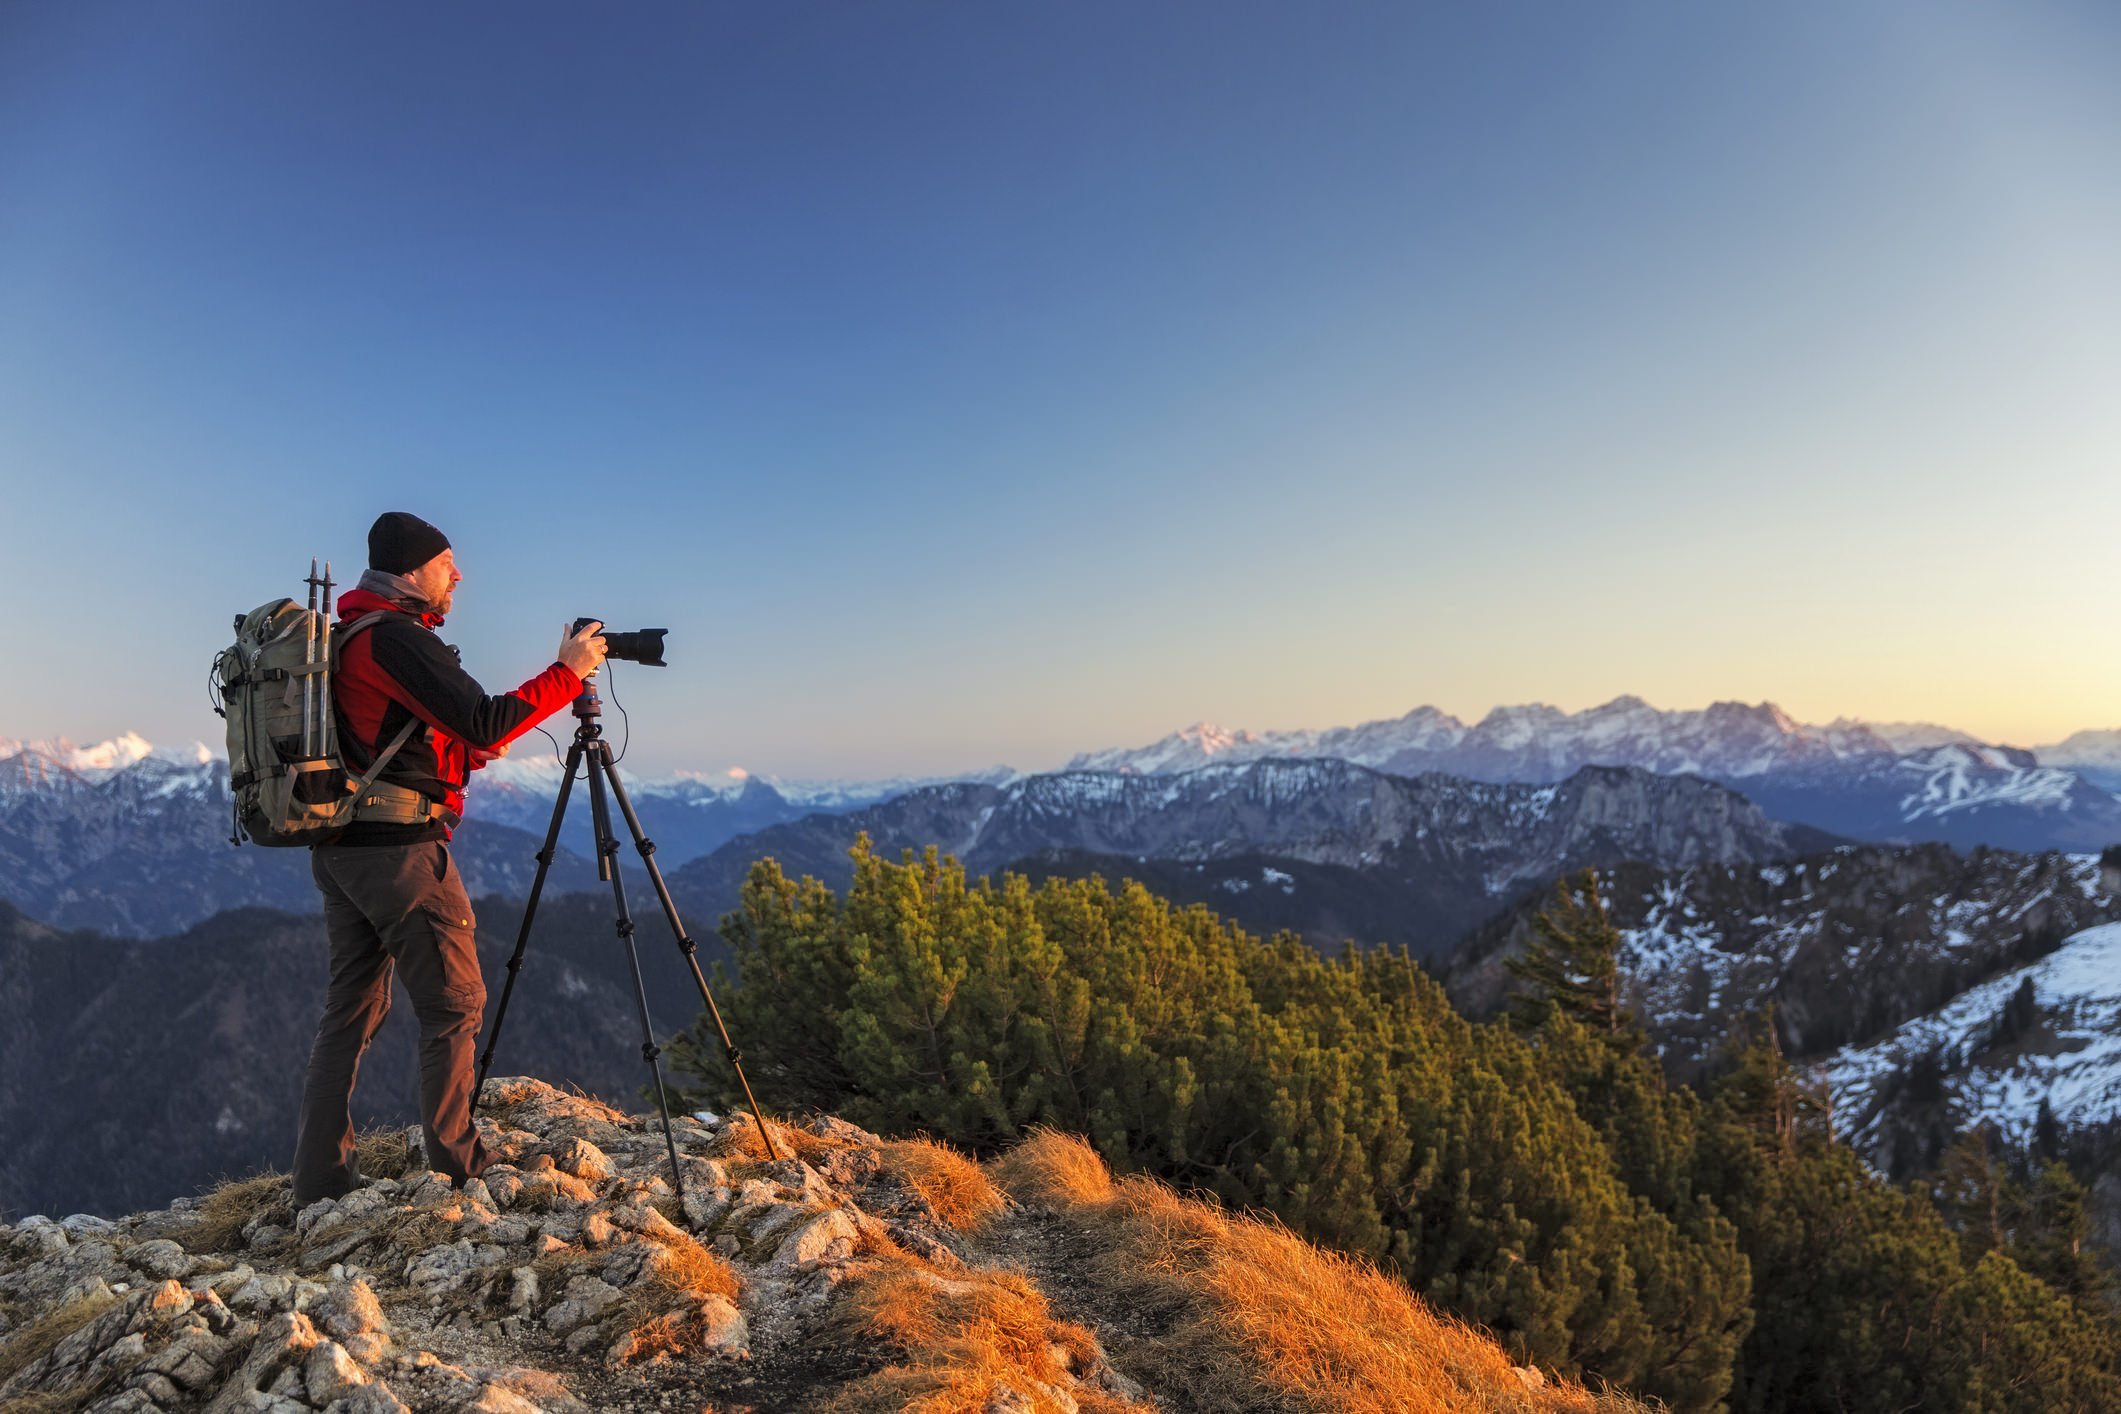
Use a Tripod
I’ve taken my fair share of landscape photos, and many of them have been handheld.
But trust me when I say that when I shoot with a tripod, I get far better results.
That’s due to several factors…
First, using a tripod helps slow me down and actually survey the landscape before me. Even just 15-20 seconds of looking around while I set up my tripod helps clue me into the features or elements in the landscape that might make for a stronger photo.
Second, a tripod offers my camera far more stability than I can offer.
That means getting photos that are tack-sharp because the tripod keeps the camera perfectly still, even during long exposures.
And that’s the third point – I can be more creative with my landscape photography when I use a tripod.
Whether that’s slowing down the shutter to blur the movement of clouds or water, using the tripod to get a low-angle shot, or even taking on some videography and getting smooth, panning shots with my tripod, I come home with much more varied results than if I shoot handheld.
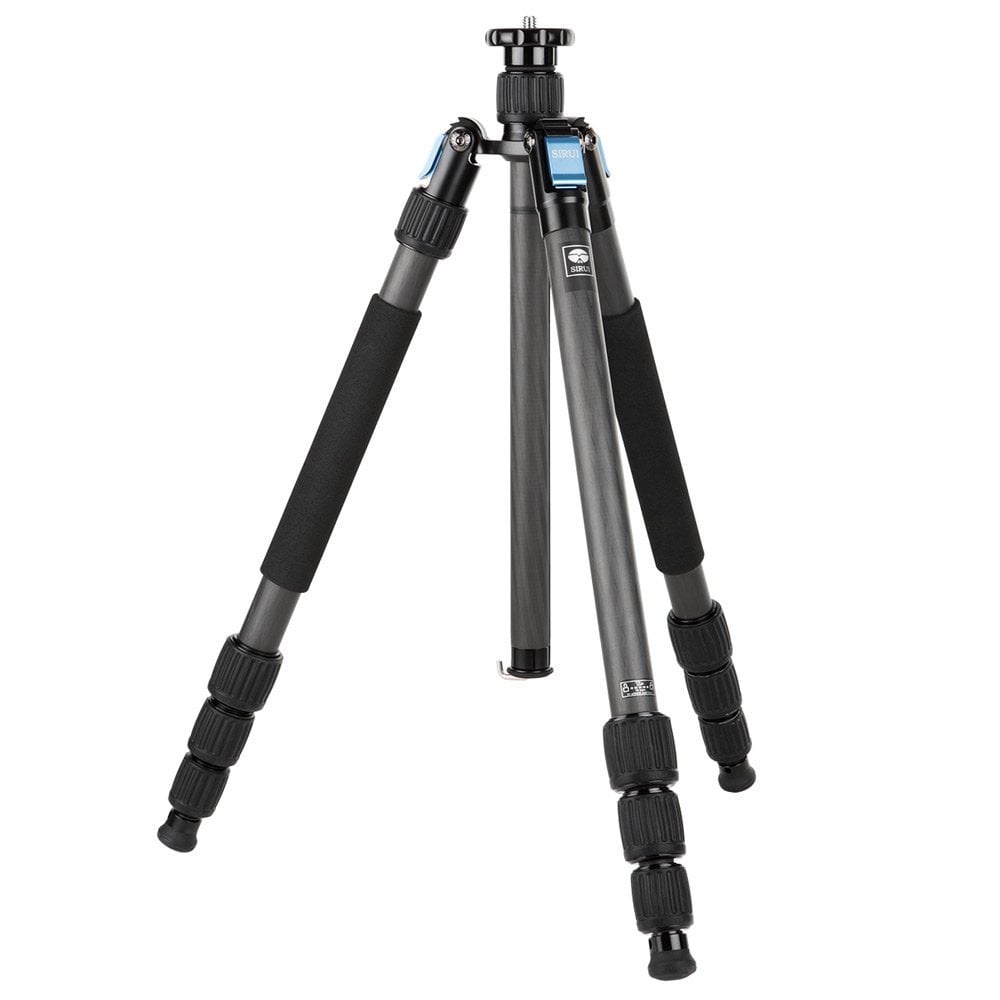
Of course, not all tripods are made alike.
If you want a solid tripod that makes the task of learning how to photograph landscapes, it’s hard to beat a Vanguard tripod.
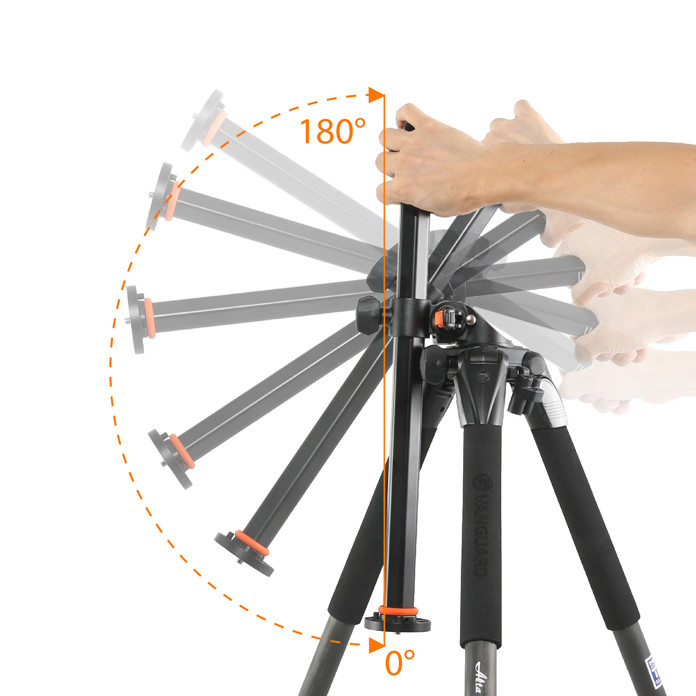
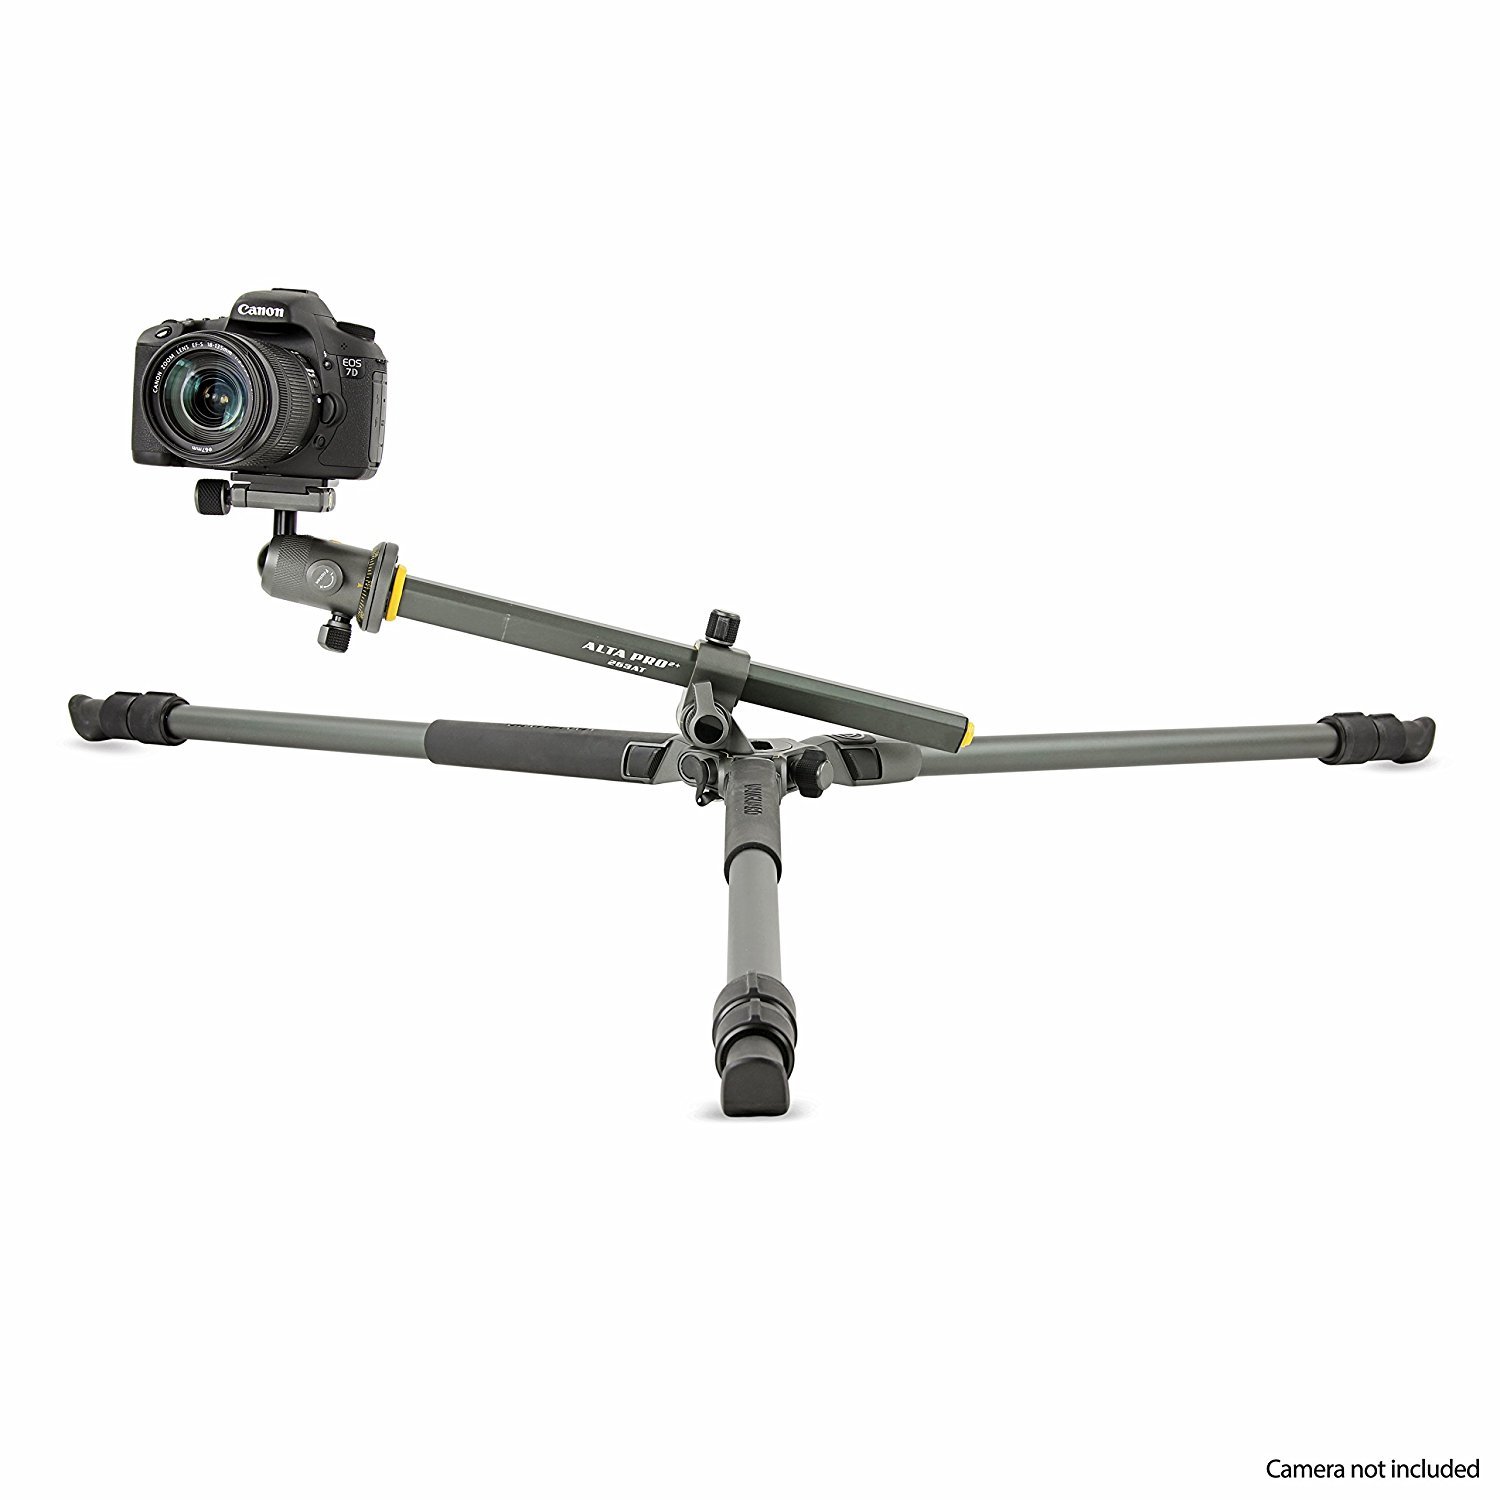
I’ve used the Vanguard ALTA PRO 2+ 263AB100 shown below on a number of occasions, and it’s as rock-solid a tripod as you’ll find.
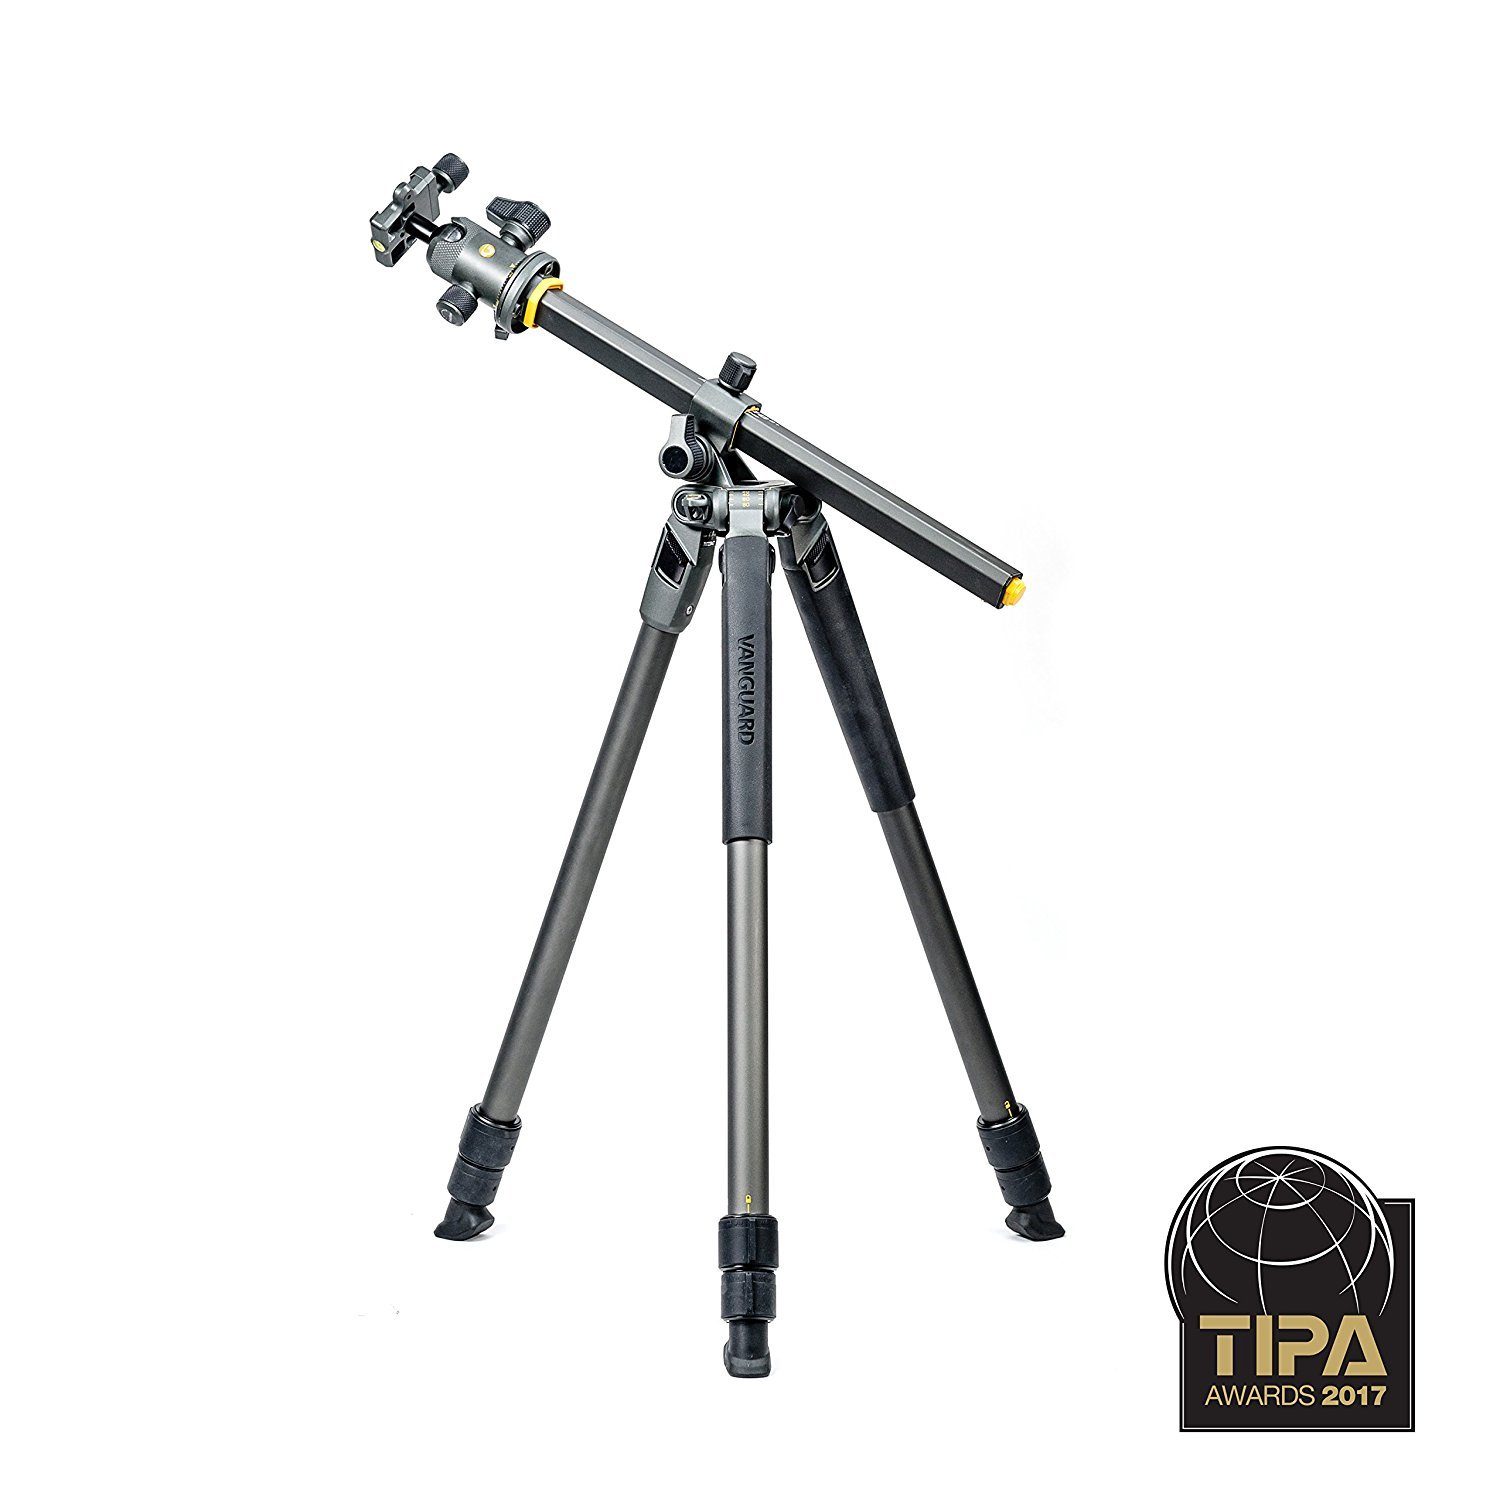
Not only is it incredibly easy (and quick) to set up, but it also has a multi-angle center column that gives me unlimited possibilities for varying the shooting angle.
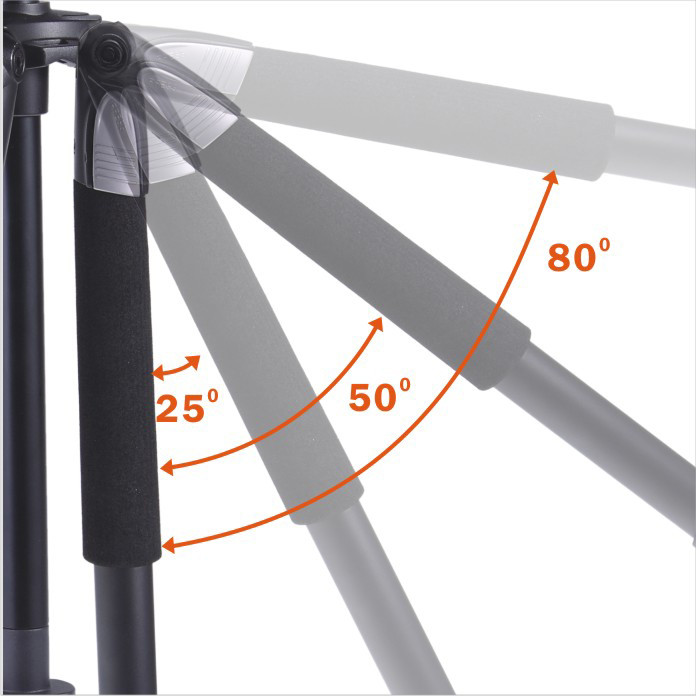
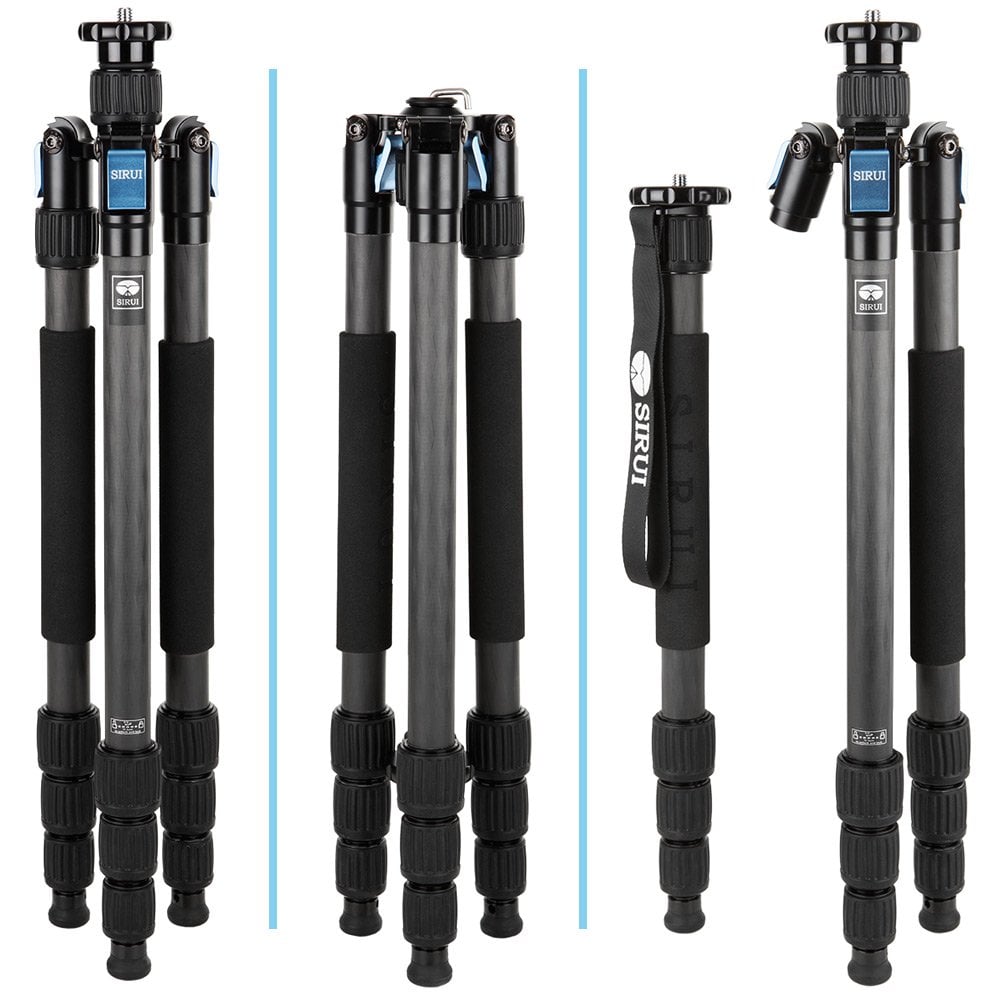
I also appreciate that this tripod has legs with varying position angles from 20-degrees to 80-degrees, which, again, helps me vary the ways in which I frame up my photos.
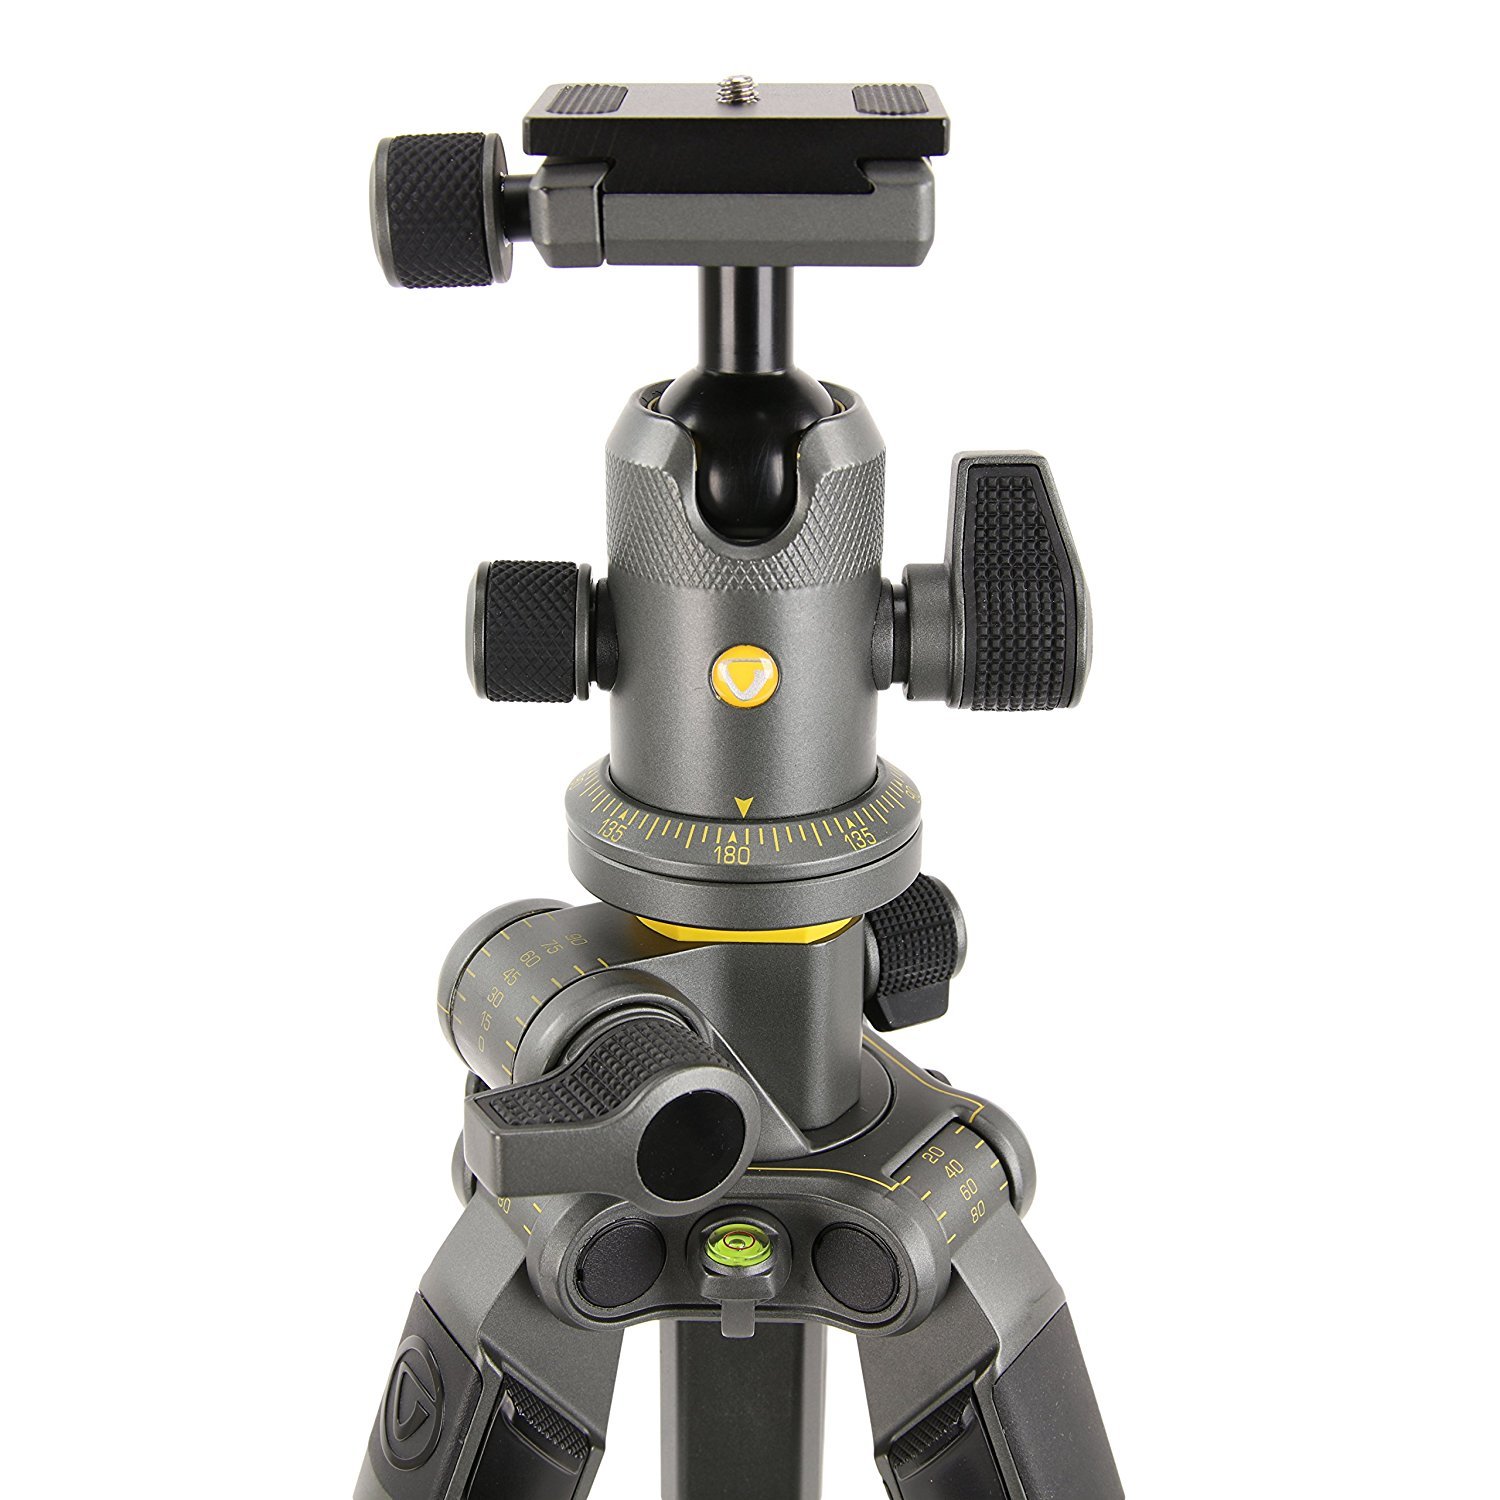
This tripod has handy accessories that simplify the process of landscape photography as well.
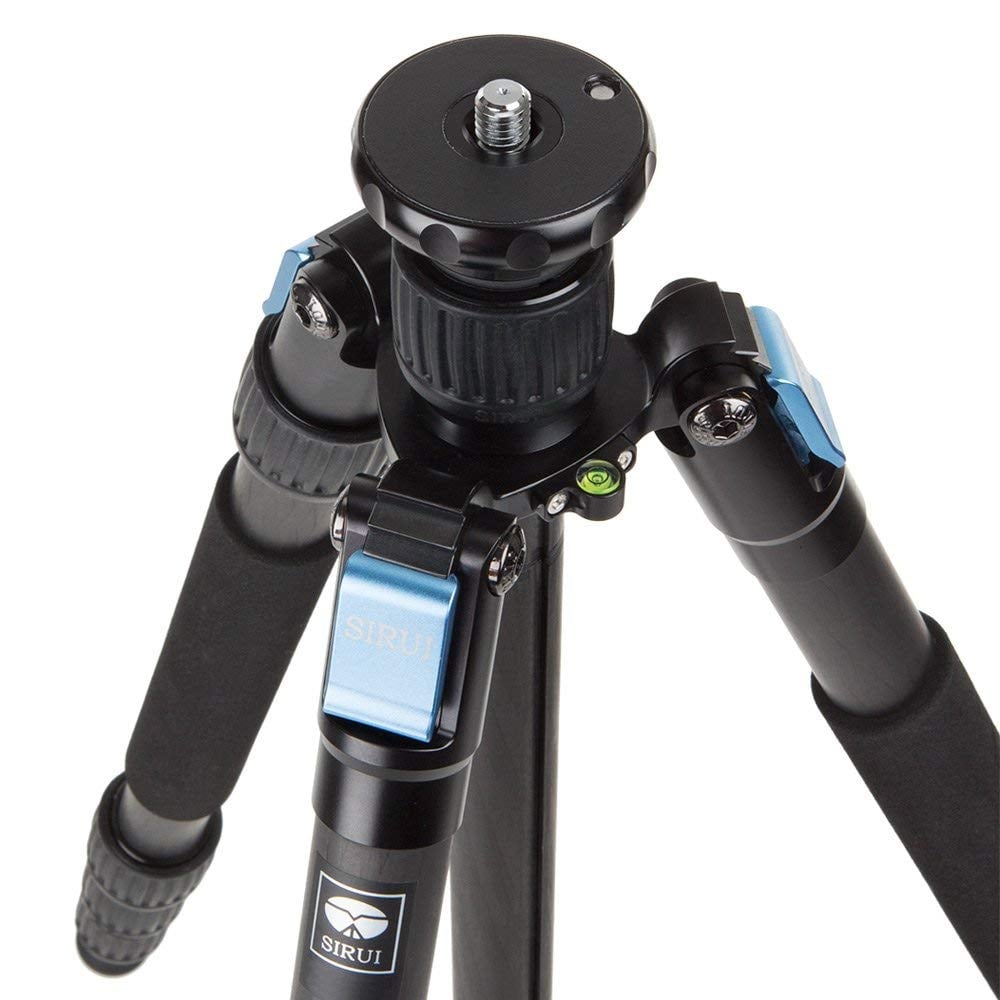
That includes an integrated bubble level to get perfectly straight horizons, a canopy suspension loop for adding weight to increase stability on windy days, and angled rubber feet to get a firm grip, even on uneven terrain.
Like I said earlier, no one ever said taking amazing landscape photos was easy, but if you concentrate on the task of simplifying your approach and doing so with the right gear, you’ll be in a better position to take high-impact photos.
For even more great landscape photography tips, be sure to watch the video above by Joshua Cripps from Professional Photography Tips.
The video will give you more ideas for how to simplify your approach to capture amazing landscape photos.
This article about the topic “How to Create an Amazing Landscape Photo?” was first published on our website here https://www.photographytalk.com/landscape-photography/8493-how-to-create-an-amazing-landscape-photo
Source: https://photographytalkcom.blogspot.com/2021/01/how-to-create-amazing-landscape-photo.html
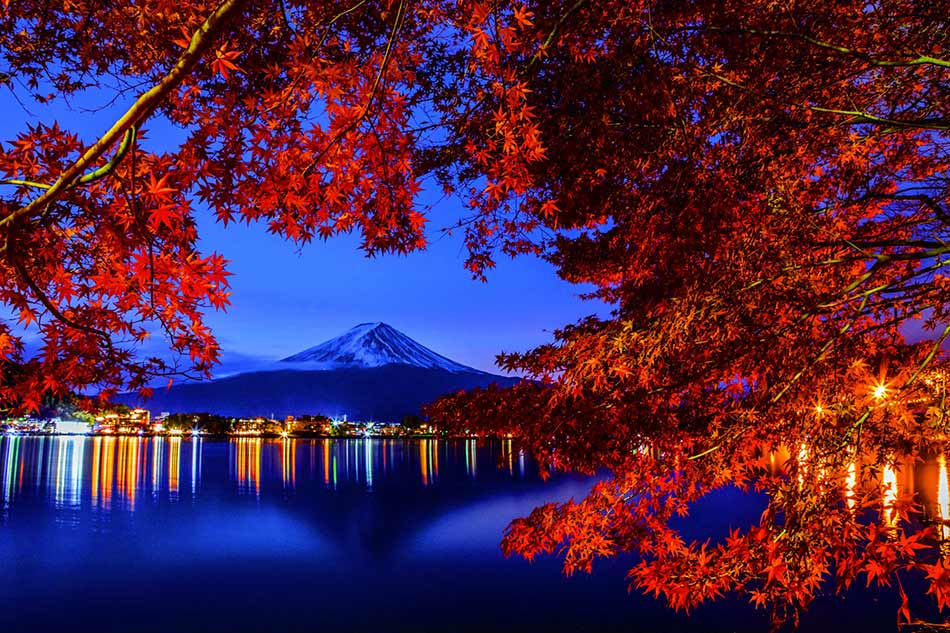
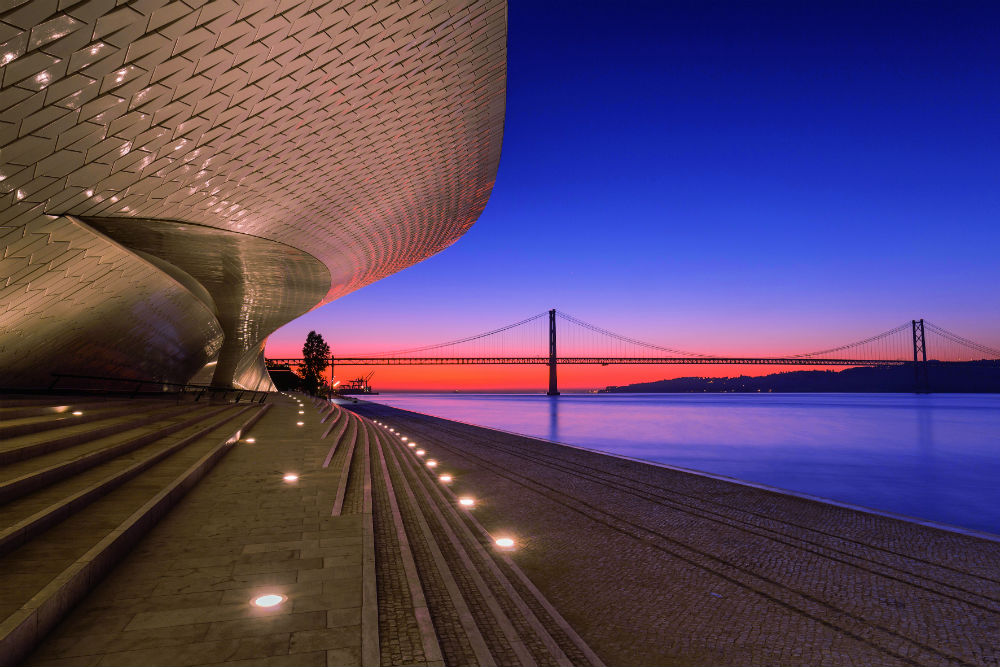

 Image Credit: Joseph Mak

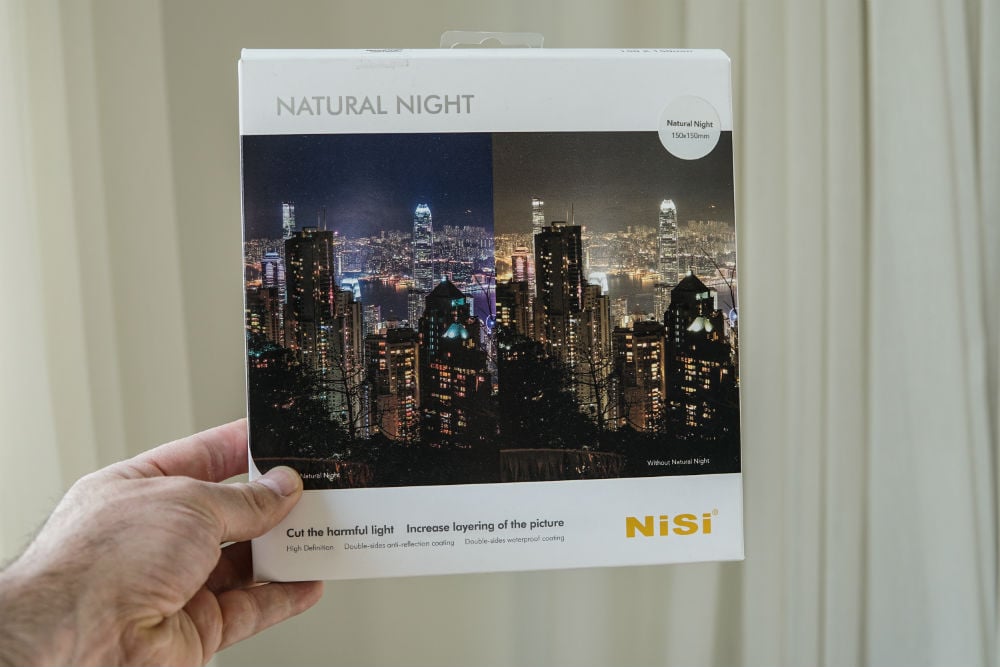
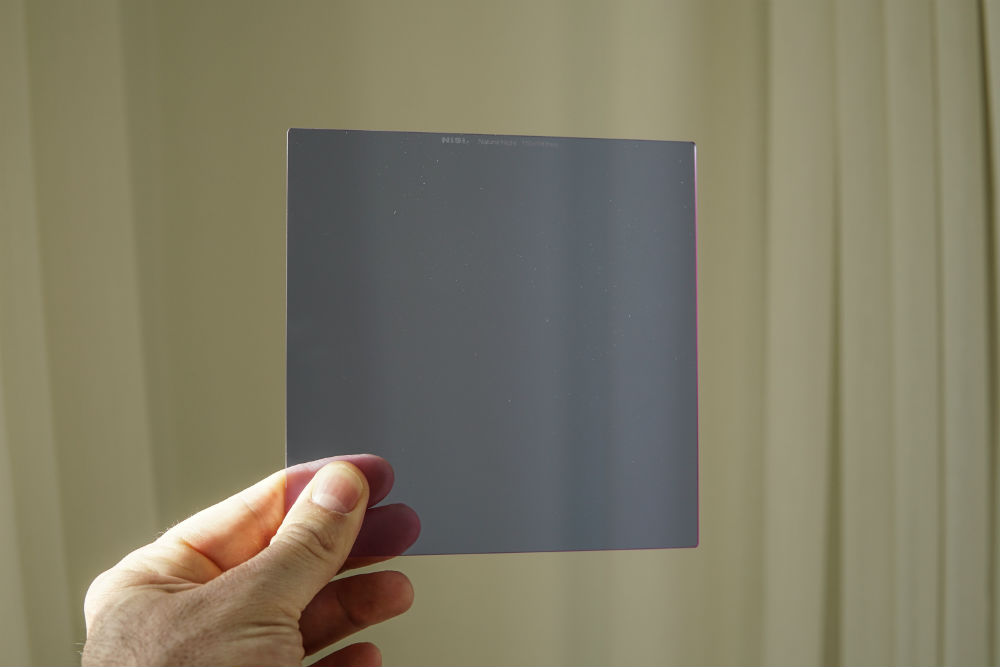
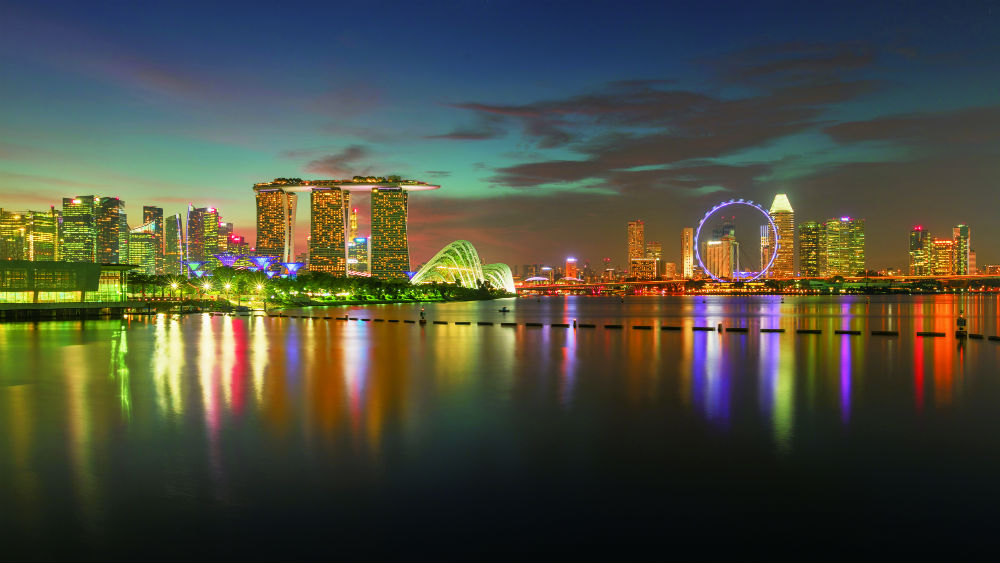
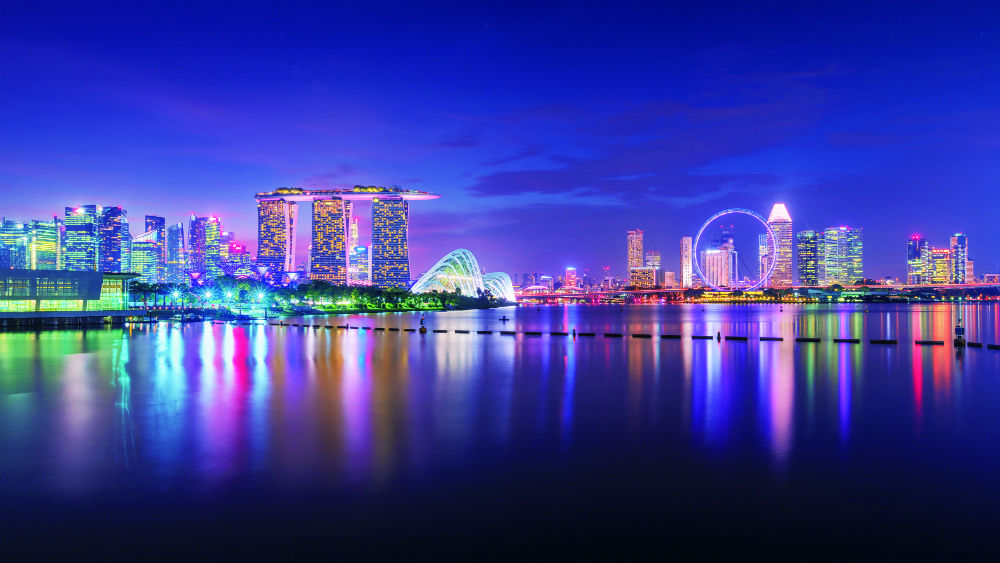 Image Credit: Jerry Wang