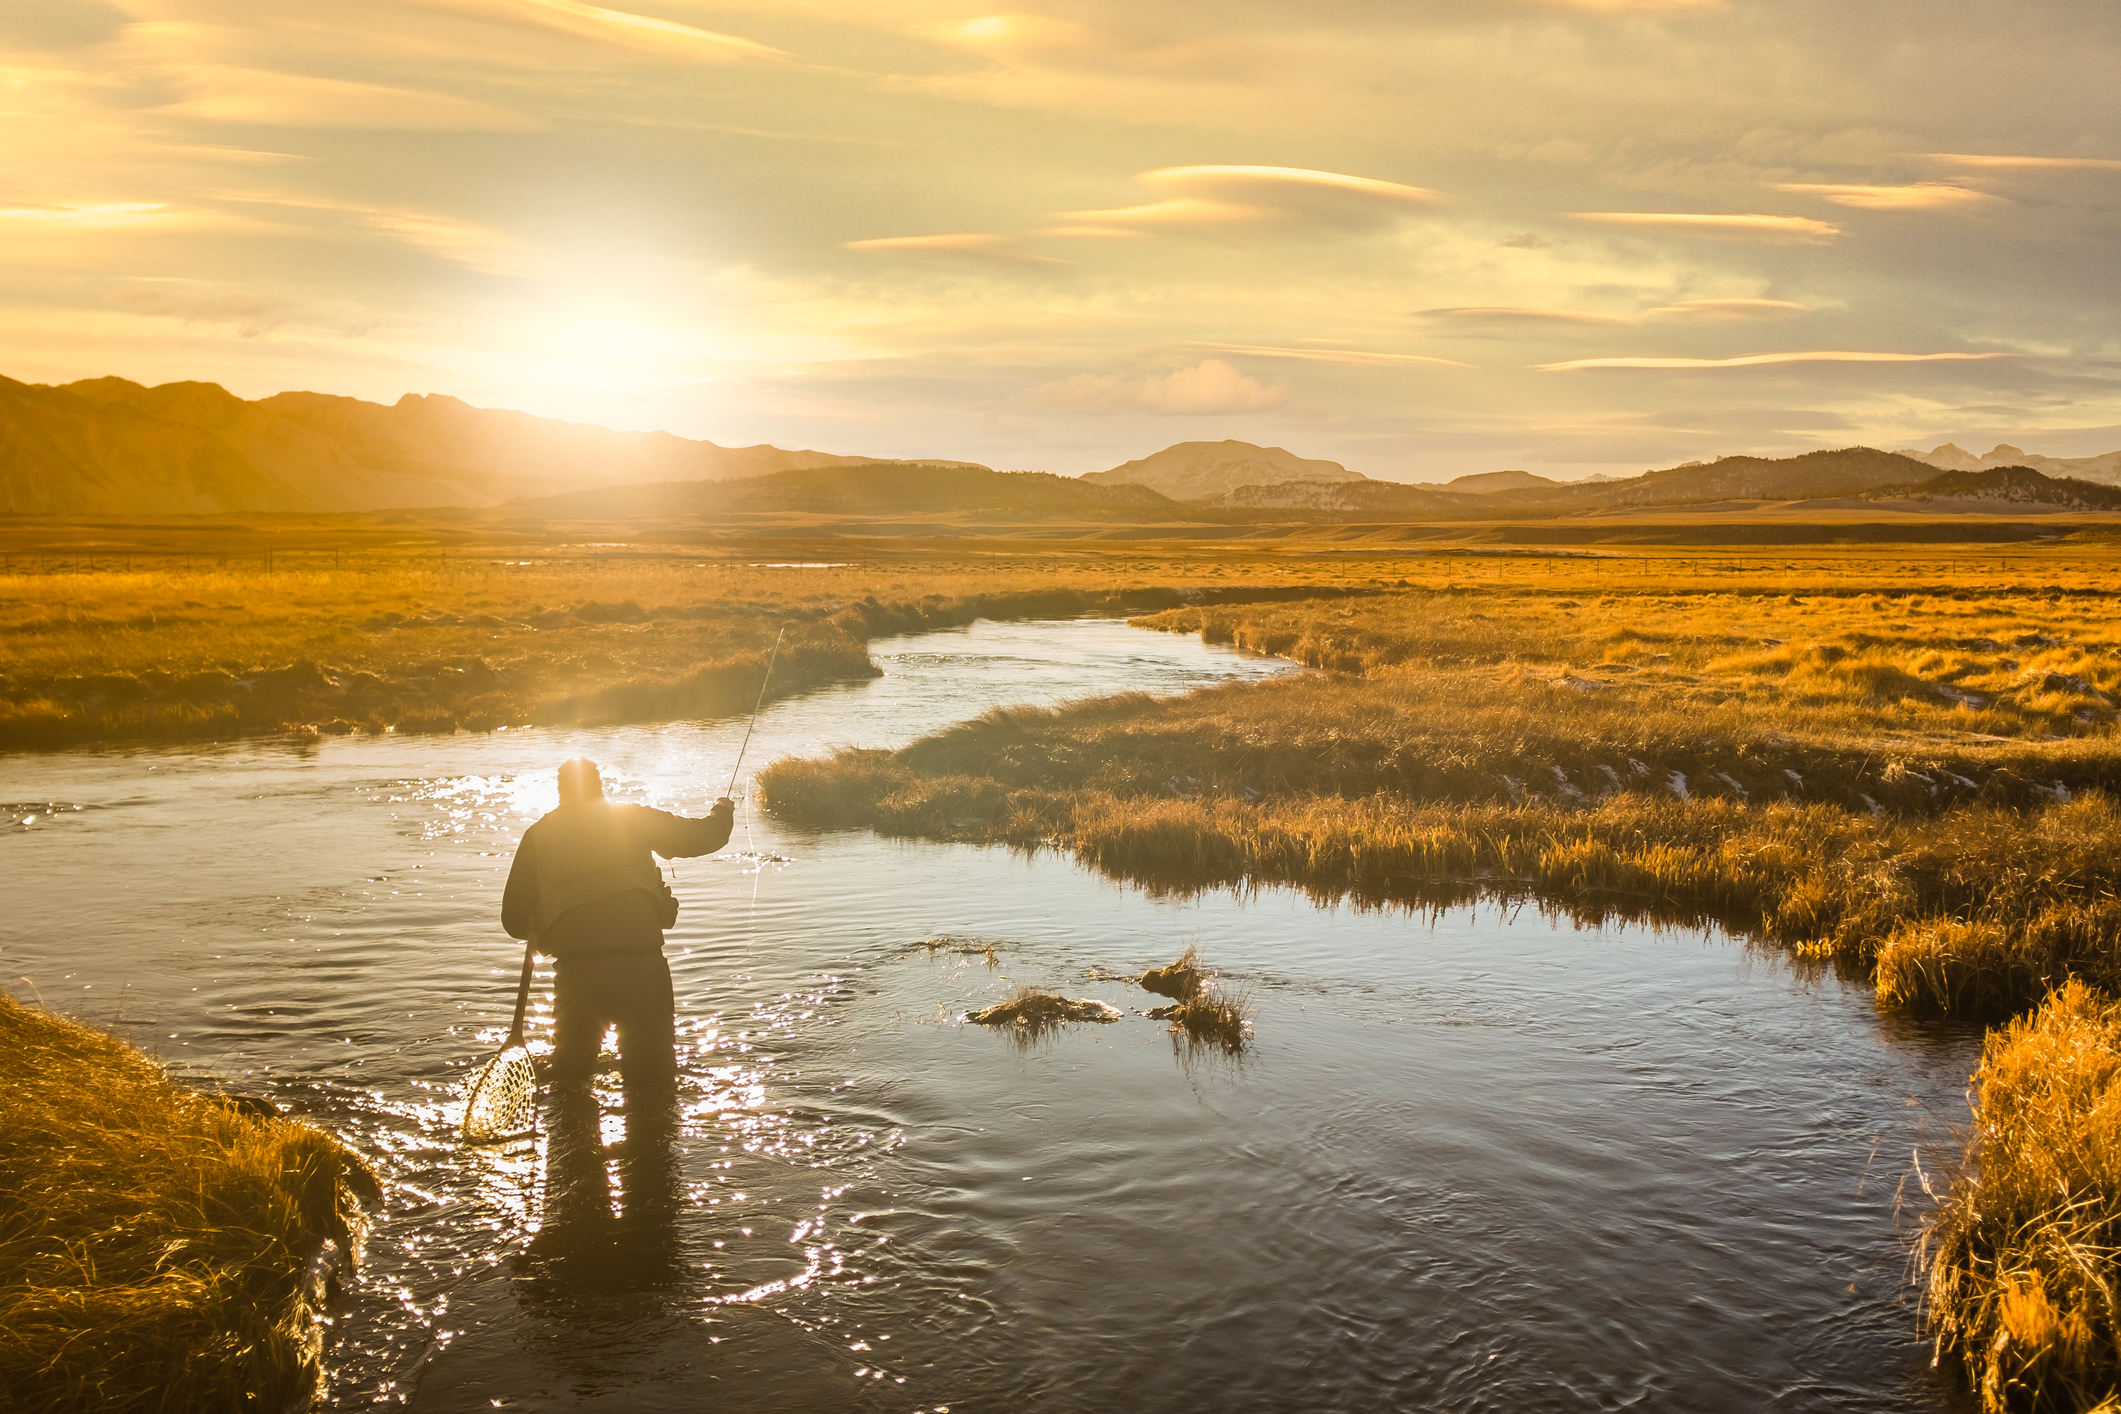
Ask any landscape photographer, and they’ll tell you that some of the most dramatic scenes they’ve ever photographed have occurred at sunrise.
But simply getting up early and being ready to go with your camera setup when the sun peeks over the horizon isn’t good enough to capitalize on some of the best light of the day.
Instead, you need to be able to predict the sun’s angles and determine how those angles change the quality of the light.
That means that you need to be as prepared as possible in advance and know how the sun will act and how its behavior will influence how the landscape is revealed. Learn more about landscape photography on our website PhotographyTalk.com.
The question is, how does one do that? The answer is simple – your phone!
Step 1: Get a Weather Update
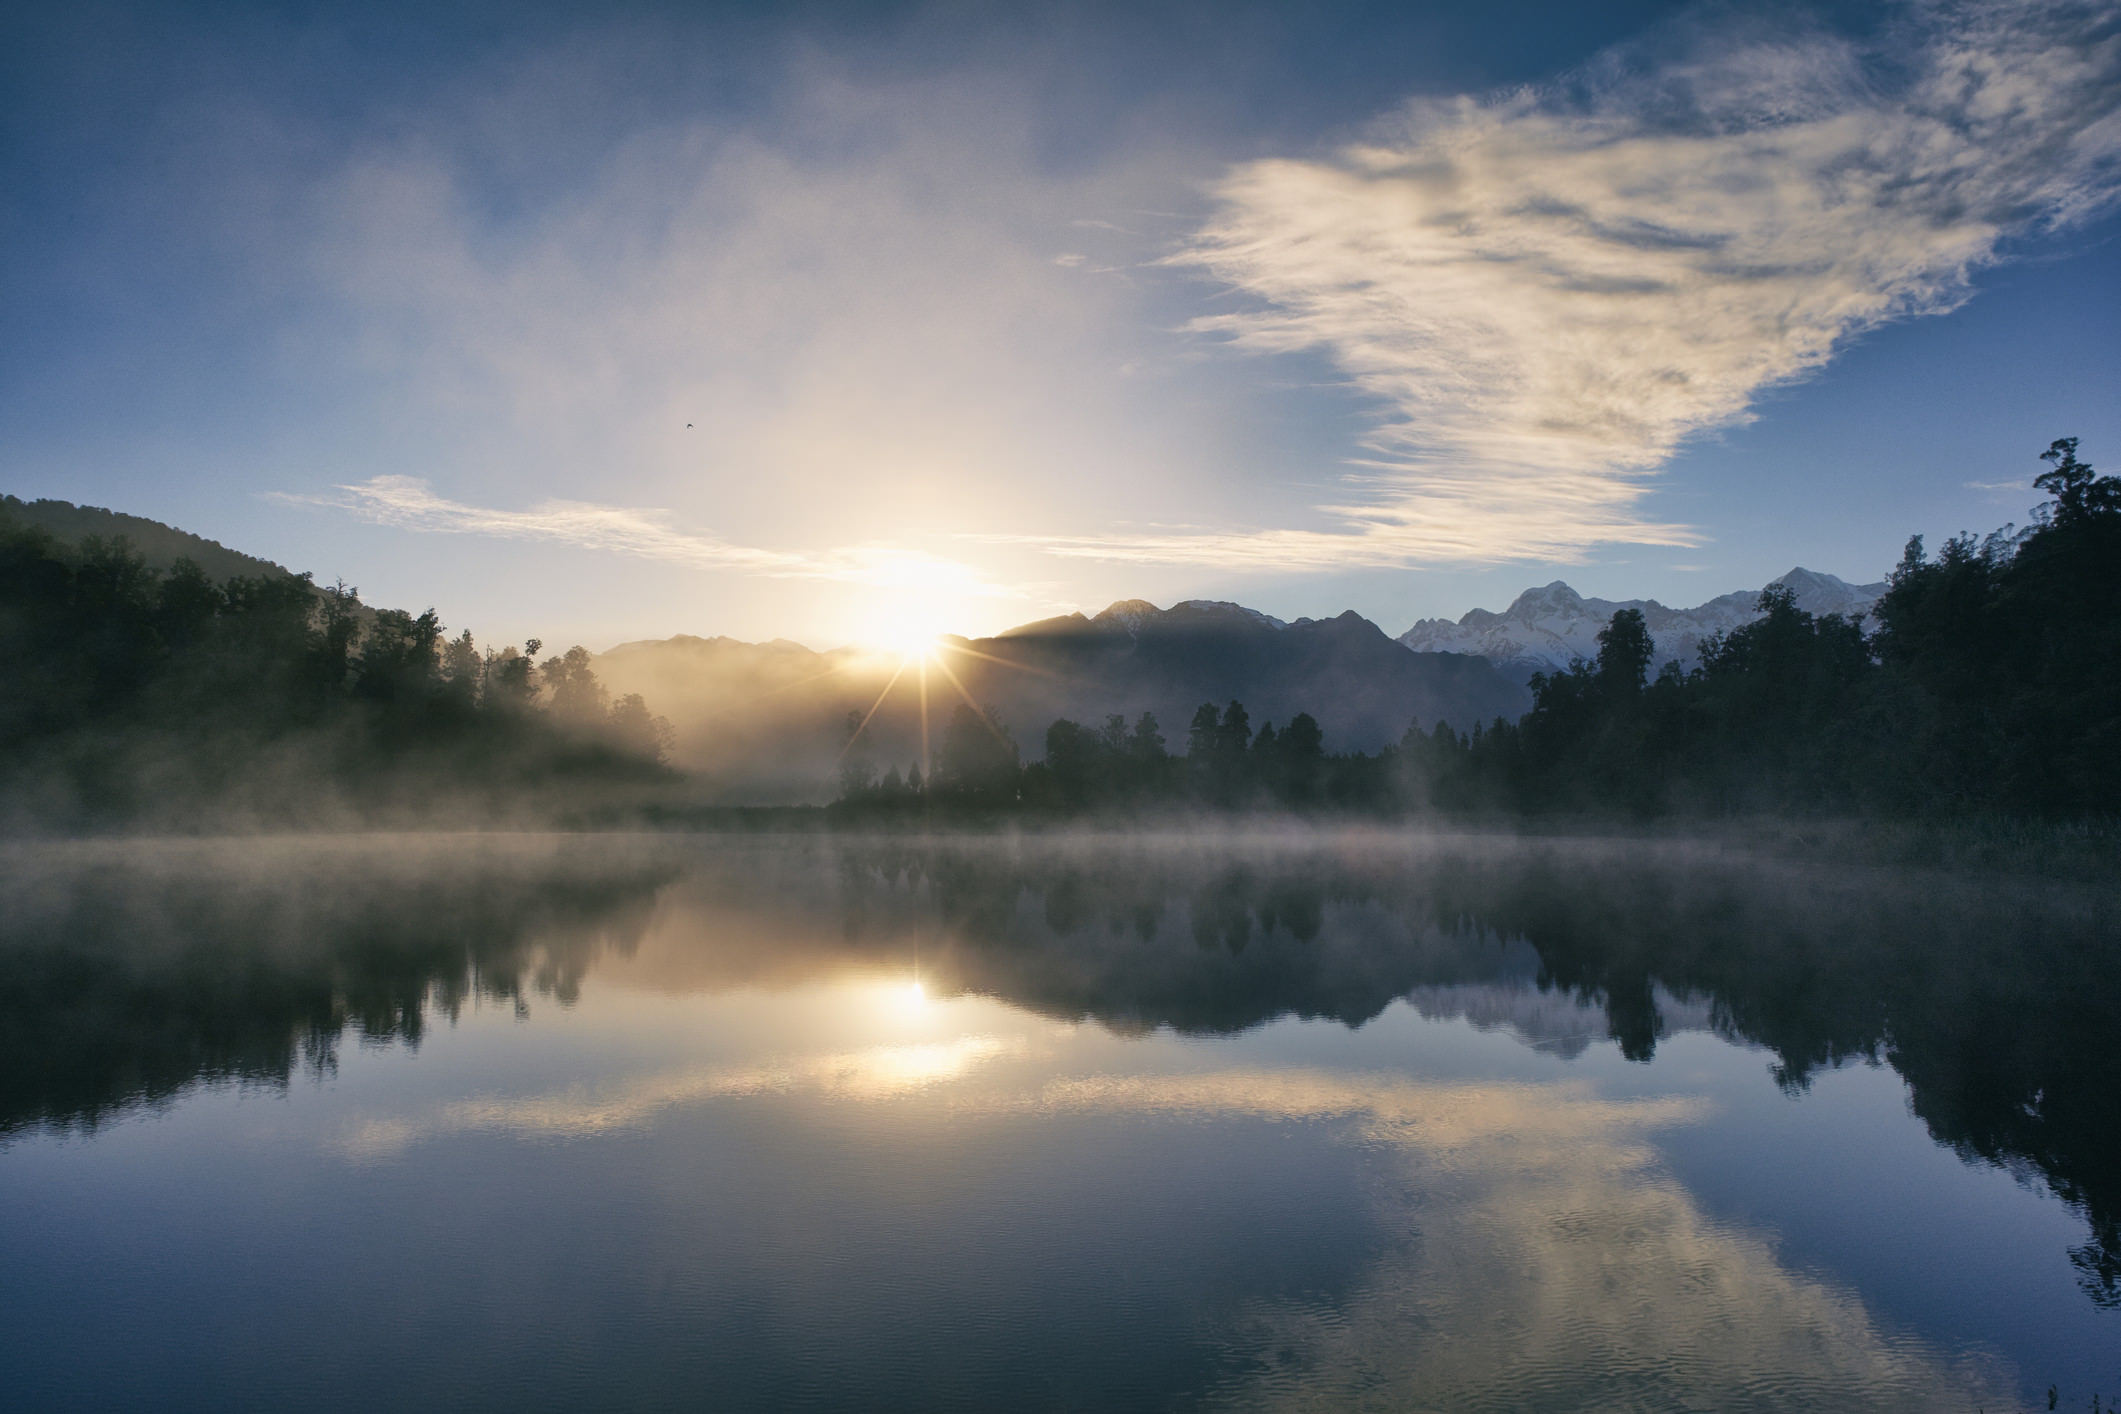
If you think that a clear morning is ideal for sunrise scenery photography, you’d be wrong.
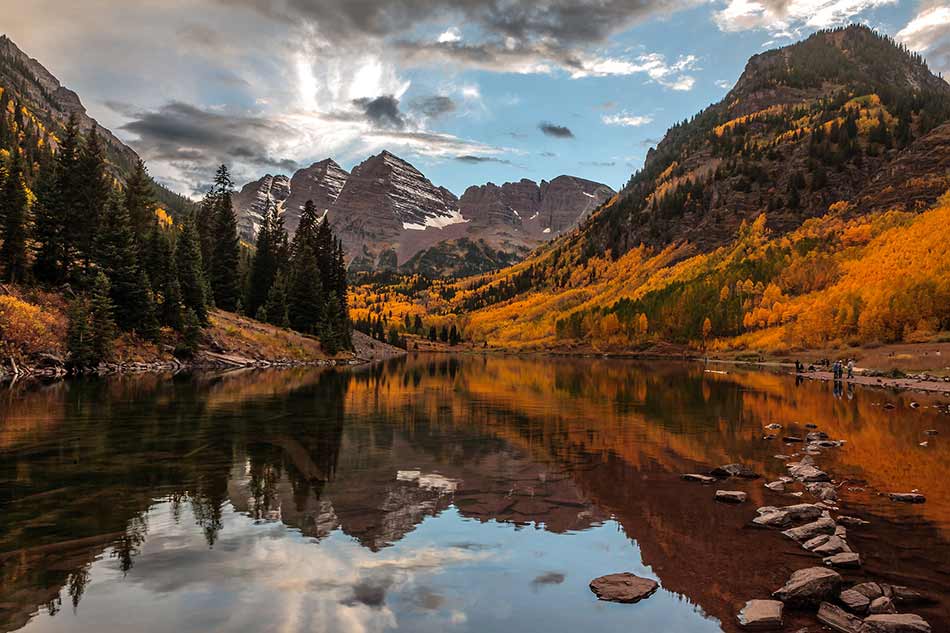
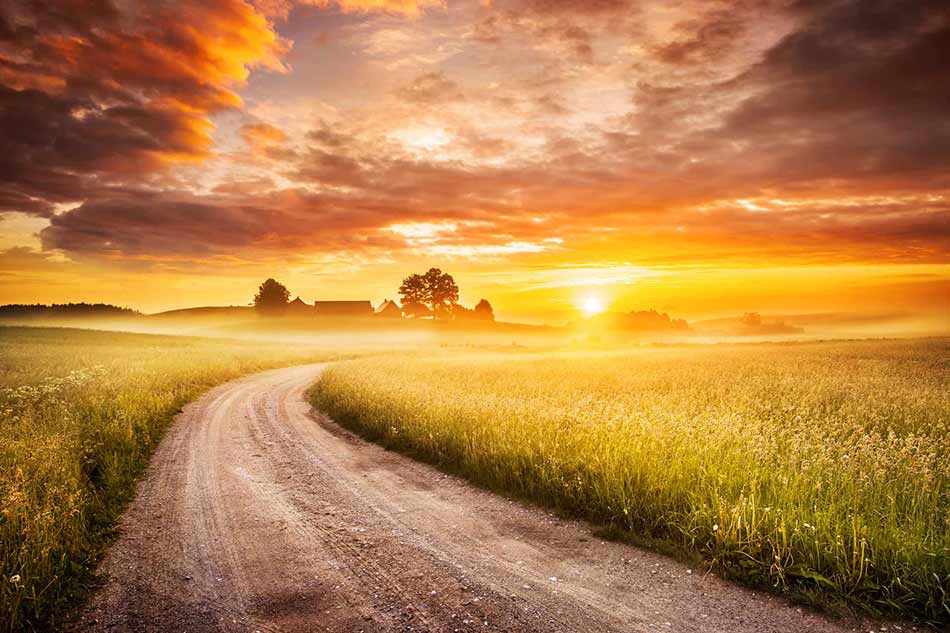
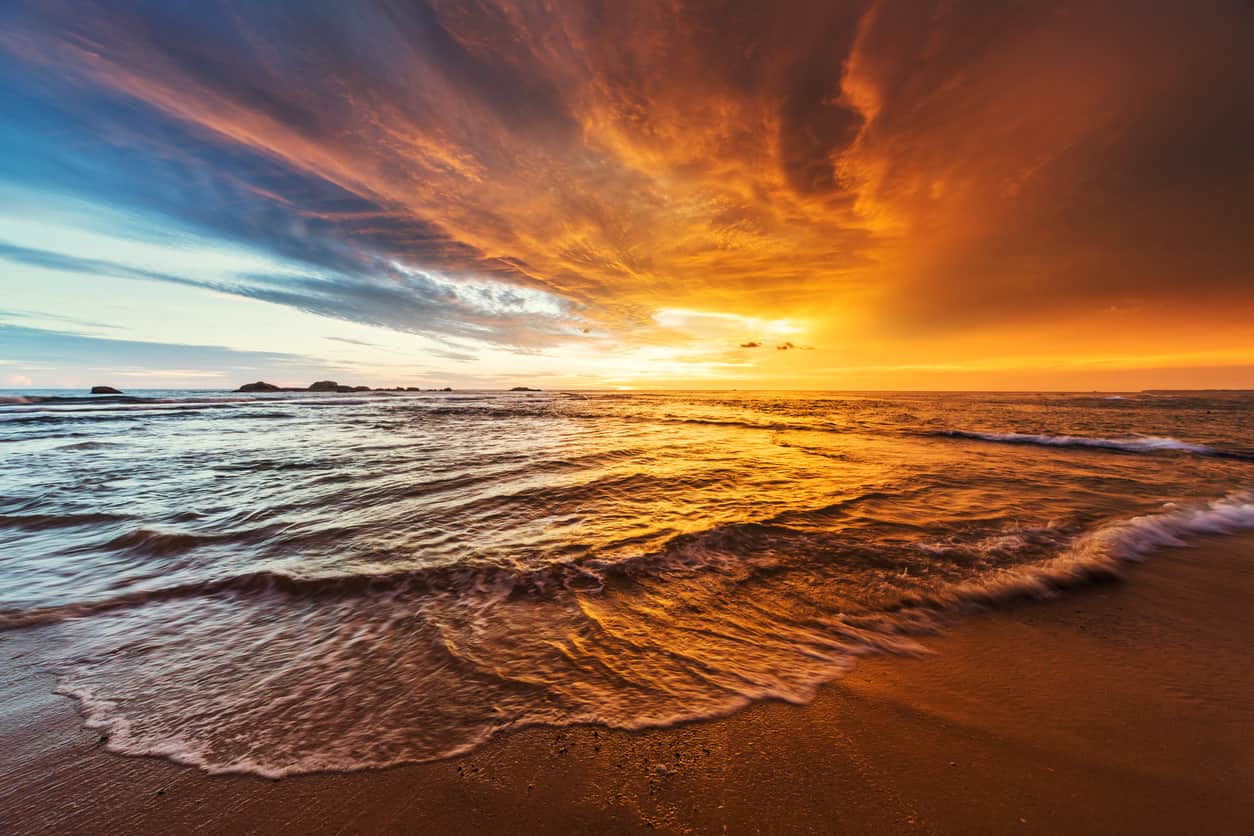
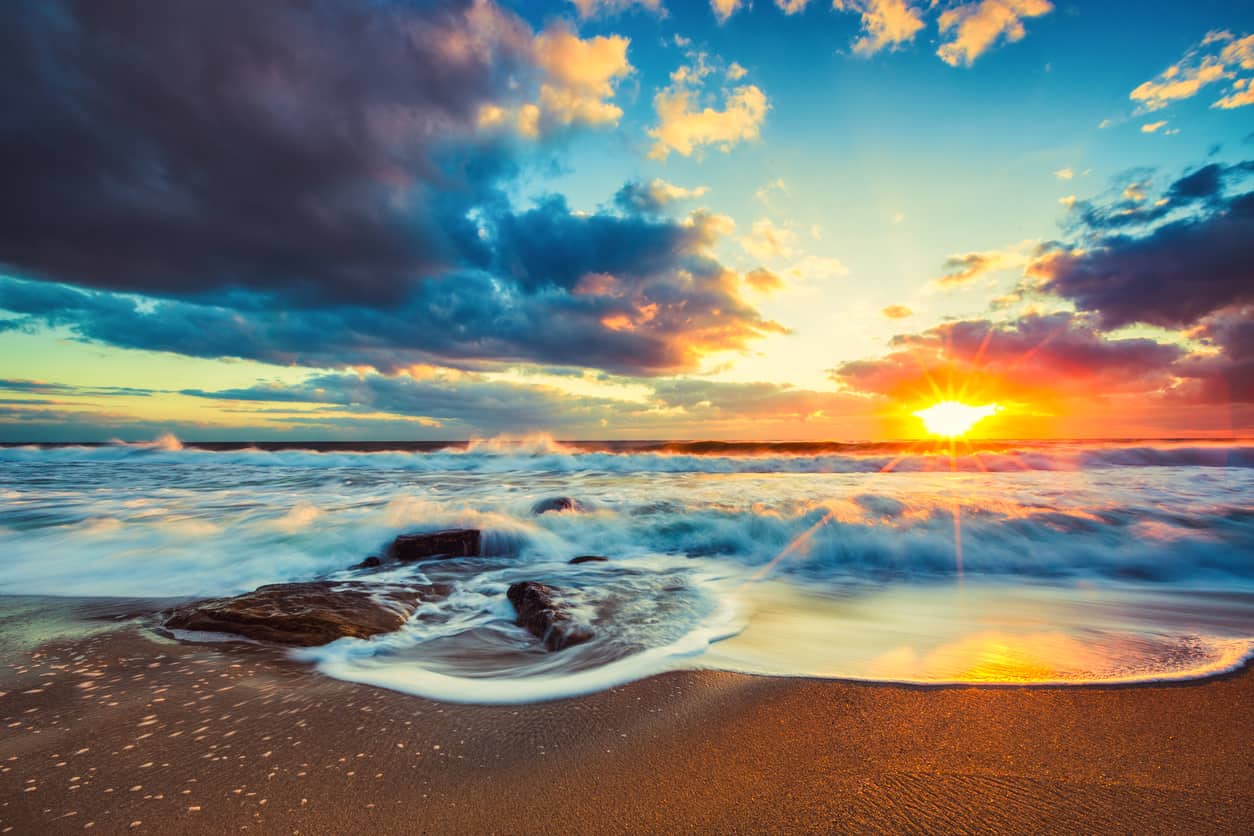
Instead, you want a mix of sun and clouds, that way you can take advantage of the morning’s soft, golden rays bouncing off the clouds. Doing so allows you to create an image with much more visual impact because of the abundance of colors in the sky.
So, when you’re planning your sunrise shoot, consult a weather app like Accuweather (free on the App Store and Google Play) to see which morning has the best chance for some clouds.
Step 2: Find the Best Shoot Location

Once you have the weather figured out, the next step is to identify the best spot from which to take your sunrise photos.
When looking for a place to setup, bear a few things in mind:
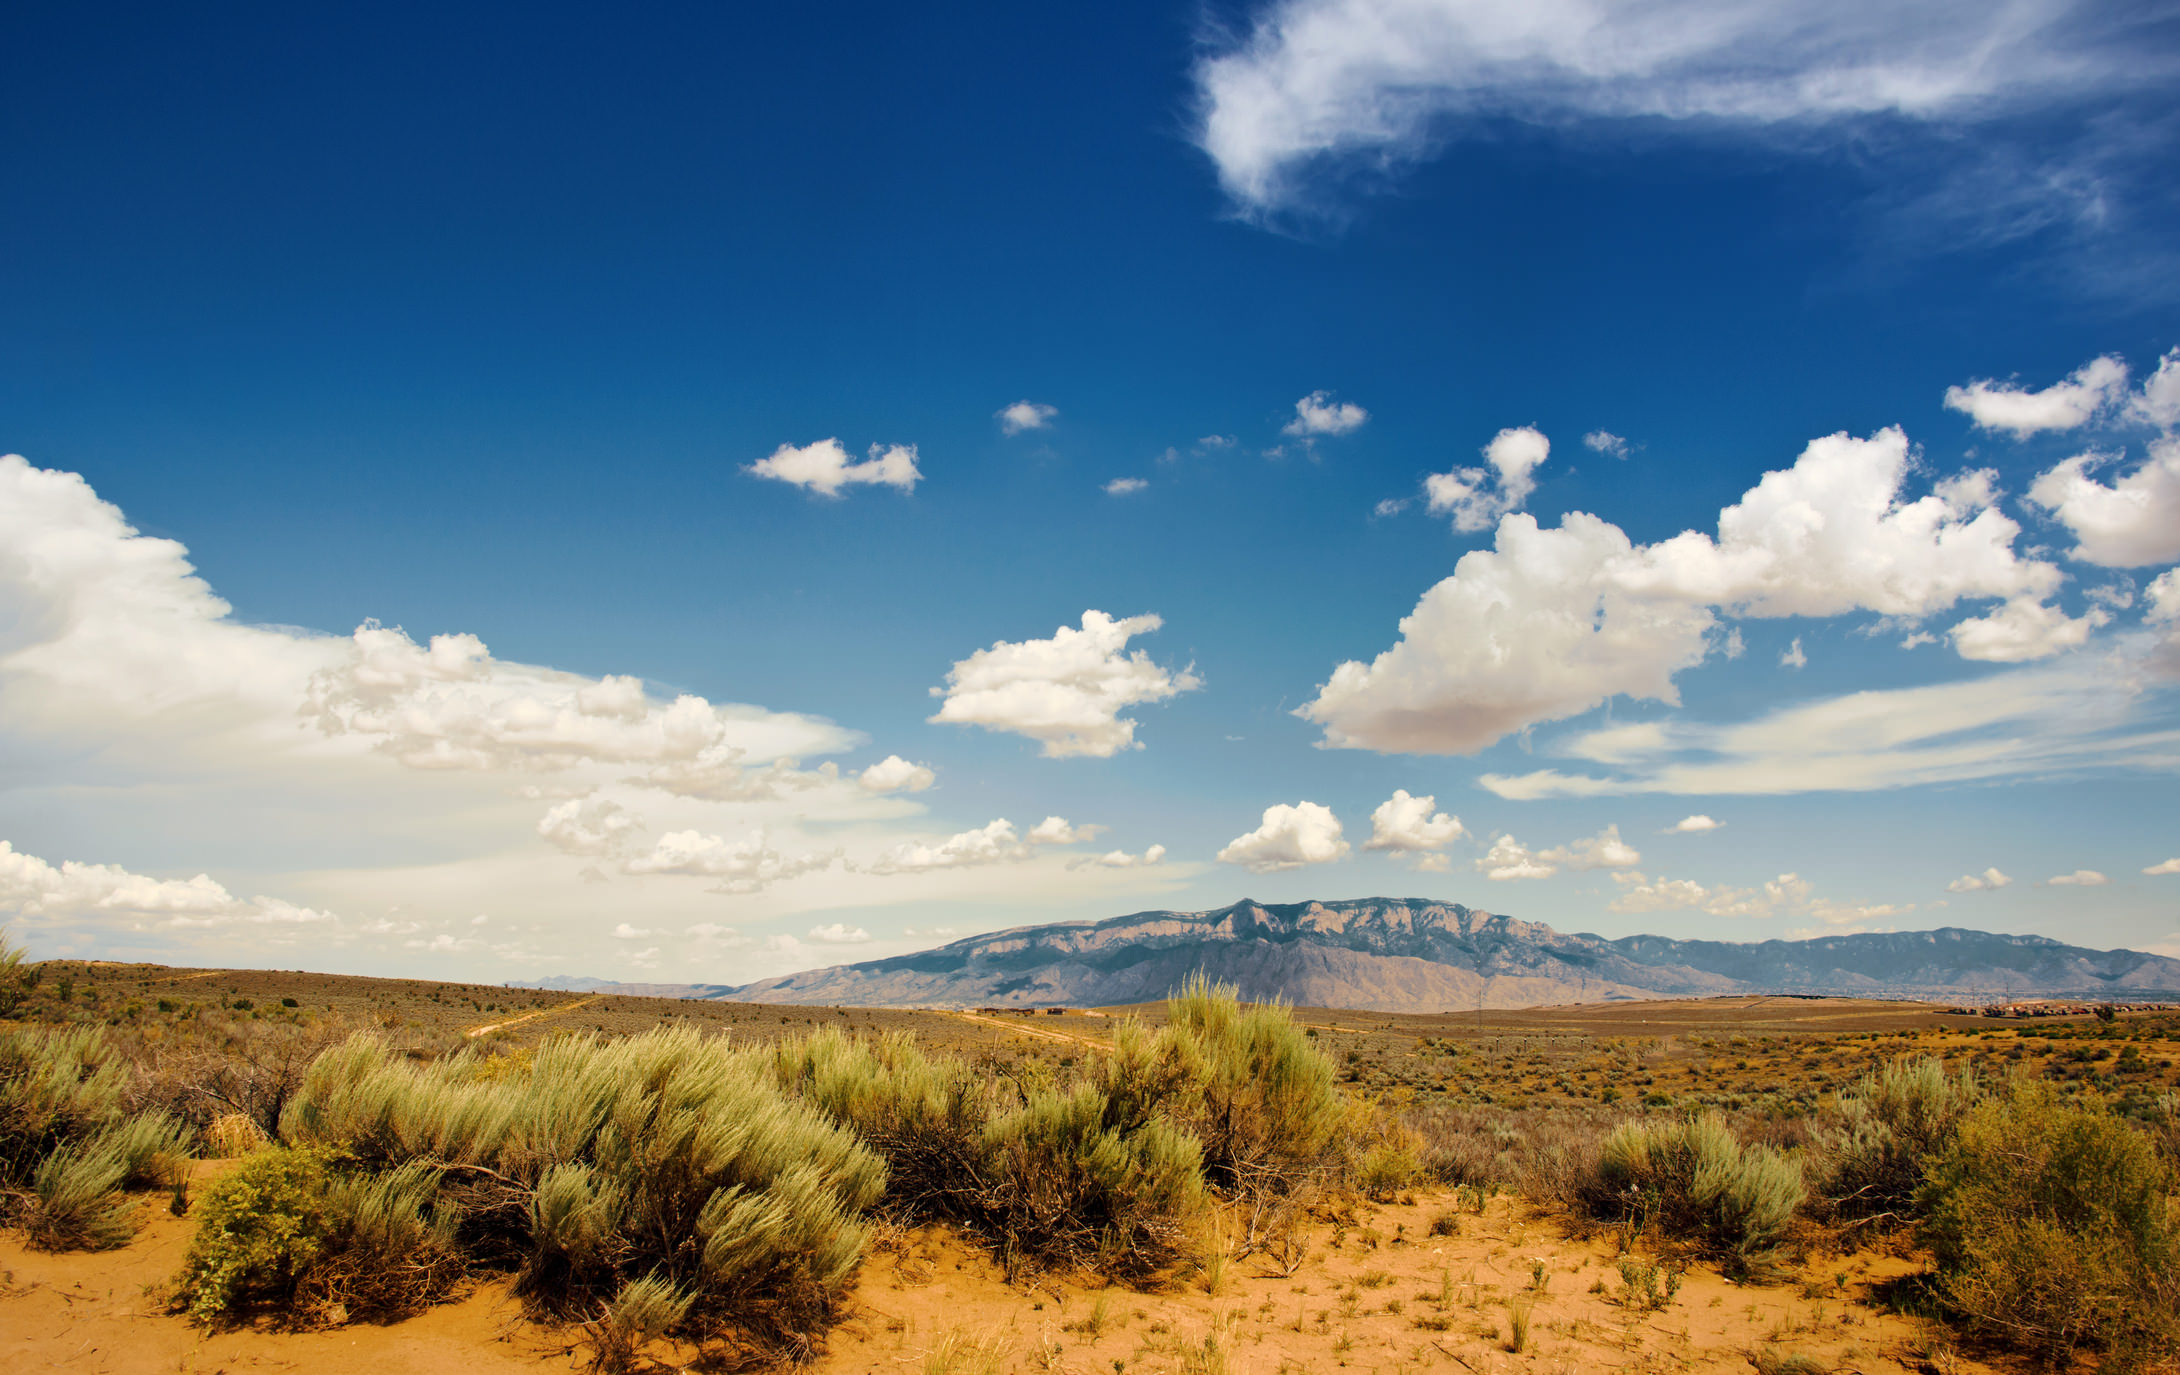
- Ensure it’s elevated – like a hill – so that you have a clear view of the landscape.
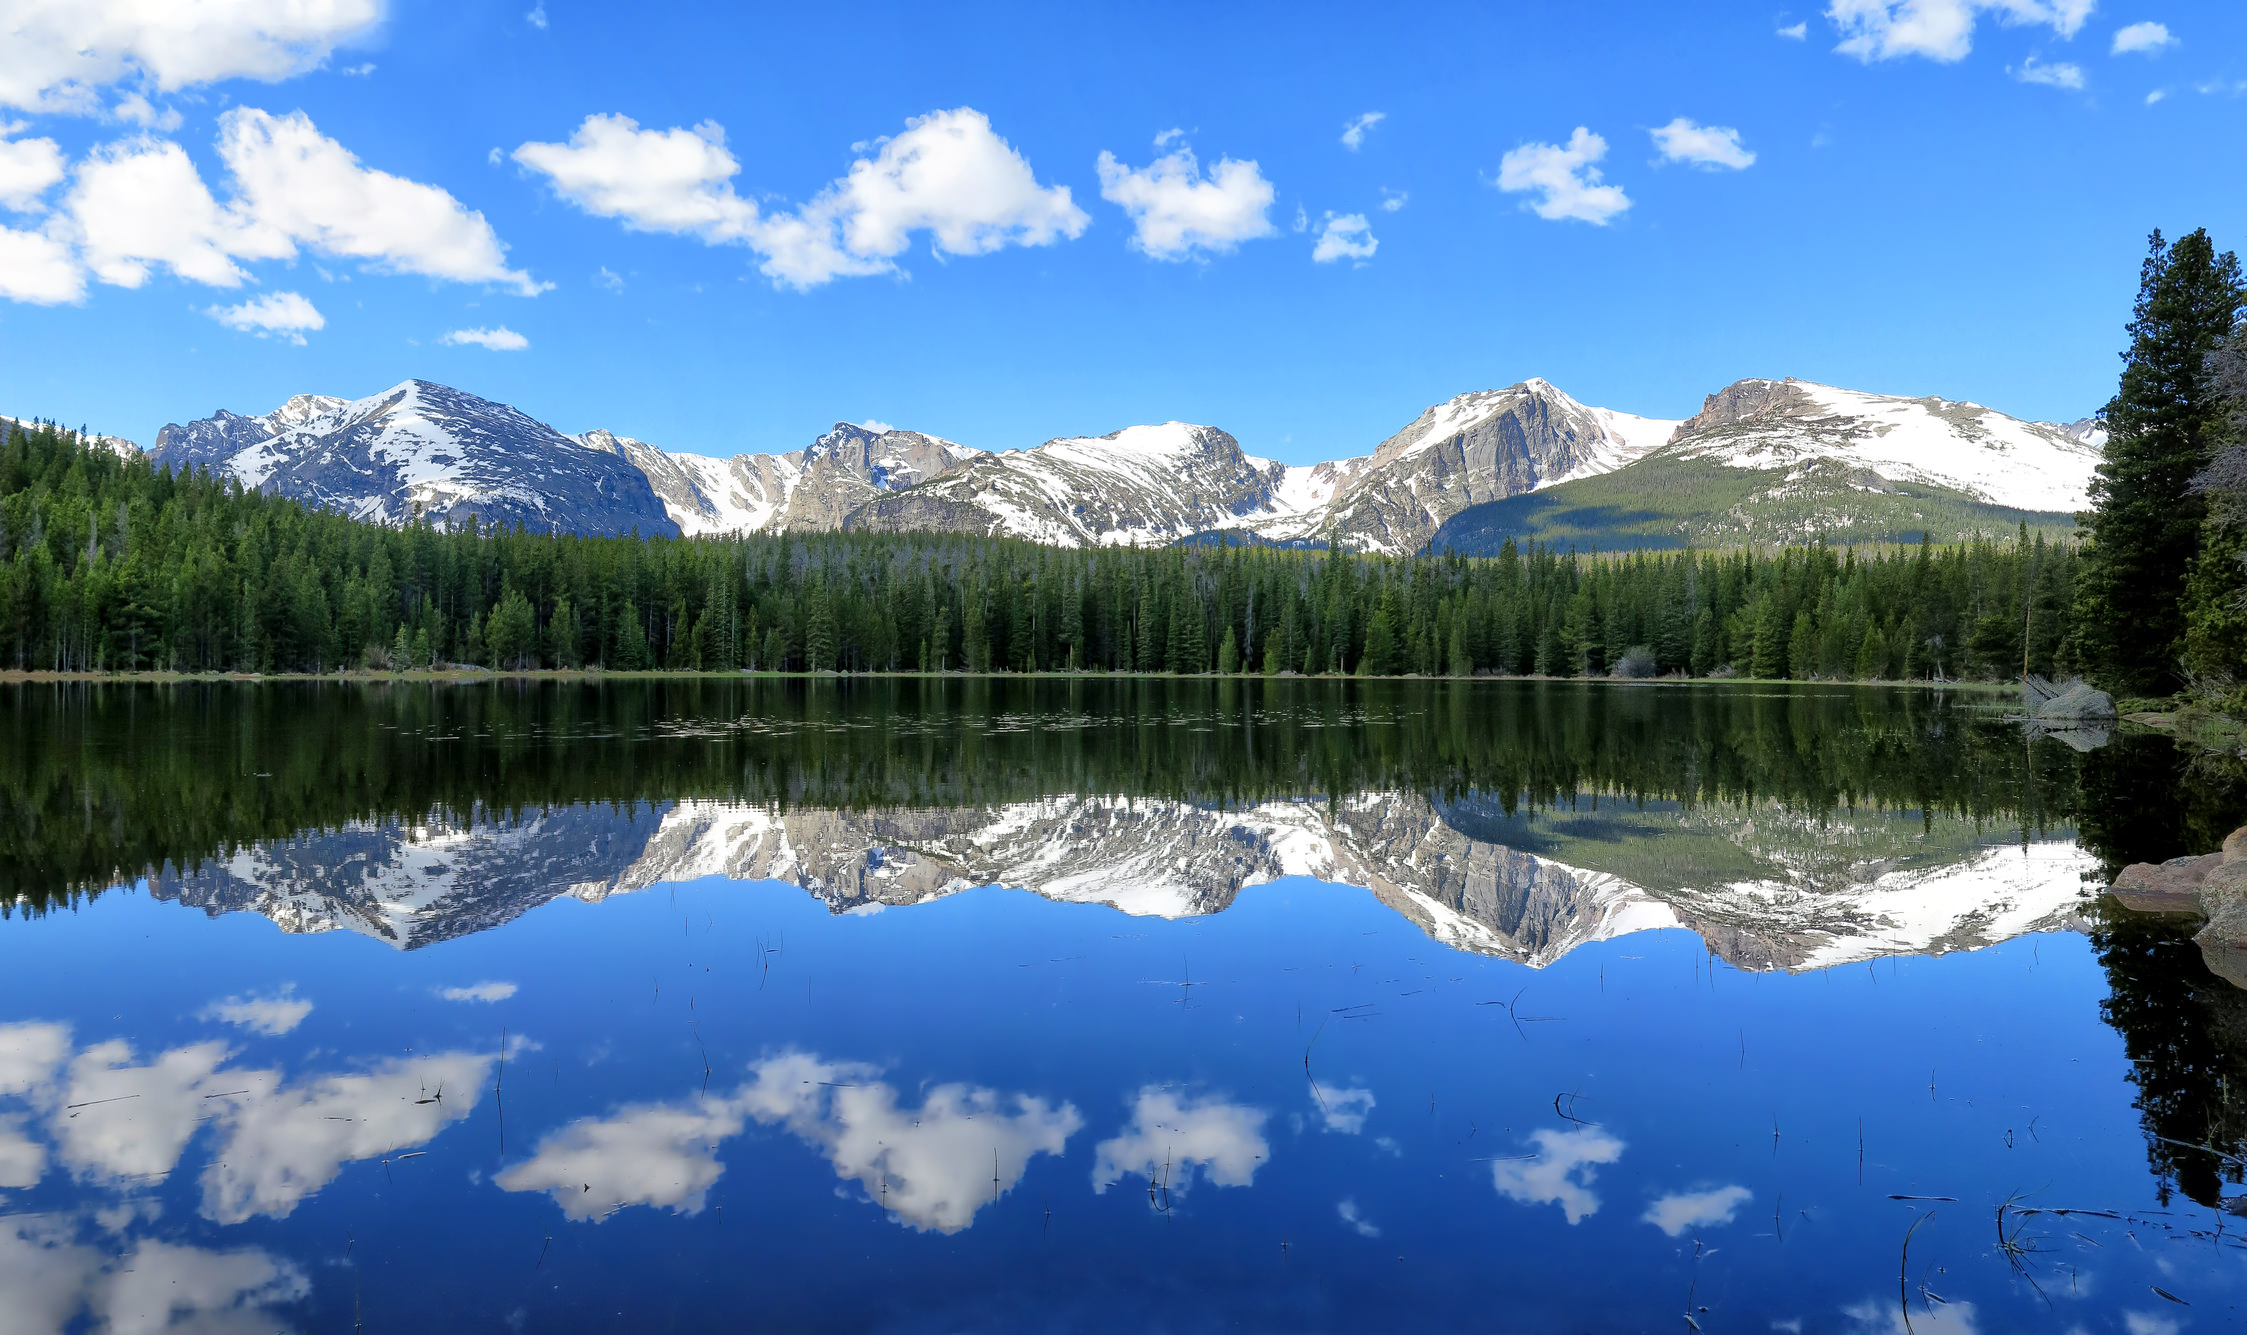
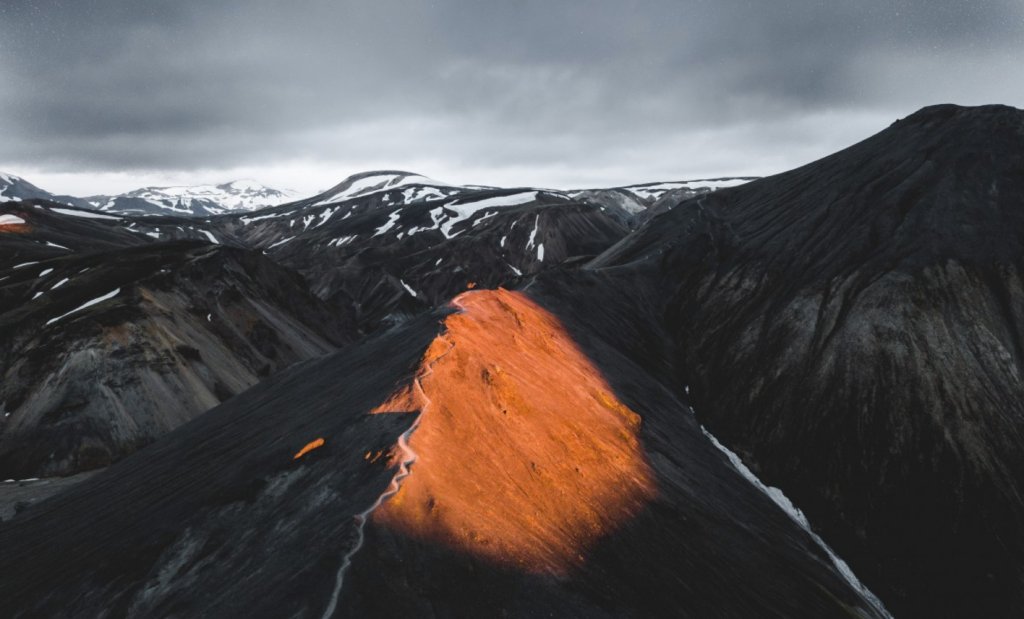
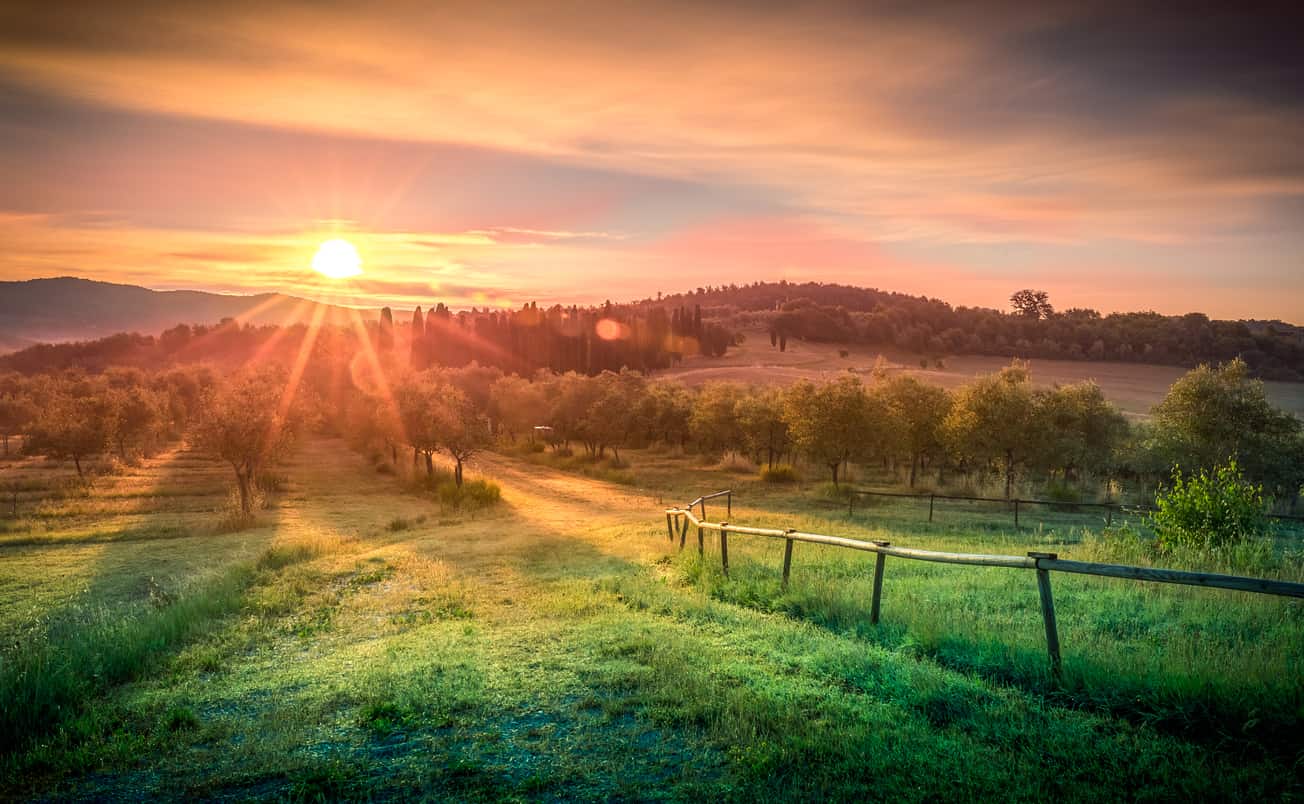
- Be sure there are interesting elements in the scene that you can highlight. Mountain peaks, trees, rolling hills, leading lines, and so forth are all great subject matter.
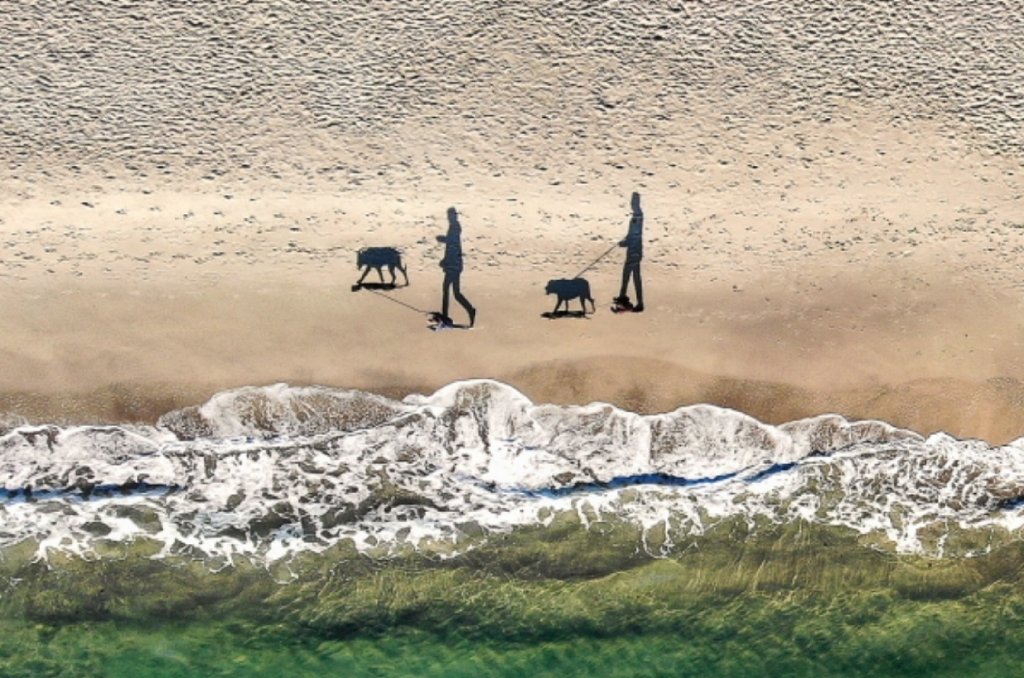
- Consider how the sun’s rays fall across the landscape. For example, sidelighting will create long, gorgeous shadows that give the shot tons of depth. To do so, you can use a couple of different mobile phone apps, like the Photographer’s Ephemeris or PhotoPills.
I also like to use Google Maps to do a little reconnaissance before I head out. That way I can get the lay of the land from a satellite view and also plan my route to get to my chosen spot.
Step 3: Get Familiar With the Sun’s Behavior
Of course, the key to a great sunrise photo is the sun, so you’ll need to get familiar with its behavior before you actually head out and start taking photos.
As noted above, PhotoPills is a great tool for familiarizing yourself with the sun’s movements.
To chart how the sun will move across your chosen shoot location, it’s a simple matter of completing a few steps:
- Use the Planner tool in PhotoPills to set a date range for your photo shoot. By selecting an azimuth, the app will show you all the angles of the sun that occur at that location at different points in your date range.
- Next, set the elevation. PhotoPills will offer a display that shows which elevations allow you to catch the sunrise during your date range. Conversely, you can enter a sunrise angle (i.e., 0-degrees) and PhotoPills will tell you the times of year during which that specific angle can be viewed.
I’ve used PhotoPills for awhile now, and the best advice I can give is to get familiar with it by simply playing around. Learn its features so you can utilize them to your advantage!
Step 4: Work Out the Composition
The next step in the process is to utilize the information you’ve gathered in the first two steps to compose the most dramatic sunrise image.
At least to begin, handhold your camera so you can experiment with the direction you shoot as well as the height. This allows you to do a little experimentation with your framing so you can identify the most pleasing shot.
Remember, include a strong subject in the shot that commands the viewer’s attention, striving to identify the best lighting in the scene.
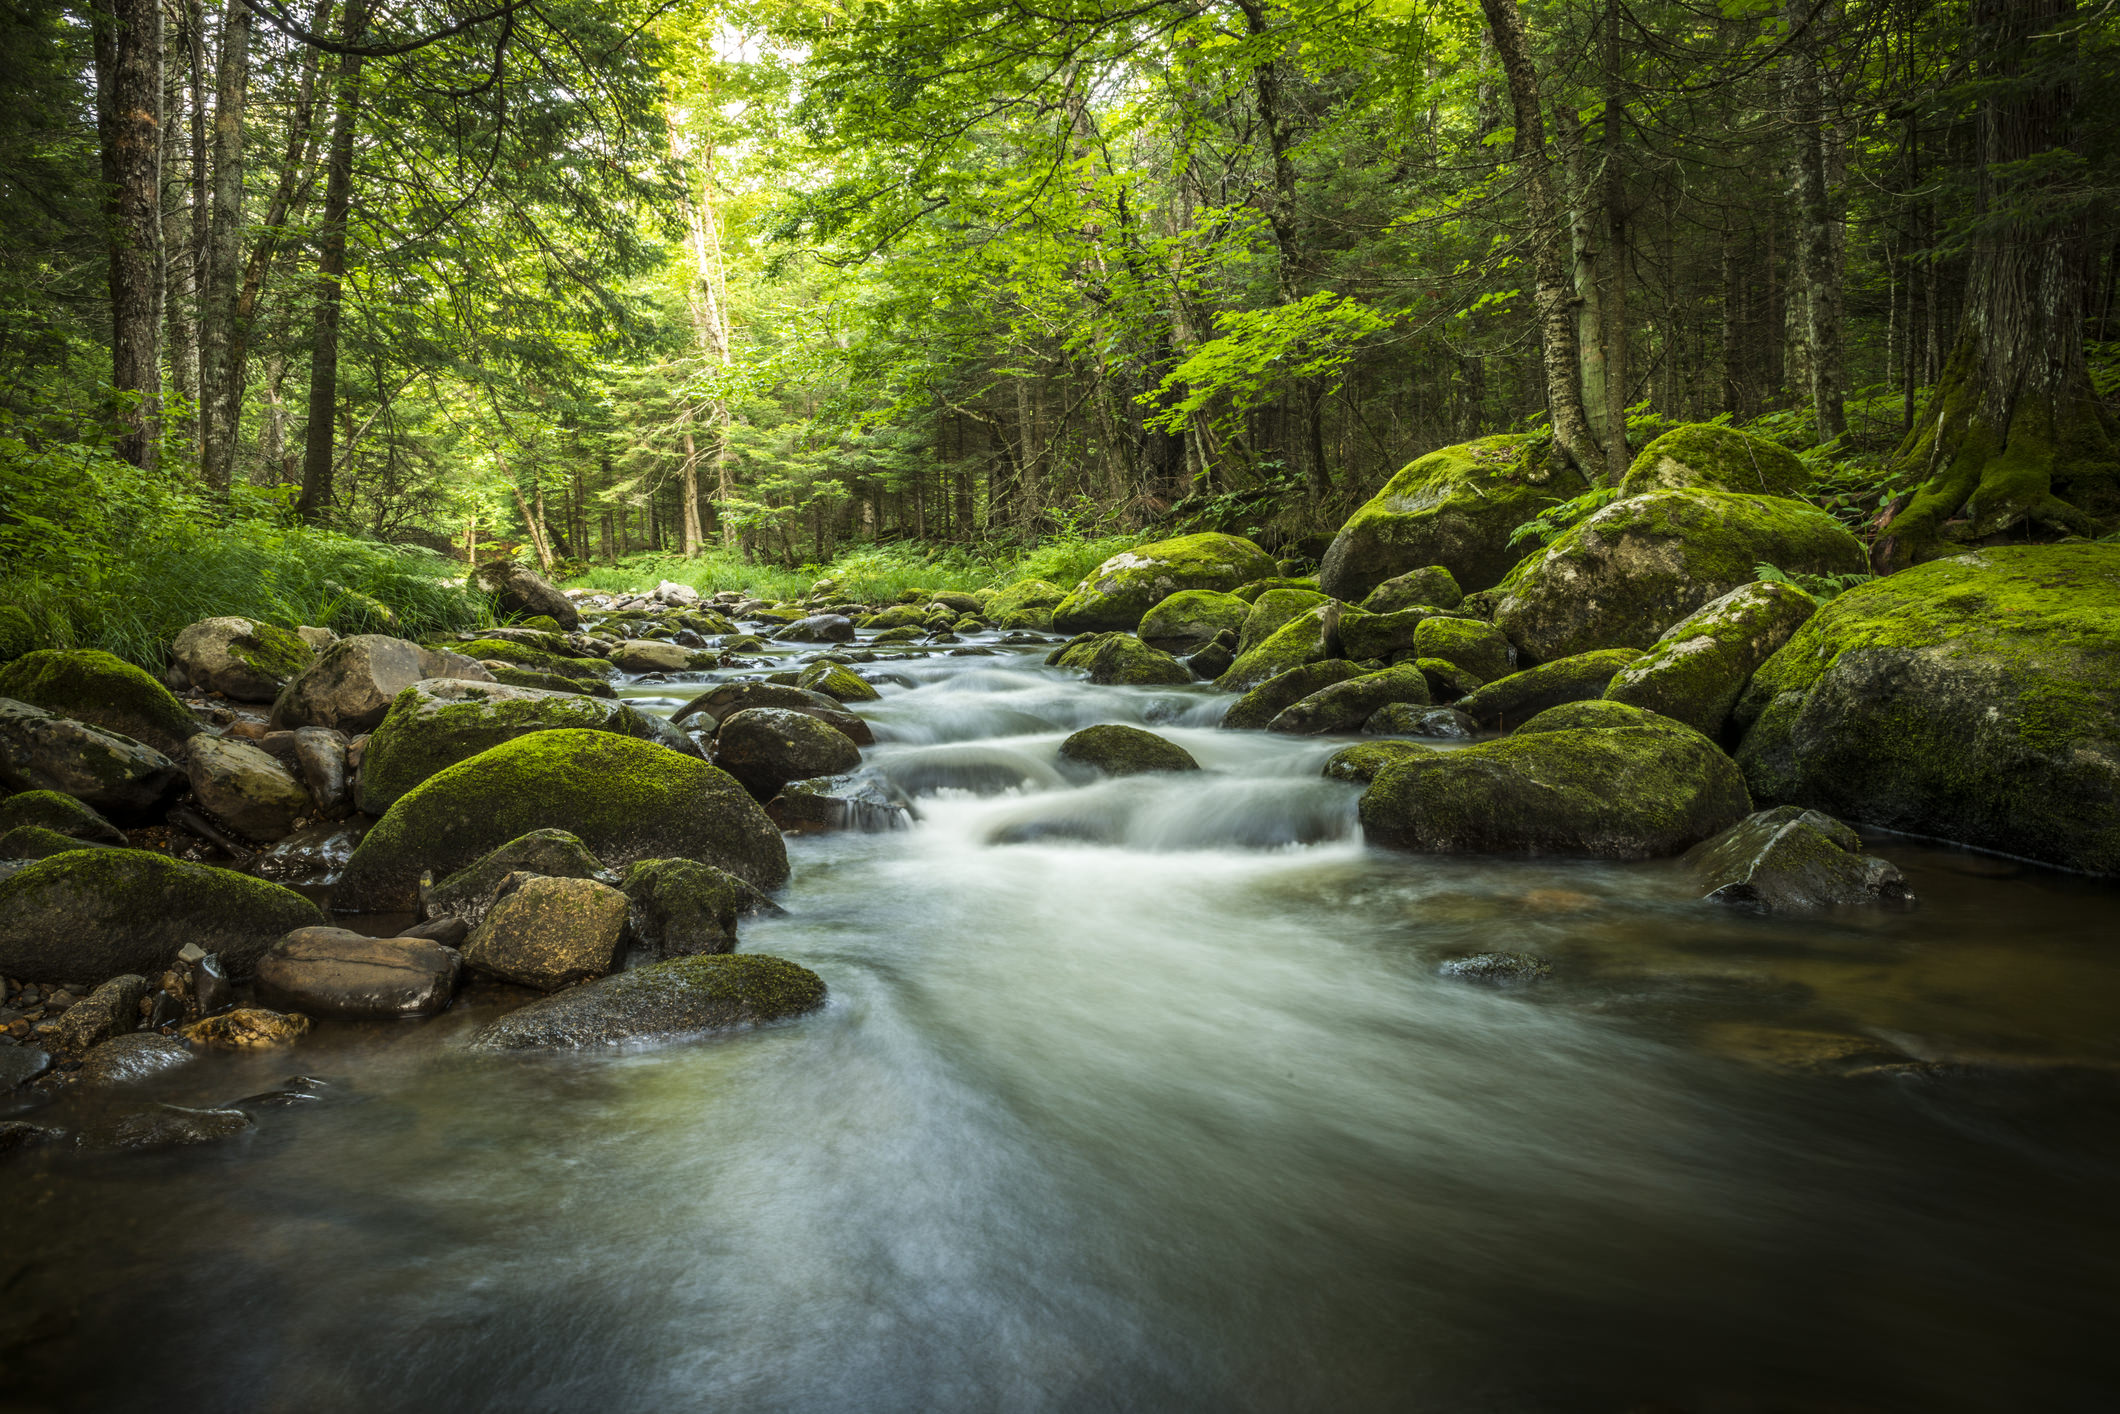
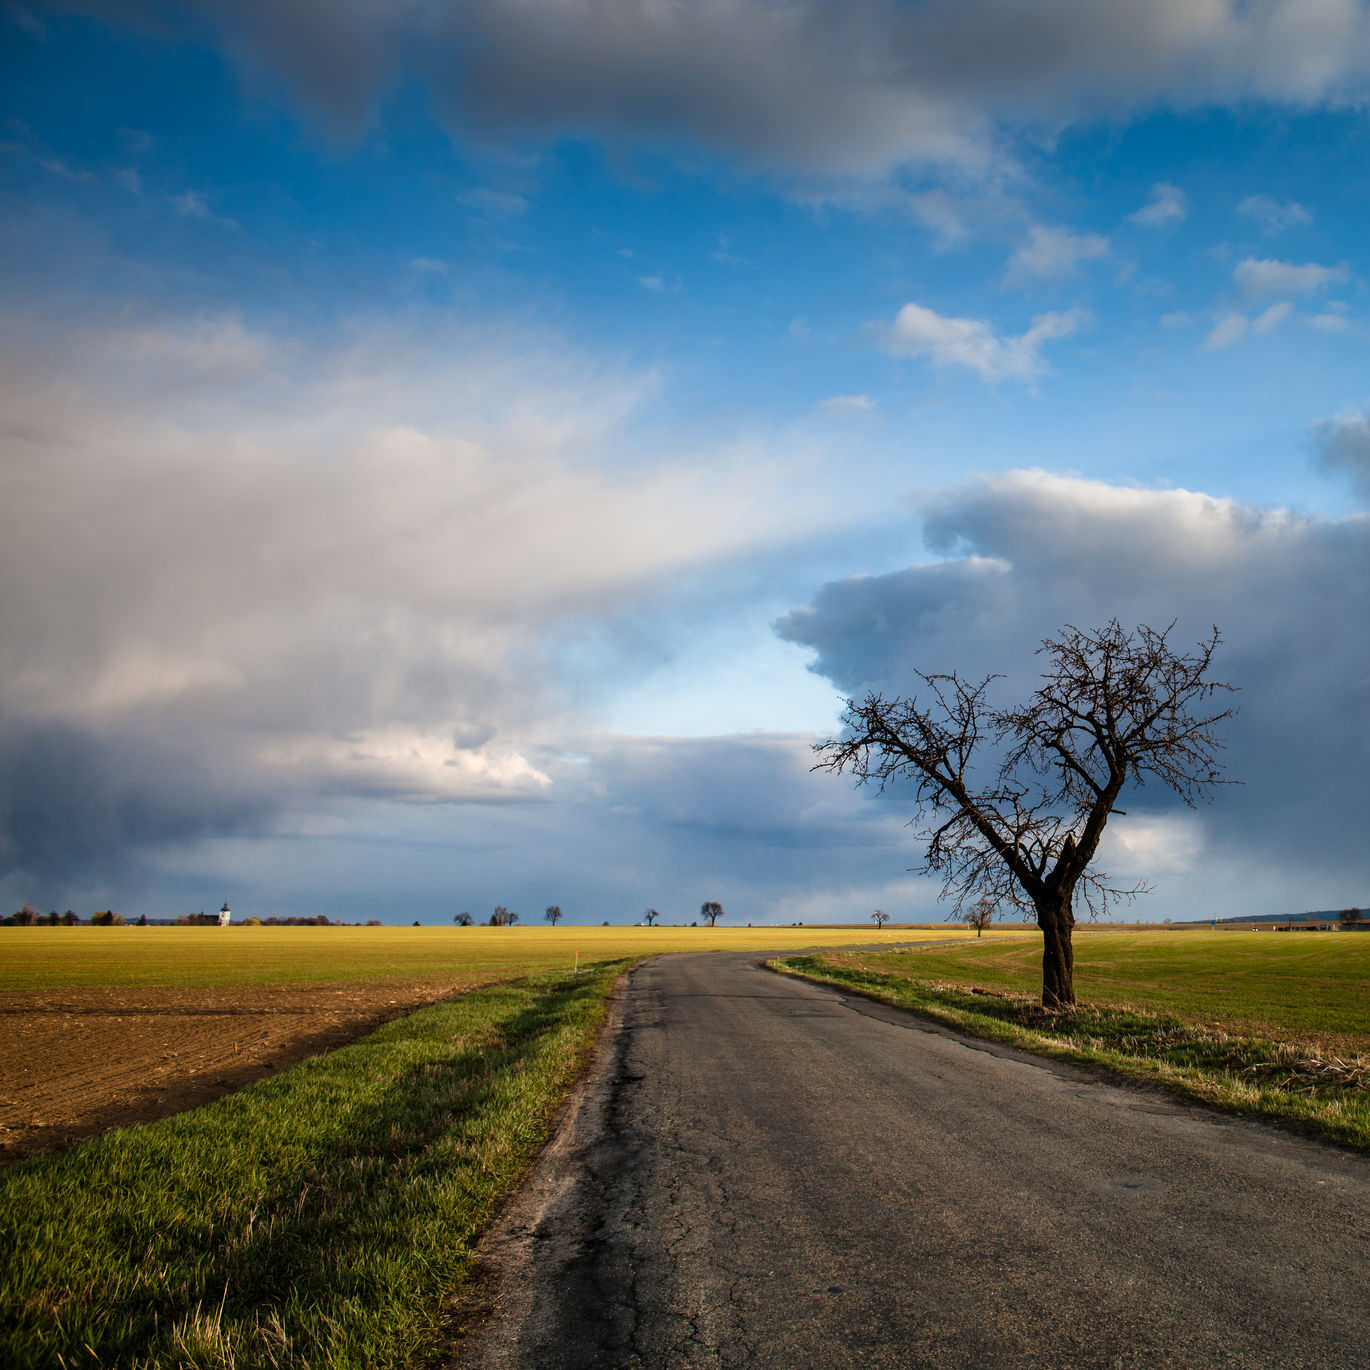
Also include foreground elements to invite the viewer into the shot. Rocks, plants, a road or a fence, and other such elements are great for foreground interest.

A way to make this process easier is to turn to your phone apps, specifically PhotoPills, to help you figure out where the sun will be in relation to the landscape.
You can use the augmented reality mode in PhotoPills to check the position of the sun and the precise times at which it will be in certain places in the sky.
PhotoPills even tells you the times of the sunrise and sunset, moonrise, and the phases of the moon, helps you determine the right exposure photo setting when using filters, and even has a hyperfocal distance calculator as well.
In other words, it’s ideally suited for helping you plan and execute perfectly composed shots of the sunrise!
Final Thoughts
Capturing a gorgeous sunrise landscape certainly requires a lot of steps.
You have to plan the shoot from A-Z to give yourself the best chance of getting the best shot.
You also have to pay close attention to how you compose the image so that you include elements that give the photo the most visual appeal.
Of course, there’s a lot of other steps involved, which you can learn about in the video above by Jason Lanier.
Follow along as he gets setup, composes and frames the shot, and works to get the perfect image.
This blog post about the topic “A Step-By-Step Guide for Killer Sunrise Photos” was first published on our website here https://www.photographytalk.com/landscape-photography/7860-a-step-by-step-guide-for-killer-sunrise-photos
Source: https://photographytalkcom.blogspot.com/2021/01/a-step-by-step-guide-for-killer-sunrise.html
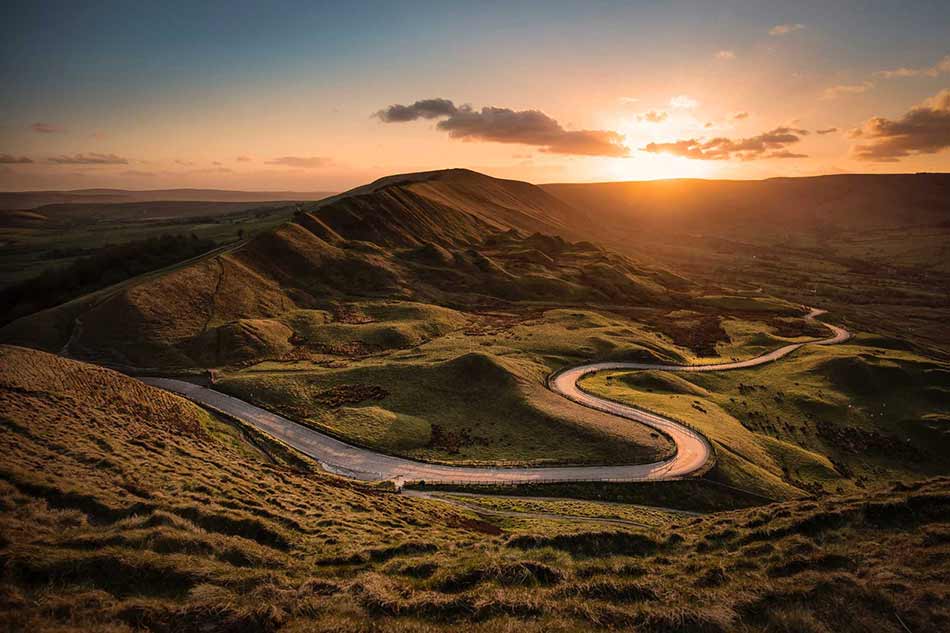
 Image Credit: bluejayphoto via iStock
 Image Credit: boule13 via iStock
 Image Credit: Daniel_Kay via iStock
 Image Credit: Oleh_Slobodeniuk via iStock
 Photo by Kal Loftus on Unsplash
 Photo by Nicola Nuttall on Unsplash
 Photo by Fredrick Kearney Jr on Unsplash
 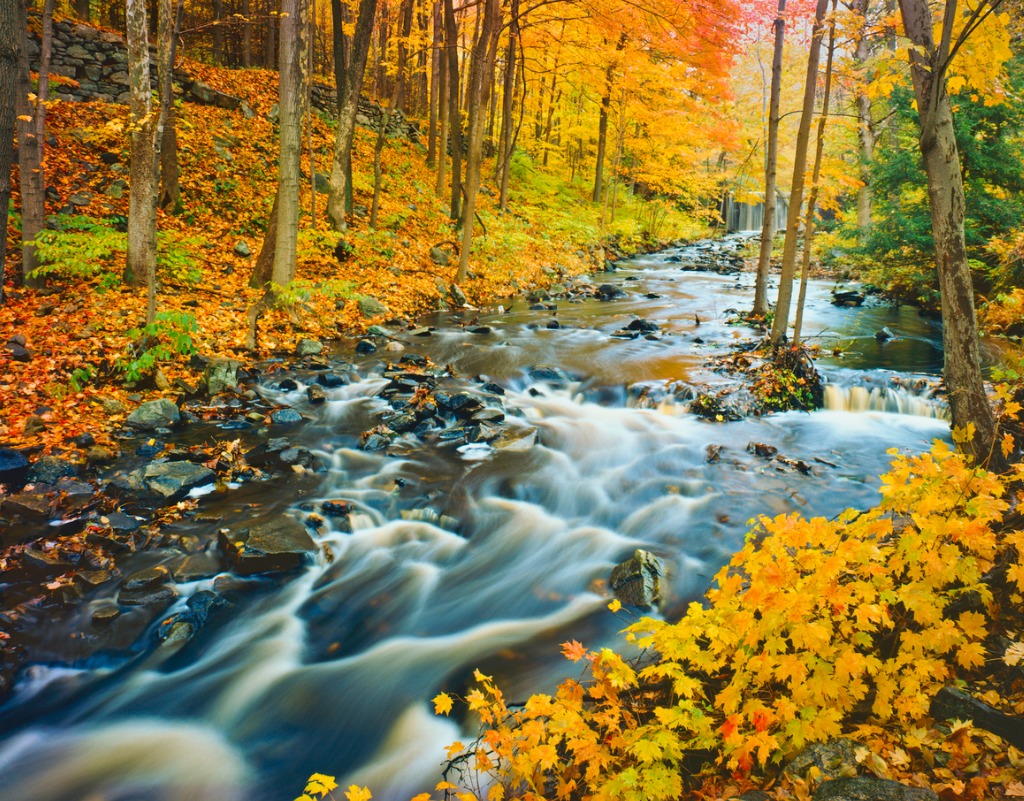 Image Credit: Ron_Thomas via iStock
 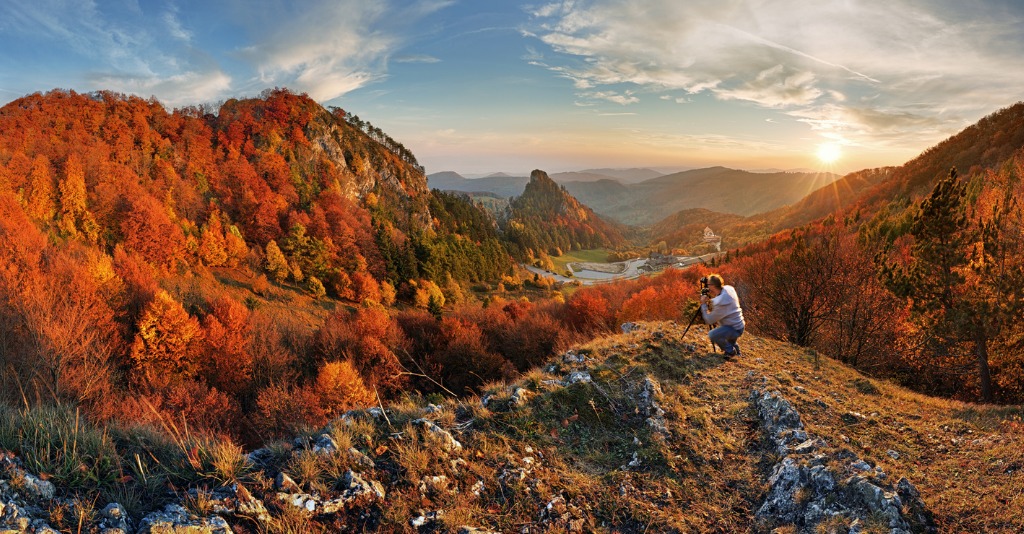 Image Credit: TomasSereda via iStock
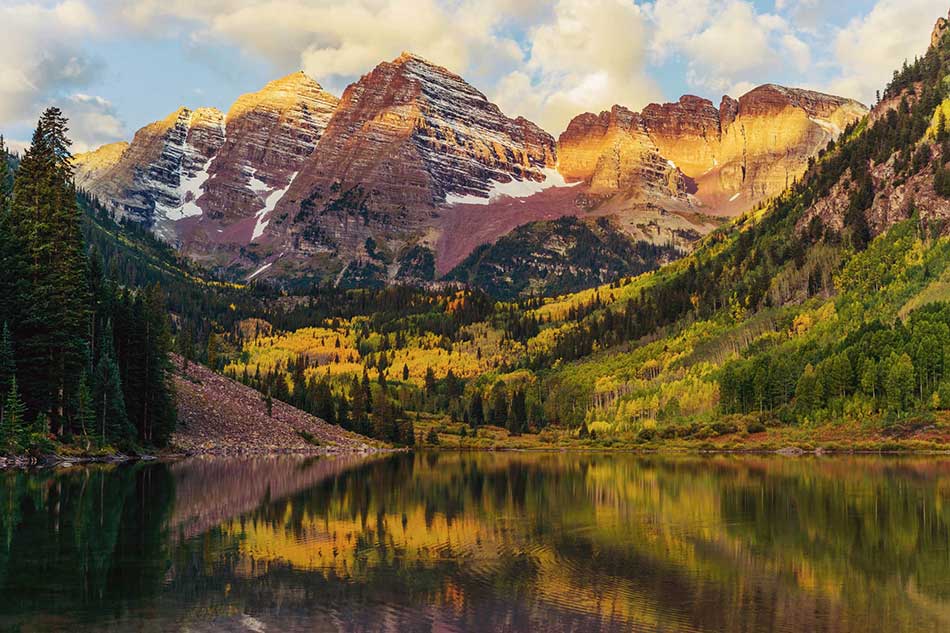
 Image Credit: freebilly via iStock
  Image Credit: Juergen Sack via iStock
 Image Credit: Ron_Thomas via iStock
 Image Credit: borchee via iStock
 Image Credit: georgeclerk via iStock
 Image Credit: DenisTangneyJr via iStock
 Image Credit: Orchidpoet via iStock
 Image Credit: Leonardo Patrizi via iStock